Paint both sides of one coaster with Carbon chalk paint; let dry.

Use a spatula to spread the Aleene's Tacky Glue unevenly over the coaster, leaving some areas thicker and some areas thinner for a variety of crackle effects. Do not let the glue dry completely, just until it is tacky.

Apply a coat of Vintage chalk paint over the glue surface, but do not brush over it more than once or twice. Don't worry about your brush strokes or uneven paint coat. It is best not to over work the paint.
As the paint dries, you will see the cracks develop.
I decided to add a bit of soft color over the background by adding these two colors from the Gelatos Macaroon Set, using my finger to blend. It is very soft and subtle, but I love the layers of color.
Use StazOn Midi Cactus Green ink pad to stamp the three tiny butterflies over the background. In the photo below, you can see where I began to add color to the dragonflies with my watercolor pencils.
Here's another tip. While I was playing around, I got the "bright" idea to try coloring with my gelato and the Wink of Stella clear glitter pen. It worked similar to a water brush but with sparkle. And I was able to clean the brush tip by brushing on scrap paper until the color was gone.
Color a pen nib with the Metallic Rub Ons from Kit #2. The nib on top was colored, whereas the one below it was not. The change is subtle but effective.
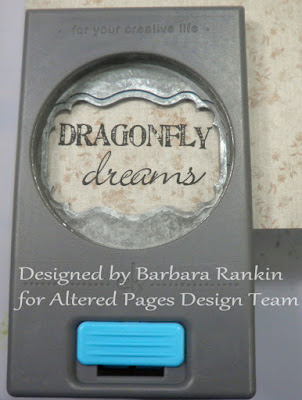
Stamp "Dragonfly Dreams" onto a piece of print paper from the Glitz 6x6 Paper Pads (Happy Travels) paper pad with the VersaColor Black ink pad. I used a decorative punch to punch out the sentiment.
Edge the punched sentiment with Leather Mix'd Media ink using the Ranger Blending Tool.
I fussy cut the dragonfly, less his antennae, and glued only his body portion to the top right of the coaster. I adhered the pen nib over the body, and redrew his antennae with the .05 Micron Pen, as shown. I used Dimensional Adhesives to pop the sentiment up from the page and adhered it, as shown.
Use Splash Inks Blue and Yellow to color some large flowers green. I simply mixed the two colors on my craft sheet and picked up the color with my Waterbrush, adding more water as needed to achieve the depth of color I desired. I cut the flower apart to form leaves.
Next, I colored the center of a second flower with strokes of the green mixture. Then I mixed yellow and magenta Splash Inks and continued coloring the outer petals, again adding water to strengthen or lighten the color, as desired.
Here are the pieces after they have dried. This flower is too large for my small coaster, so I cut it up into thirds, as shown.
I used the Aleene's Tacky Glue to pinch the flower bottom and hold it together, as shown.
The same pinching technique was used to form the leaves, and I cut off the ends to shorten them.
The flower petals and leaves were glued down to lower right corner, as shown. Extra glue was added in the corner, below the flower, to hold a decorative metal embellishment.
I used a clamp to hold the metal embellishment in place until the glue dried. I also used a Uniball White Gel Pen to doodle around the edge.
And here is a closer look at the decorative metal embellishment at the bottom of the flower.
Now, if you prefer to use an easel to display your inspirational desk piece, you can either use an easel die or purchase them ready made from your local craft store. I used a die, but it is too large, so I measured and cut it down to size, along those white lines.
Adhesive was added to the section that will be adhered to the back of the coaster. These easels fold flat for mailing, too.
And here is what it looks like with an easel back, instead of clipping onto a note stand.
Supplies:
Chalk Paints (Carbon Black, Vintage)
Metallic Rub Ons (Kit #2)
Glitz 6x6 Paper Pads (Happy Travels)
Decorative 3-1 corner punch
Easel die
3D paint (for the eyes)
I hope you enjoyed my tutorial today using these fun rubber stamps from The Mailbox Muse collection. I hope I have inspired you to try some of these wonderful products from Altered Pages, and see what you can come up with. Experimenting is so much fun, especially when you discover something new.
Thanks for stopping by, and have a wonderful, creative week!
Barbara


adore! xo
ReplyDeleteBarbara, this is so sweet and beautifully done! Thanks so much for sharing the steps.
ReplyDeleteI may not always comment, but want you to know that i am here regularly- your artwork is always so creative & inspiring!
hugs,Jackie ")