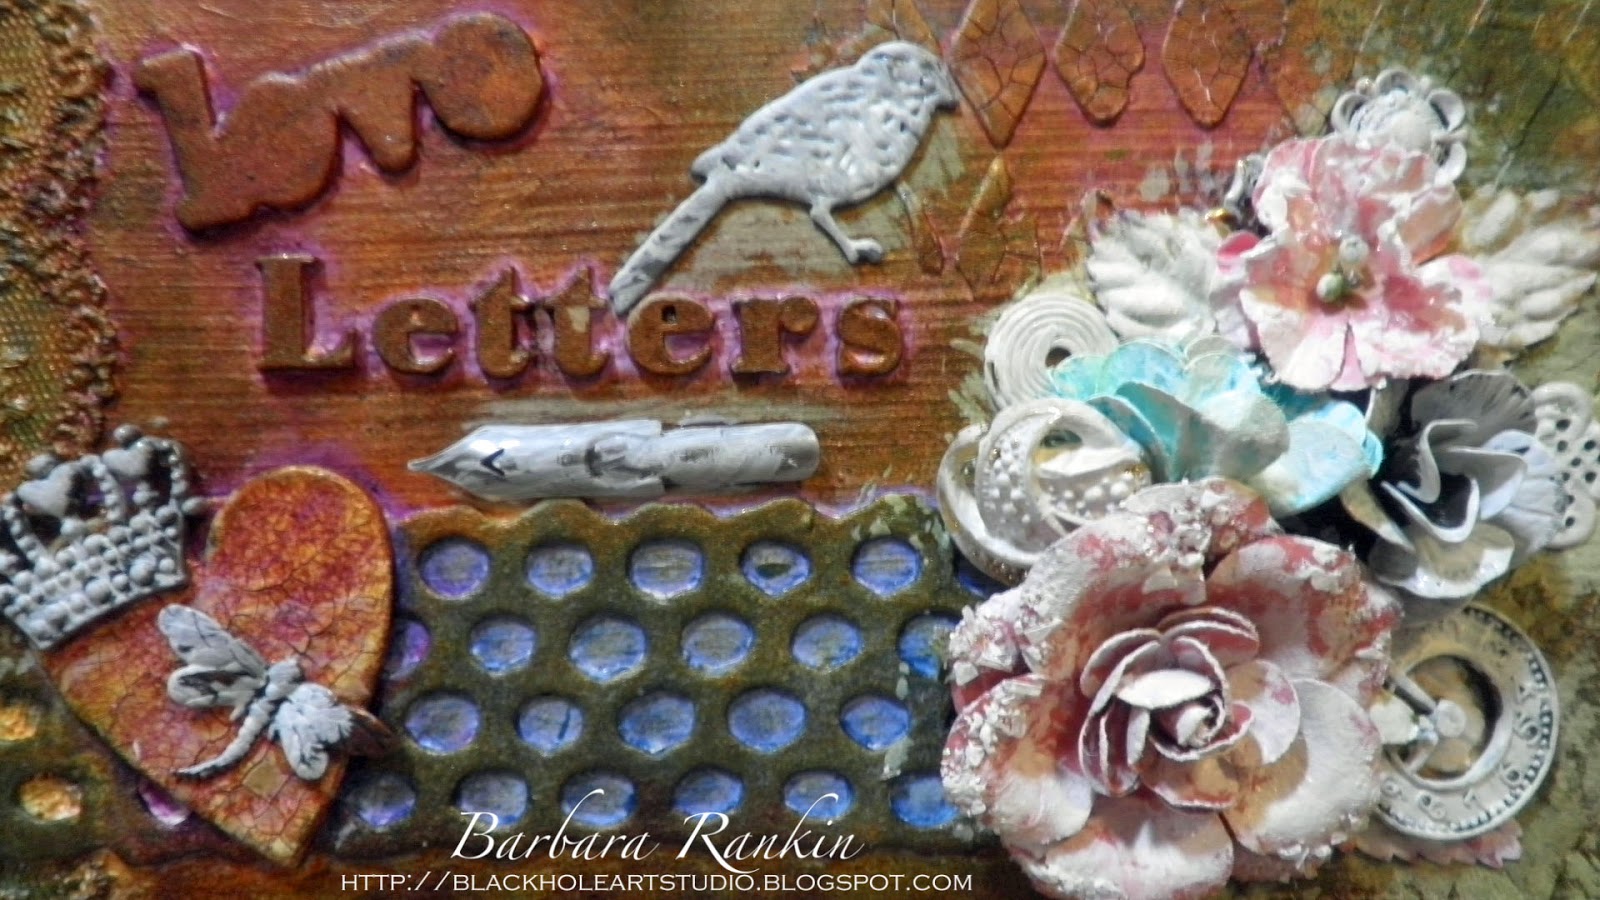
Since Valentine's Day is just around the corner, I decided to alter a box to hold love letters.
I started with an empty Cricut cartridge box.
I painted the outside of the box with Utrecht white gesso. It is very thick and only one coat covered all of the writing very nicely.
I added a scrap piece of lace to the still wet gesso and allowed everything to dry.
While that is drying, gather chipboard, die cuts, ephemera, metal bits and charms, and anything you plan on using on the top of your box.
Use a spatula to spread the crackle paste through the stencil and allow to dry. Continue adding the stenciled crackle paste along the back of the box, as well. Do not use a heat gun to speed drying time for this step. (See Fig. 1 below).
Allow the paste to air dry to form the crackles.
Allow the paste to air dry to form the crackles.
Adhere chipboard pieces and alphabet letters to box, as shown.
Use a ruler to help keep letters straight.
Cover entire box with another coat of white gesso. Add a medium thick coat of crackle paste to the chipboard heart and allow to air dry. Then adhere over honeycomb chipboard.
Use a ruler to help keep letters straight.
Cover entire box with another coat of white gesso. Add a medium thick coat of crackle paste to the chipboard heart and allow to air dry. Then adhere over honeycomb chipboard.
Randomly add streaks of crackle paste along the two side edges (See Fig. 2 below), as well as along the front edge on either side of the chipboard ornamental.
Add Burnt Umber Primary Elements to white gesso and mix together on your craft sheet.
Paint inside edges of box, as shown. Allow to dry.
Adhere print paper to inside of box, leaving scant borders all around each section of the box. One 12"x12" sheet of paper will cover the inside.
Now comes the real fun ... coloring!!! I began adding colors using the Silks Acrylic Glazes, beginning with Pomegranate, Ginger Peach, Yellow Rose, Olive Vine, and Bolivian Blue.
I wanted my box to look quite old, so I needed to darken the colors. I made a spray mist by adding Burnt Umber Primary Elements to a mini mister bottle. I have no formula, just add small amounts of the Primary Elements until you like the color. A very little goes a long way. Spray over the box and dab off some of the excess with a paper towel or baby wipe.
Also add this mist along the front and side edges.
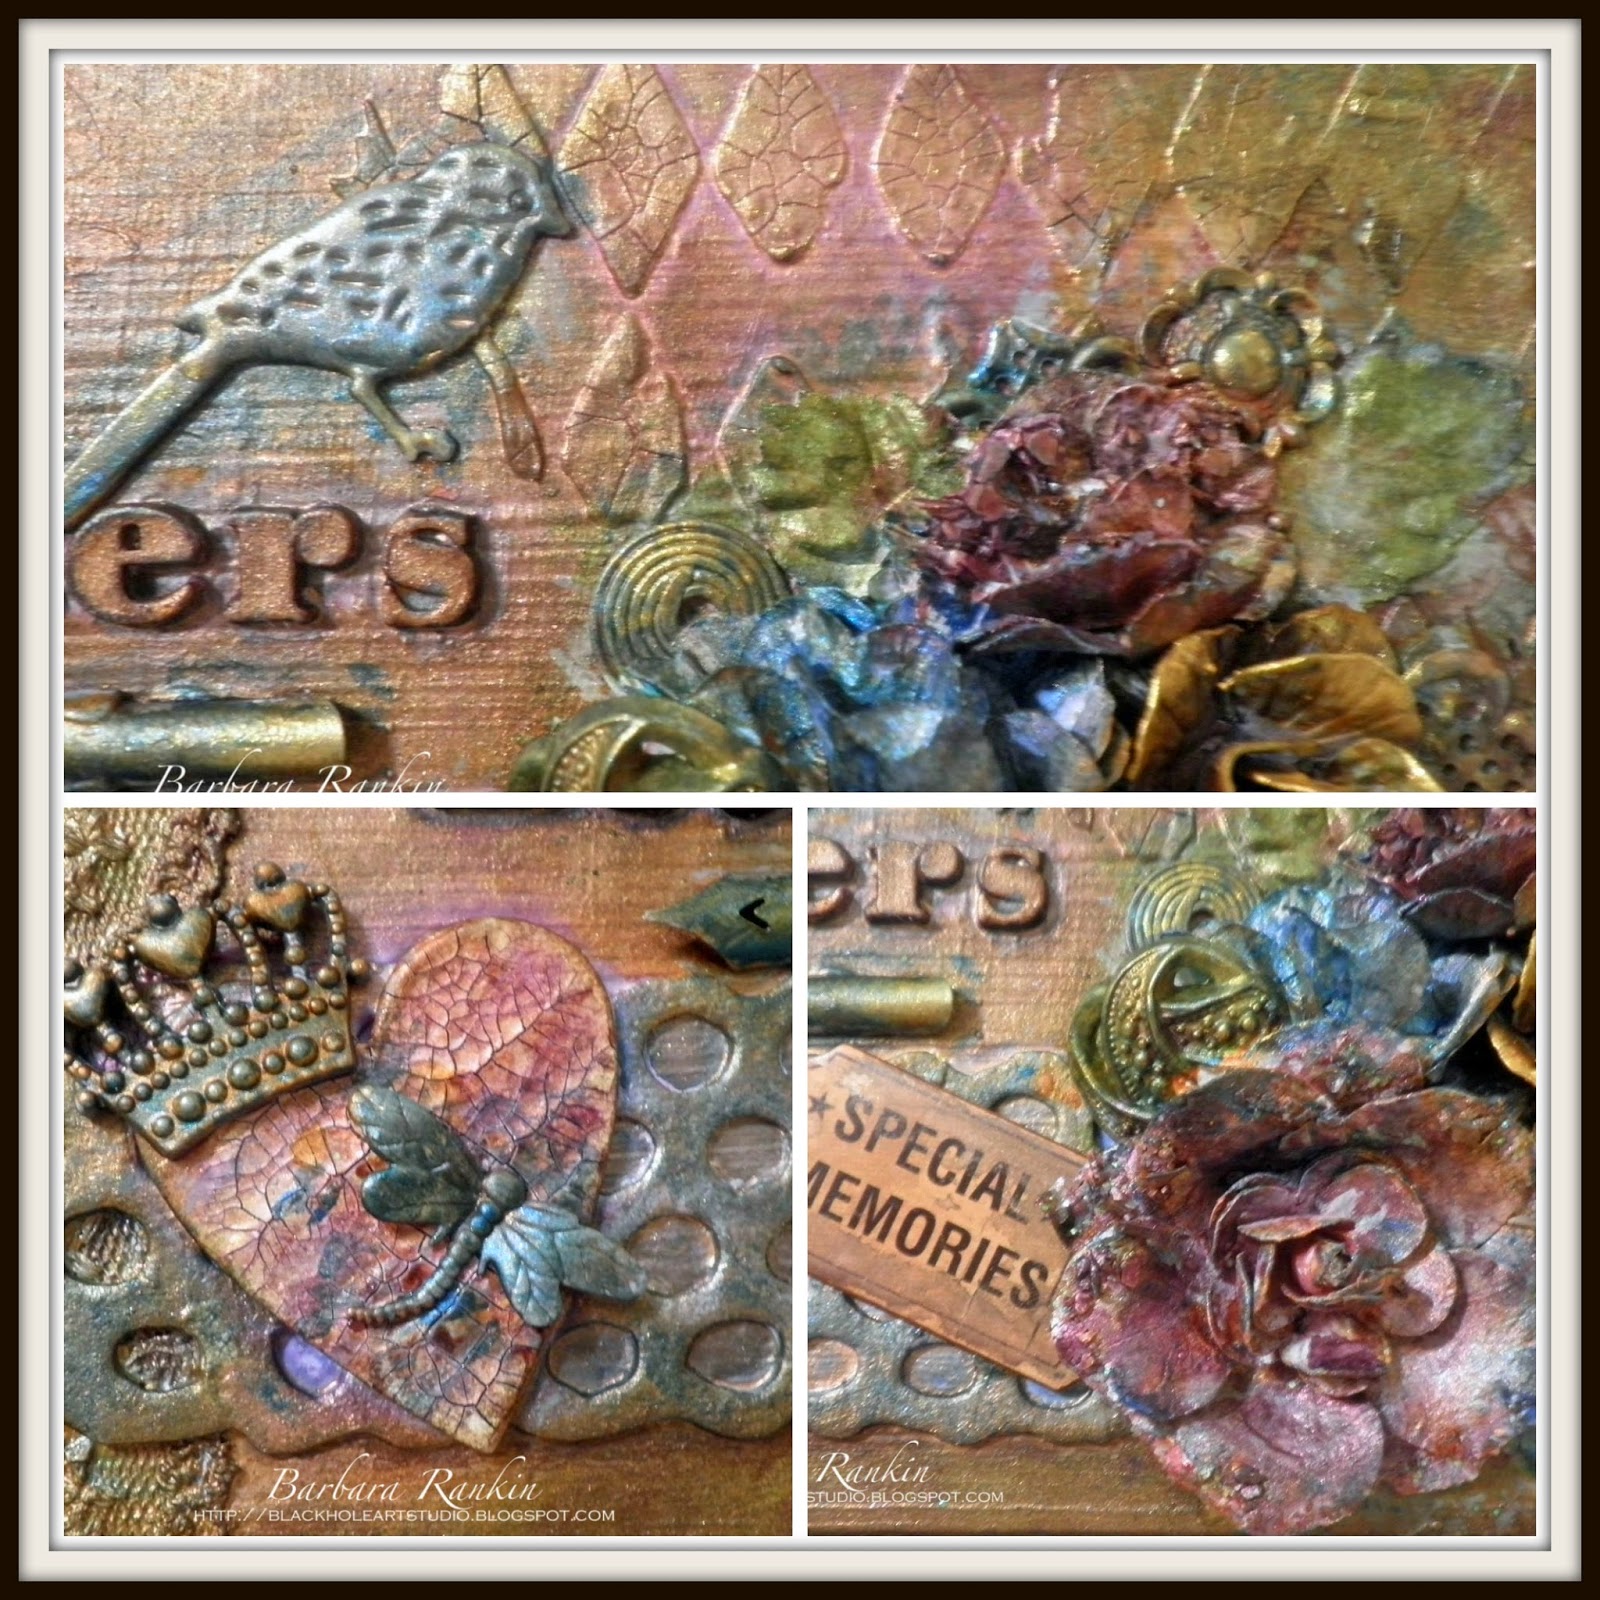
Now get those embellishments out and start adding them to the top of your box. I have used chipboard die cuts, fabric flowers, metal charms, buttons, and various embellishments. Once you like the arrangement, glue everything down to the box and allow to dry. (NOTE: I removed the Special Memories tag to be added at the very last, but this is where I will place it.)
Add a light wash of white gesso over these pieces and allow to dry.
Brush more of the Silks Acrylic Glazes in Pomegranate, Ginger Peach, Yellow Rose, Olive Vine, and Bolivian Blue. The goal is to unify these additions while maintaing a bit of contrast. Since the colors are so beautiful, I wanted to share as much of the beauty as possible by including some closeups of the individual sections.
To add some additional highlights to a few embellishments, I used a tiny round paint brush, dipped into water, then picked up a scant amount of Sunflower Primary Elements to make this gilded color.
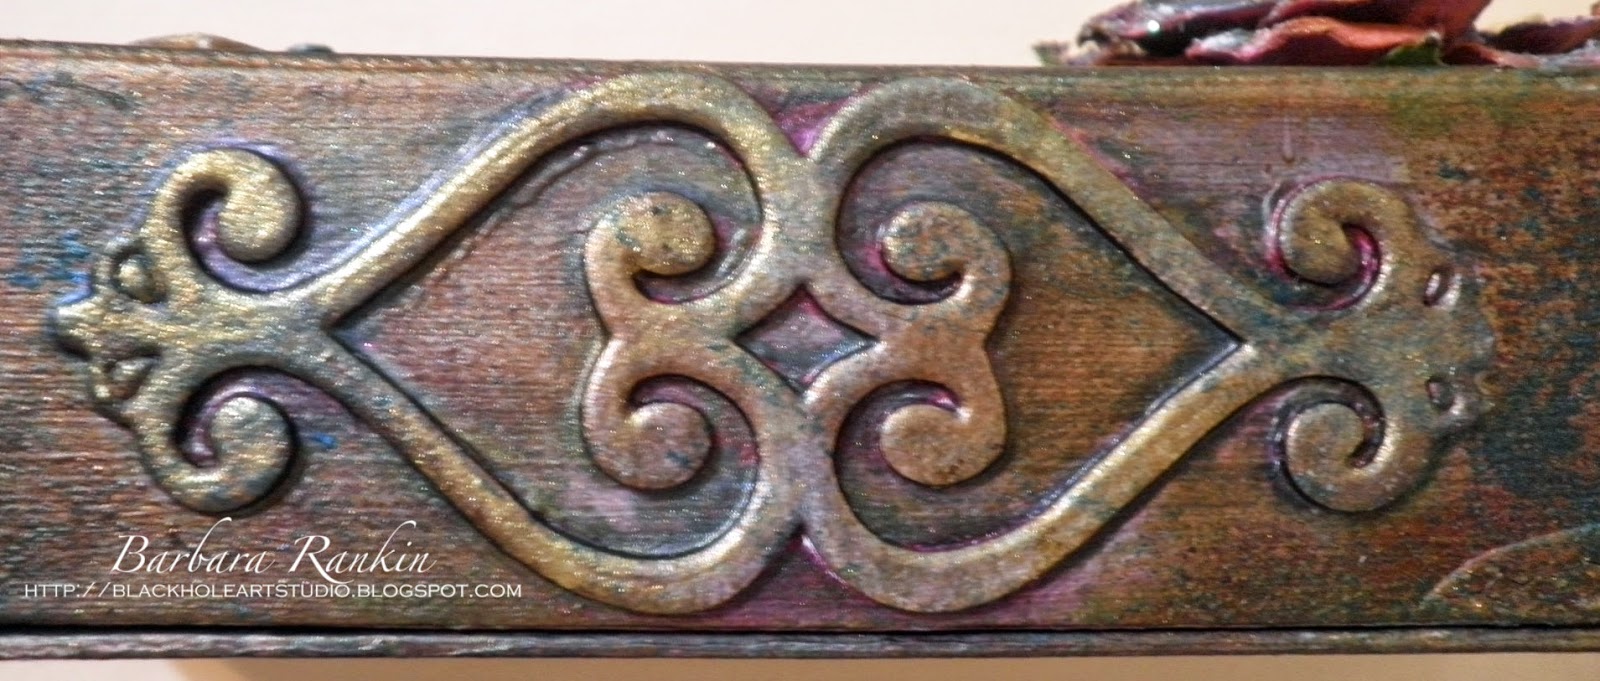
I added tiny touches of this luscious, golden color to the chipboard ornament on the front of the box. I absolutely love the color variations.
A few closeups of the sides, where I also added some of this golden color.
 |
| Fig. 2 |
I then added blobs of that golden color to my metal flower, simply by brushing the excess off of my brush onto the edges of the metal. Isn't it gorgeous?
Supplies used:
ColourArte products: Silks Acrylic Glaze: Pomegranate, Ginger Peach, Yellow Rose, Olive Vine, Bolivian Blue; Primary Elements Artists Pigments: Burnt Umber, Sunflower
ColourArte products: Silks Acrylic Glaze: Pomegranate, Ginger Peach, Yellow Rose, Olive Vine, Bolivian Blue; Primary Elements Artists Pigments: Burnt Umber, Sunflower
Cricut cartridge box (empty)
Utrecht white gesso
Cuttlebug 2x6 die sets: (Poppies & Honeycomb) (Ornamental)
Cuttlebug 2x2 Butterfly Combo cut and emboss set
DecoArt Media Crackle Paste
Tim Holtz Harlequin stencil
Metal charms and embellishments, chipboard, buttons, metal clips, vintage paper ticket, mini mister, Prima flowers and leaves
I hope you enjoyed my repurposed box project today, and that I have inspired you to try some of these luscious and beautiful ColourArte products. You won't be disappointed!
Thanks for stopping by, and have a wonderful, creative week!
Barbara


Wow, wow, wow Barbara, this is such a totally amazing box!!! You have worked wonders with those fab products!! The close ups really show all of the stunning effects! They would be crazy not to pick you, you write such brilliant step by steps too, this is just amazing, I love it!!!
ReplyDeleteThis is SO SO pretty.. what a great idea.. I just love boxes. Thanks for using ColourArte products in your post today
ReplyDeleteGorgeous Barbara, fabulous textures and so many beautiful layers. Good luck on the Colour Arte Design Team Call, your project is amazing.
ReplyDeleteStunning altered box!
ReplyDeleteI can't *believe* that stunning box started out as a Cricut cartridge container! Unbelievable! Your coloring is just gorgeous - I really want to spend a weekend playing in colors with you! I use all the same products you use, but, boy!, do you get better results! LOL
ReplyDeleteThanks for sharing this!
Thanks for the sweet comments, Tristan, but I believe you could teach me a thing or two with all of your creative talents!
DeleteOoh love it. Beautiful.
ReplyDeleteFirst of all - this is GORGEOUS! Second of all - I LOVE that you used a cricut cart box! Oh now I wish I had not thrown away the hundred or so I had sitting around here!
ReplyDelete