Glue two pieces of scrapbook paper to the canvas, tearing one and layering it over the other, as shown.

Begin adhering chipboard alphabet randomly to the center of the canvas and the word "STEAMPUNK" along the top.

Paint background with white gesso and let dry. Randomly add molding paste through mini grid stencil and let dry. The stenciled areas will show up in following photos when color is added.

Spray background with Radiant Rain Mists Fern, Key Lime, Seafoam, and Elderberry. Dab some Hot Cinnamon Radiant Rain dauber randomly, then spray Radiant Rain Butternut Shimmering Mist over all.

I know it may seem crazy, but apply a wash of white gesso over entire background again and let dry. Mixed media is all about layers, i.e., layers of texture and color. The wash still allows some of the previous colors to shine through. Next, paint background with Radiant Gels Olive Vine, Key Lime, Emperor's Gold, and Spiced Pumpkin. Let this layer dry.

Try as I might, the camera just cannot see all the colors I see in person. Trust me, they are there.

Use Green Pearls Radiant Gel to highlight around the letters "STEAMPUNK" to make them pop, then randomly add it to the background, mixing with Twilight to get that beautiful turquoise color. Apply patches of Luv U Pink and Autumn Leaf Radiant Gels.


Adhere embossed foil to top of dress form and adhere a small scrap of chipboard to the back to add some lift when it gets applied to the canvas.

Ink wings with Versamark ink, heat emboss with Turquoise Iced Enamels.

Delaminate a piece of mica. Lay mica over the hourglass portion, trace and cut out the outline of the glass only. Set aside.

Heat emboss the rest of the hourglass with Versamark ink and Chartreuse Iced Enamels.

Adhere the chipboard pieces to the canvas, as shown. This half of the photo shows a closeup of the dress form and wings, some paper and metal flowers, gears and other steampunk style embellishments. Can you tell which gears are chipboard and which are metal?


And here are two closeups of each side of the chipboard gears border at the bottom of the canvas.

Aren't these colors just fabulous? I cannot say enough good things about ColourArte. They truly have become my "go to" paints.

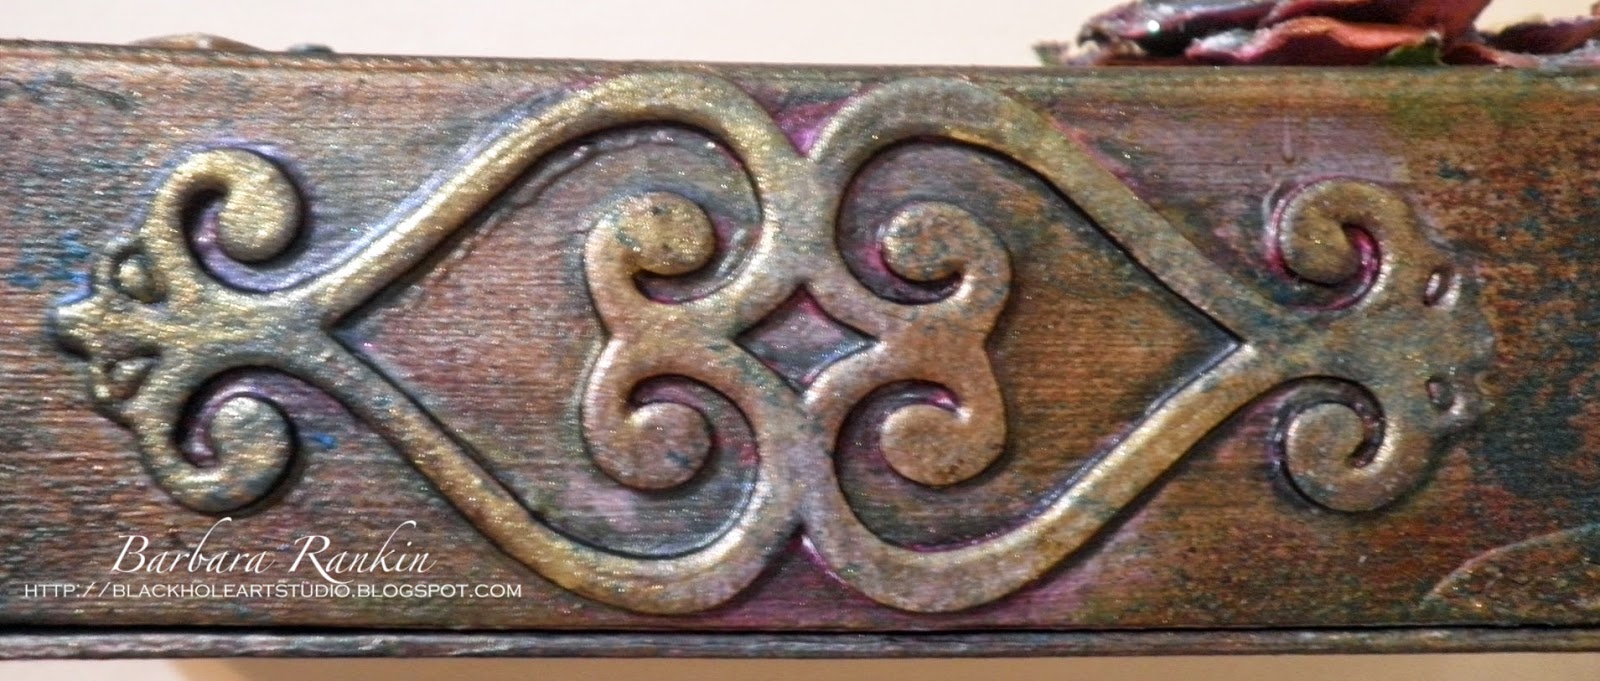
Now, let's finish off the sides of the canvas. In keeping with the metal theme, emboss a 14" strip of 2" wide silver aluminum foil tape with the Diamond Plate embossing folder. I cut a slit in the top of my embossing folder so I could keep the tape running through continuosly. Paint a light coat of the black antiquing creme over the entire strip. When dry, use a soft damp cloth to remove excess paint.


Cut aluminum into ½" wide strips. You need four.

Adhere the strips around the canvas to cover the edges and give it that Steampunk style metal finish.

Supplies used:
ColourArte: Radiant Rain Shimmering Mists: Fern, Key Lime, Seafoam, Elderberry, Butternut
Radiant Rain Gels: Olive Vine, Key Lime, Emperor's Gold, Spiced Pumpkin, Autumn Leaf, Luv U Pink, Twilight, Green Pearl
Radiant Rain Colour Concentrates Daubers: Hot Cinnamon, Egyptian Gold
Silks Acrylic Glaze: Honey Amber
Primary Elements Arte Pigments™: China Black
Radiant Rain Gels: Olive Vine, Key Lime, Emperor's Gold, Spiced Pumpkin, Autumn Leaf, Luv U Pink, Twilight, Green Pearl
Radiant Rain Colour Concentrates Daubers: Hot Cinnamon, Egyptian Gold
Silks Acrylic Glaze: Honey Amber
Primary Elements Arte Pigments™: China Black
Gina's Designs: Steampunk Shape Set, Steampunk 2 Shape Set, Dressforms and Wings Shape Set,
12X12 canvas (Artist's Loft)
Finnabair A4 paper pad (Prima)
Chipboard alphabet (my stash)
White gesso (Liquitex)
White gesso (Liquitex)
Regular Matte Gel Medium (Golden)
Extra Heavy Gel/Molding Paste (Golden)
Carbon Black Antiquing Creme (DecoArt)
Extra Heavy Gel/Molding Paste (Golden)
Carbon Black Antiquing Creme (DecoArt)
Stencils: Mini Sketch Grid (TCW456s)
Embossing folder: Diamond Plate (Tim Holtz)
Black Shimmer Metallic Lustre (DecoArt)
Versamark inkpad
Gilders Paste: Copper, Patina, German Silver
Iced Enamels (Susan Lenart Kazmer): Pewter, Turquoise
2" wide silver aluminum foil tape (hardware store)
3D Crystal Lacquer
Prima paper flowers, metal flowers and trinkets
Blue Glass Glitter (Melissa Frances)
Metal studs (CTMH)
Charcoal Pencil
I know this was a long post with lots of photos, but I try really hard to get realistic, true-to-life pictures of this fabulous paint products from ColourArte. I hope I was able to do just that, and I am thankful to you if you were able to stay with me this far.
As always, I am so glad you stopped by today, and I would love to hear what you think about my project.
Have a wonderful and creative week, my crafty friends!
Barbara
Embossing folder: Diamond Plate (Tim Holtz)
Black Shimmer Metallic Lustre (DecoArt)
Versamark inkpad
Gilders Paste: Copper, Patina, German Silver
Iced Enamels (Susan Lenart Kazmer): Pewter, Turquoise
2" wide silver aluminum foil tape (hardware store)
3D Crystal Lacquer
Prima paper flowers, metal flowers and trinkets
Blue Glass Glitter (Melissa Frances)
Metal studs (CTMH)
Charcoal Pencil
I know this was a long post with lots of photos, but I try really hard to get realistic, true-to-life pictures of this fabulous paint products from ColourArte. I hope I was able to do just that, and I am thankful to you if you were able to stay with me this far.
As always, I am so glad you stopped by today, and I would love to hear what you think about my project.
Have a wonderful and creative week, my crafty friends!
Barbara