

Green card:

Cut a small square off the end of one of the sheets to fit behind the flourished heart frame.


Ink bottom heart with Versamark ink pad, then heat emboss with gold embossing powder.

After embossing cools, run gold leafing pen along outer edge of heart.

Glue paper heart to back of heart frame. Set aside.

Ink top heart with Versamark ink pad, then heat emboss with shabby white embossing powder. This embossing powder has large white chunks. I thought I would need two coats, but I like the result of just one coat.

After embossing cools, run gold leafing pen along outer edge of heart. I wasn't trying for perfection. I just put the gold where the pen could reach.

Glue the two hearts together.

Take one of the solid hearts in the Hearts Background set and glue a coordinating piece of paper over the front. Trim excess paper and then run gold leafing pen around edge.

Glue this piece to the center of the heart frame.

Cut a piece of 8-1/2"x11" cream card stock to 7"x10", fold in half to make a 5"x7" folded card. Distress and ink paper edges and begin adding print paper layers, as shown below. I used Vintage Photo on the tan colored papers, and Iced Spruce on the green print papers.

Then add scalloped edge piece from paper pad collection to the left hand side of the card.

Add flourished heart frame to bottom right of card, as shown.

Cut out one of the sentiments from the paper pad, adhere to left of flourished heart frame with foam tape. Shape wings of one of the butterflies from the collectibles pack, edge with Vintage Photo, and adhere the body of the butterfly only, as shown.

Color a length of off-white seam binding with the Bundled Sage distress ink and spritzed with water. Let dry.

Make a double bow and attach to the card just below the sentiment.

Peach card:

Cut a strip from the paper and trim with decorative paper punch, as shown.'

Ink Ironwork Frame with Versamark ink pad, then heat emboss with Desert Tapestry embossing powder.

Re-heat embossing powder on Ironwork Frame, sprinkle Shabby Pink over hot powder, then re-heat with heat tool. Work in sections for this technique.

Re-heat embossing powder on Ironwork Frame, randomly sprinkle more Desert Tapestry over hot powder, then heat re-heat with heat tool. Work in sections for this technique.

Use Tattered Rose distress ink pad to add color to the embossing powder to help it match the papers, then lightly reheat the embossing powder to capture the ink and make it permanent.

Turn frame over and place a line of Tombow mono glue around oval. Let glue dry. It will be tacky but removable.

Place frame, glue side down, over a piece of coordinating paper.
Hold frame up to a light and mark around the frame opening with a pencil.

Trim away excess around oval opening. I used a craft knife, but if you prefer using scissors, you will be able to lift the paper and cut around the pencil lines with this glue. It is only permanent if you place it down while the glue is still wet.
Place a line of foam tape along the punched paper strip and adhere to top of card. Trim excess paper from both sides.

Glue frame to card front, as shown.

Use a scrap of the green print paper and punch several leaf shapes.

Fill area around frame opening with flowers and leaves. Adhere these in between the flowers, as shown.
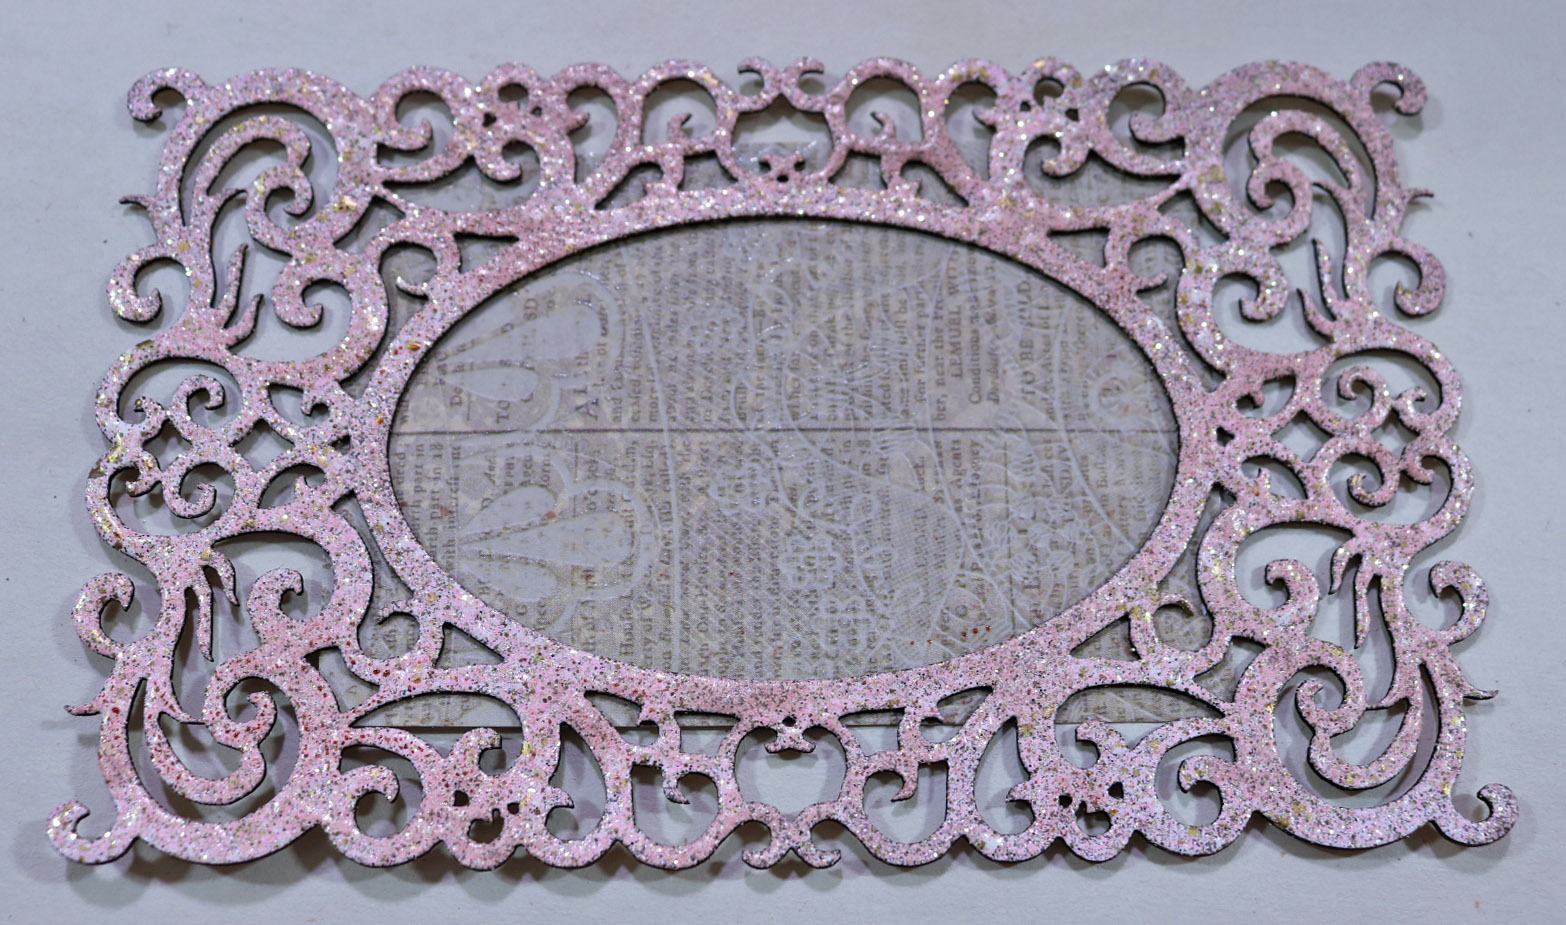
GSL Flourished Heart Frame
GSL Hearts Background
GSL Ironwork Frame
Rustic Harmony 6.5"x6.5" paper pad (Kaisercraft)
Rustic Harmony Collectibles die cuts (Kaisercraft)
Cardstock (5"x7" pre-folded card)
Queen's Gold embossing powder (Ranger)
Shabby White embossing powder (Stamendous)
Shabby Pink embossing powder (Stamendous)
Krylon 18ct Gold Leafing Pen
Vintage Doily decorative edge punch (Martha Stewart)
Tombow Mono Adhesive Glue
Distress Ink Pads (Vintage Photo, Iced Spruce, Tattered Rose)
5/8" wide off-white seam binding
Floral embellishments
Foam tape
Distressing tool
I hope you enjoyed my cards tutorial today. Be sure to visit Gypsy Soul Laser Cuts for more ideas and more chipboard to enhance any of your art projects.
Thanks for stopping by!
Barbara
Barbara, these are such nice cards! I am especially drawn to the second one and even have enough supplies,to make one similar in design. Thanks for the continual inspiration!
ReplyDeleteThanks so much, Cheryl. Glad I have inspired you, and I love the color palette on the second one the most, too. More my style, if you know what I mean. LOL
DeleteAbsolutely beautiful! I learned some cool techniques and wonderful tips in utilizing some of the supplies that I already have and not using. Thanks!
ReplyDeleteSo glad you were able to pick up some new techniques. Always fun to learn how to use your supplies. Thanks for stopping by!
Delete