You should be coming to my blog from Vicki Robertson's blog. After visiting me, hop over to Wendi Robinson's blog next! To start at the beginning of the hop, and for the full list of Bloggers, go to Gloria's Blog, which is where it all starts!
So, do you remember this paper collection from Pink Paislee? It is called Daily Junque. I apparently liked it very much, because I have a lot of it left, even though I have made several cards, and even a mini album using it.
I decided to make this travel folder from matching aqua card stock. It measures 8-1/2" x 8-1/2", folded in half. I rounded the two outer corners for a softer look.

Next, the embellishing began. I cut a piece of the pink ledger paper about 1" shorter than the paper, rounded the two outer corners and adhered it, as shown. I fussy cut a piece from the collage sheet and adhered it to the bottom.
Next, I die cut a chevron piece from the same aqua card stock and adhered it over the image, gluing down only the top, bottom, and right side. This allowed me to slip the next fussy cut image with the bicycle behind the chevron piece and adhere it in place.
The rosettes were die cut from the same pink ledger card stock and adhered to the front. Below is how I make my rosettes. I use the 1' Gluber glue dots to hold the bottom of the rosette together long enough until I can turn it over and adhere the center piece with Glossy Accents. You can make multiple rosettes and they are ready to adhere with their very own glue dot on the bottom.
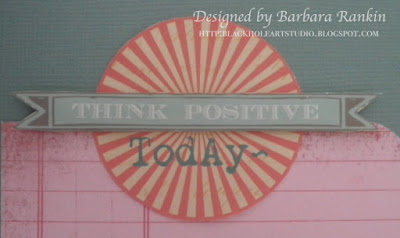
The next embellishment was cut apart from the paper, making three pieces. This enabled me to add foam tape to the THINK POSITIVE label and pop it up from the striped cirle.
I adhered it at the top of the folder, as shown. A few more flowers from my stash were added to fill in the rosette "bouquet".
I thought my bouquet needed some leaves, so I cut them from a scrap of the aqua striped paper, pinching them as shown on the left.
I added the leaves and a length of the crochet lace ribbon, as shown.
I fussy cut this sweet little bird image, also from the collage sheet in the paper collection, and adhered it to the front, as shown.
I decided to stamp "enjoy the journey" and label from the Tim Holtz Simple Sayings stamp set and adhered it to one of the pockets. This was a last minute decision, as you won't see it in the final photo after this one.
I made two pockets from a piece of map paper from the Journey pad and adhered them to the insides of the folder, as shown. I just slipped a couple of flash cards in the pockets for the picture, but your travel information and boarding passes will it in them quite nicely. You will be a very stylish traveler with this handy little folder.
Supplies Used:
Pink Paislee Daily Junque paper collection
Me&My Big Ideas Journey 5x7 Paper Pad
Bo Bunny Double Dot ledger card stock
Aqua card stock
Glubers 1" glue dots
Tim Holtz/Sizzix Mini Paper Rosettes decorative strip die
Tim Holtz/Sizzix Chevron frameworks die
Tim Holtz Simple Sayings stamp set
Paper flowers (Hobby Lobby)
Pink beads (Michaels)
Foam Tape
Ivory crochet lace
Here is the list of the participating Bloggers. Make sure to hop along and say hello!
Craft Hoarders Anonymous Blog Hop List:
Craft Hoarders Anonymous Blog Hop List:
I hope we have inspired you to join us every month and de-hoard those supplies! Don't forget, though, that we will be on hiatus for a few months and will be back in October. So, in the meantime, try to go through that stash you've been hoarding and make some fun things with it.
Thanks for stopping by, and have a wonderful and creative week, but most of all, have fun!!!
Barbara


Beautiful project! Love all the attention to detail!
ReplyDeletebeautiful, I love rosettes but never really sure how to put them into a card now you have given me an idea how to, thanks
ReplyDeleteBarbara, what a fab idea to create this travel folder! Great details and I love that bird!
ReplyDeleteVery nice and fun travel folder!!
ReplyDelete