Today I want to share a simple yet fun technique that I believe has been around for a long time, but is sometimes forgotten. It is a faux metal etching technique. This technique is a bit different from faux embossing, as the results are not raised as much as in embossing.
The first thing you need is a piece of silver glossy metallic card stock and a rubber stamp, of course.
Heat emboss image. I used detail embossing powder since my image has lots of detail, and it also is what gives the etched effect, rather than embossed.
Apply a coating of black ink, let sit for a few seconds.
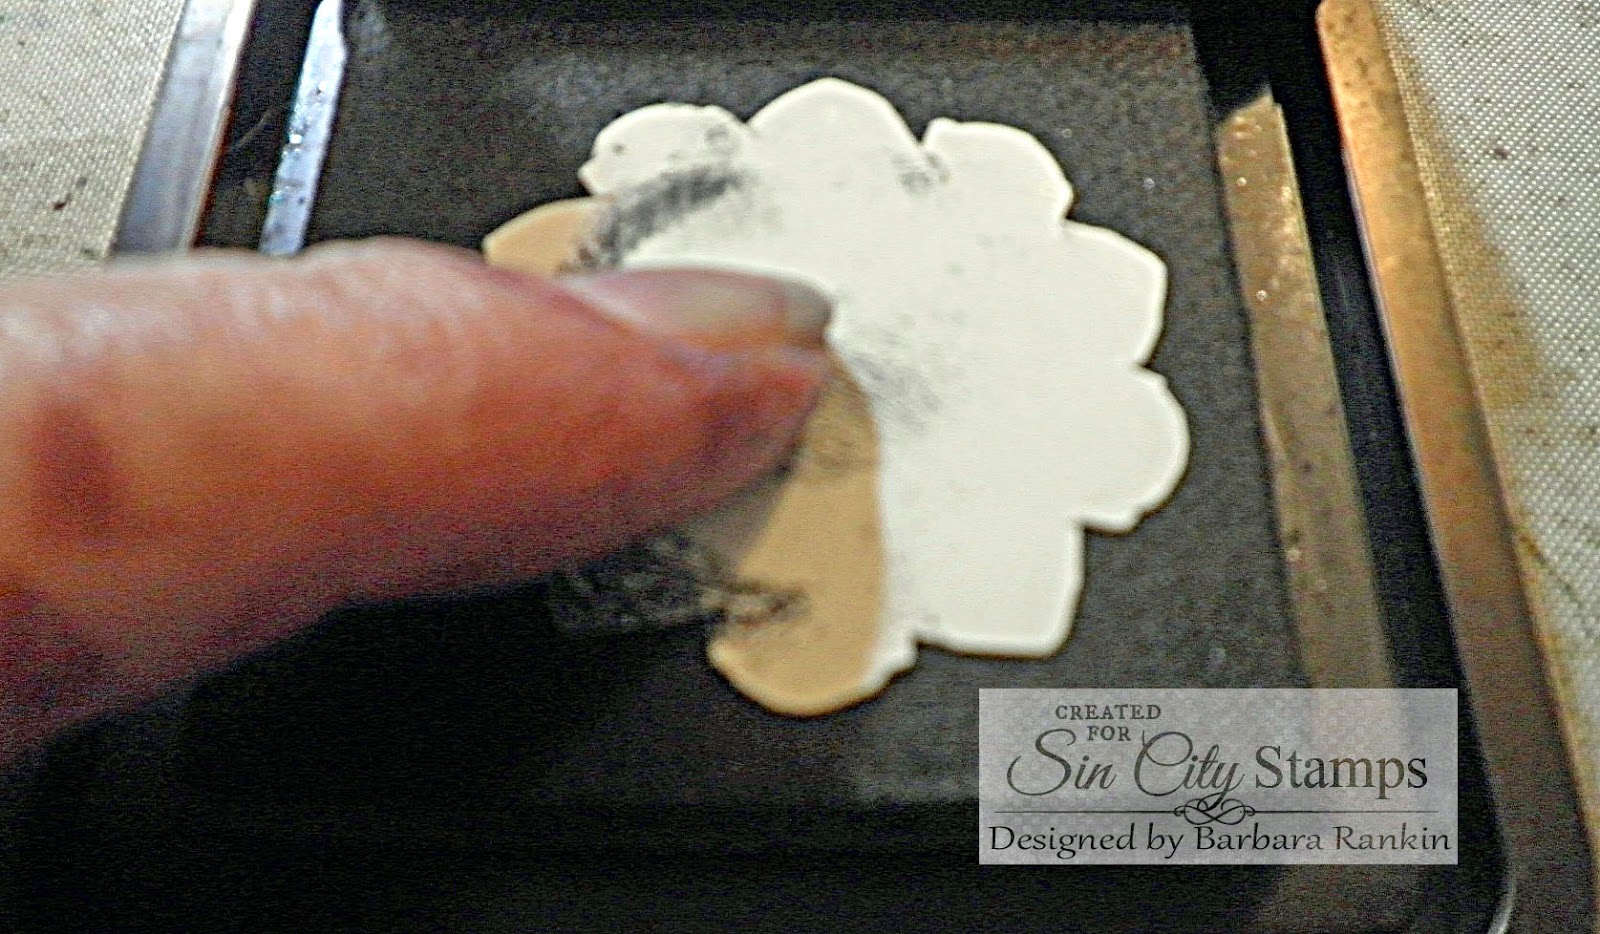
Wipe away the excess.
The ink will remain in the crevices and give depth and dimension to the image. I also like the antiqued effect from the ink.
I did a little pen work pen on the image with a Copic black to get more depth and dimension and help the image show up a little better. It sounds like a lot of work, but it was very relaxing and I probably spent no more than ten minutes doing that. I think the result was well worth it.
Trim around the image, leaving a small border and cut out around the wings. Layer onto 4" x 5-1/4" black card stock, then to 4-1/4" x 5-1/2' silver card stock.
Add metal embellishments, as shown, with Beacon 3-in-1 glue. Adhere to black pre-folded card front with foam tape for dimension.
So, next I added a wash of black fluid acrylic ink and some water, then wiped away the excess.
I got more black definition and some very cool colorations.
I trimmed the excess from the image, leaving a tiny border. Then I cut a piece of green glossy card stock to 4" x 5-1/4" and adhered the image to that layer, which was then adhered to the black card.
I stamped the three rosettes onto a scrap of copper glossy card stock with Versamark ink and detail clear embossing powder. The three furthest to the left were embossed with regular clear embossing powder, but I lost all definition from these detailed stamps. So I used detail clear embossing powder on the three to the right. Can you see the difference?
I cut those three out and pressed each one onto a brown distress ink pad to get some antiquing and definition to the embossing.I then added them to the card front, layering each with varying thicknesses of foam tape, and added black bling, as shown.
You can make this a lovely thank you card by simply stamping the "Thank You""Thank You" with black StazOn ink onto another scrap of the copper metallic card stock. Punch out with label punch and edge with a black pen. Add to upper left of card front with foam tape.
Sin City Stamps: Wing It; Rosette Hearts
Cardstock: Black, Silver Metallic Glossy, Copper Metallic Glossy, Green Metallic Glossy
VersaMark ink pad (or any embossing ink pad)
StazOn Black ink pad
Clear detail embossing powder
Heat tool
Fine Line black pen
Black swirls bling
Stampin Up Label Punch
Brown and Black distress ink
Liquitex black ink
Ranger Pitch Black alcohol ink
Blender tool with felt
Rubbing Alcohol
Black fluid acrylic ink
Beacon 3-in-1 Glue
I hope you enjoyed my project today and that I have inspired you to create something using this faux metal etching technique. Play around with your stamps, inks and paints to see what you can come up with. By the way, there are still a few more days left to get your Sin City Stamps and supplies, so stock up now.
Have a wonderful, creative week!
Barbara


Gorgeous Barb!! I love that stamp you used also!! Heading over to check things out-")
ReplyDeletethanks so much for the tut! xx