
Hi everyone! Today I am up on the Craftwell Blog with a card with a travel theme using my eBrush and stamps from our July partner, Clearsnap.

Ink the skyline rubber stamp with black archival ink and without re-inking, stamp it twice onto scrap paper and cut out with craft knife, leaving the openings in the paper to use as a stencil, as shown.

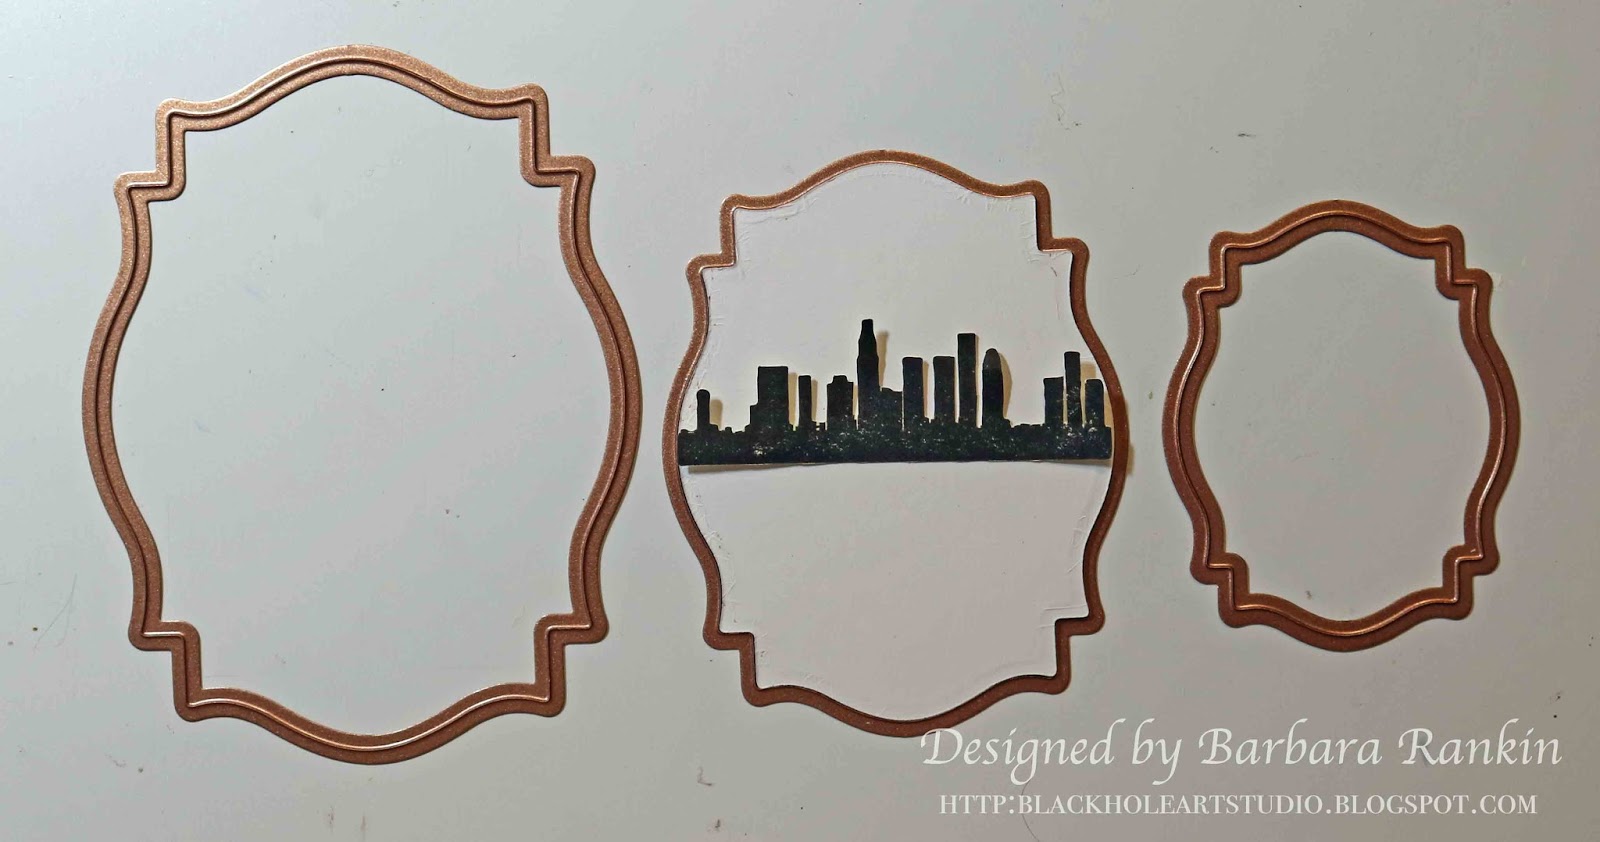
Using a die the same width as the stamp image, die cut one of the nesting labels onto glossy white card stock with the Craftwell Cut n' Boss. The middle die in the photo below will work perfectly.

Find and mark the middle of the die lightly with pencil. I like to use a ruler that has both horizontal and vertical markings to help me keep my lines straight in either direction.

Place a piece of washi tape below the pencil line and protect the bottom half with a post-it note or scrap paper.

Begin eBrushing a beautiful sunset sky on the top half of the die cut.
 |
| YR61 Yellowish Skin Pink |
 |
| YR68 Orange |
 |
| B97 Night Blue |
 |
| So far, so good! |
Remove tape and place it above the pencil line, and protect the top half with a post-it note or scrap paper. Begin eBrushing a beautiful blue river or lake on the bottom half of the die cut.

 |
| Looking good! |
Place one of the fussy cut pieces of card used to stamp on and, using it as a stencil, making sure to reverse it to match the stamped image, eBrush a dark or black marker through it. Lay the stamped skyline on the card to check for accuracy.

eBrush through the "stencil" with the W10 Warm Gray marker.

I decided I need to add a bit of yellow to my sunset, so I placed my post it note along the line again and sprayed over the orange area with Y15 Cadmium Yellow.

 |
| Better! |
I got to thinking that my stamped image was a bit speckle and not real black, so I thought why not airbrush it with my black marker.

I don't know why I hadn't thought of that sooner. Now look at that deep, dark black silhouette. This was then adhered to the second generation stamping of the skyline to give a nice, light shadow effect.

Use the larger die to die cut a piece of coordinating print paper to use as an under-layer. Edge both pieces with the Gold Shine ink pad. It really made a difference.


I made a 4-½" x 6-½" black card, cut a print slightly smaller than the front and distressed the edges. This was then adhered to the card front. I curled the corners to show off that pretty print on the back of the paper, too.
Trim a few more prints of tags, stamps, etc, from the paper and layer them onto the card front, as shown.
I used pop dots to adhere the stamped image layer, as well as using a single pop dot under the second film strip picture to give it some curl on the paper. Here is a closer look at the finished card.

Supplies Used:
Clearsnap Skyline rubber stamp (Teresa Collins)
Clearsnap pigment ink pad (Gold Shine)
Card stock - Glossy white, Black
Spellbinders Die Labels 18
Tim Holtz Film Strip die
Graphic 45 Cityscapes collection
Archival black ink
Spellbinders Die Labels 18
Tim Holtz Film Strip die
Graphic 45 Cityscapes collection
Archival black ink
Copic Markers: B97 Night Blue, YR61 Yellowish Skin Pink, YR68 Orange, Y15 Cadmium Yellow, W10 Warm Gray
There will be more fun projects featuring the Clearsnap products, so make sure to check out the Craftwell Blog all month long for more inspiration from the team.
Thanks for stopping by, and have a crafty day!

No comments:
Post a Comment