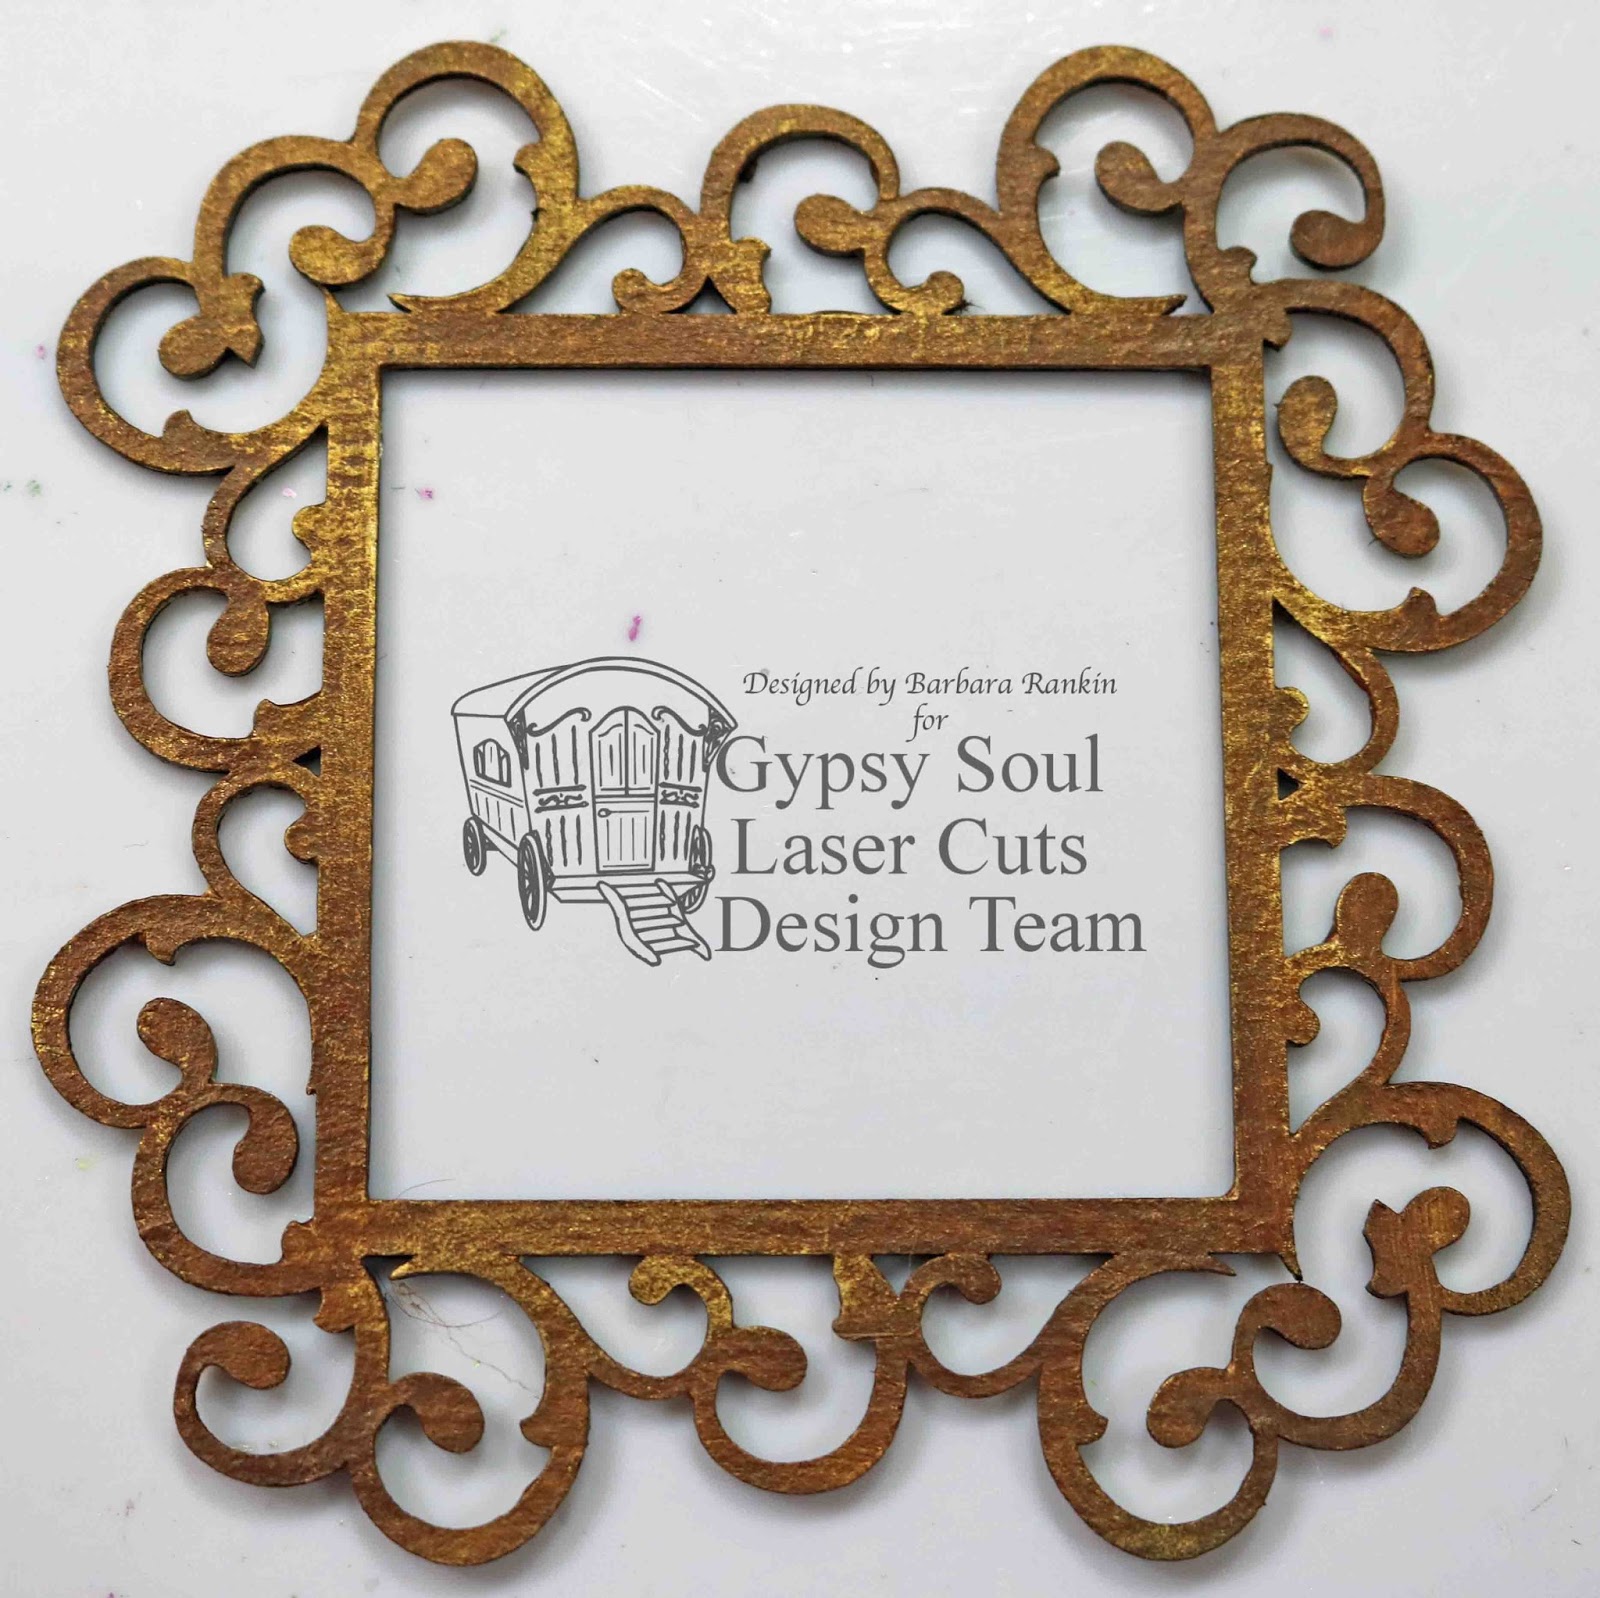
Showing posts with label Filigree Frames Shape Set. Show all posts

Thursday, November 9, 2017

Mixed Media Fall Inspired Canvas with Gypsy Soul Laser Cuts

Hi everyone!  Barbara here today on the Gypsy Soul Laser Cuts blog.  I am sharing my mixed media canvas inspired by the phrase "You Make Me Smile" chippie and this  little girl image.  I used Fall colors, as well, in keeping with the season.


Cut piece of wood planks paper from the 12x12 pad, use distress tool along edges.  Adhere to 8x10 canvas, and brush a coat of fluid matte medium over top of canvas.


Randomly spread light molding paste through stencil with spatula and let dry.


Mist canvas with Peony and Gilded Color Bloom (CB) spray mists.  Let dry.


Mist canvas with Tattered Angels (TA) Cork.  Let dry.


Next, brush on a wash of white gesso + water to blend colors and let dry.


Lay piece of chainlink chippie over canvas and mist with ColourArte Radiant Rain Autumn Leaves Mist, let dry.


Rub small amounts of Galaxy Gelato around the edge of the canvas, and on one side of the larger circles.  Use finger to blend gelato.  You can also wet your finger or use a damp baby wipe for easier blending.


Spray a clear acrylic sealer over canvas to keep water-based mediums, like the gelato and mists, from running.  Let sealer dry.  Dip paint brush into Peony CB spray mist bottle and color top half of circles.  While mist is still wet, add Odyssey gelato to center and blend with finger.  Let dry.


Draw around circles with a black watercolor pencil.  I used a Stabilio All black pencil, but use whatever you have.  Wet finger and blend pencil to add shading around circle.


Center and trace rectangular inner edge of filigree frame over collage sheet image and cut excess away. 


Use flesh colored pencils to add a bit of pink to girl's face and cheeks.


Paint "You Make Me Smile" and large rectangular Filigree Frame with rich espresso paint and flat edge of makeup sponge.


Glue frame over collage image.  


Glue inner piece of chipboard from the frame to the back for added dimension when adhered to canvas.


Brush a coat of clear crackle glaze over image; let dry.


I added random patches of the Silver Spark metallic lustre over the phrase and frame to help it stand out a bit from the background.


Adhere chipboard frame, phrase, and embellishments of your choice around frame, as shown in final photo at top of post.

Here are a few close ups of the canvas.


silver spark metallic lustre added to chipboard frame and phrase


crackle glaze over image


shading around circles with black pencil
Supplies Used:
GSL Filigree Frames Shape Set
GSL Words and Phrases 2
GSL Chainlink 8 by 8 Inch Panel
8x10 canvas panel
Chubby Cheeks Collage Sheet (Altered Pages)
DecoArt Dazzling Metallics - Rich Espresso
DecoArt Media Clear Crackle Glaze
DecoArt Metallic Lustre - Silver Spark
Altered Pages AP-302 Chubby Cheeks collage sheet
Golden Light Modeling Paste
Prima Orbs Stencil (Finnabair)
Prima Color Bloom Spray Mists
  Peony
  Gilded
ColourArte Radiant Rain Autumn Leaves Mist
Tattered Angels Glimmer Mist
  Cork
Faber-Castell Gelatos Iridescent Set
  Galaxy
  Odyssey
  Stardust
Krylon clear acrylic sealer
Aleene's Tacky Glue
Various floral and beaded embellishments

I hope you enjoyed today's mixed media canvas and that you may be inspired to make one for your own home decor or even as a gift.  Use colors to match the season or your home.

Thanks so much for stopping by, and have a beautiful Fall filled day!!!

Barbara

Thursday, February 9, 2017

Romantic Valentine's Day Cards

Hi everyone, and although a bit early, Happy Valentine's Day!  I want to share a couple of vintage Valentine's Day cards with you today.  Gypsy Soul Laser Cuts has a wonderful selection of romantic style chipboard that is just perfect for all of your card making projects, or try them in your scrapbooking too.


My first card has a lot of brown in it.  I was hoping to keep it somewhat feminine but also be appropriate for that special man in my (your) life.


I cut tan card stock to 10" x 7", folded in half to make my 5"x7" card base.  Then I cut layers of print paper from the Rossibelle paper collection, sizes shown in the photo below.


I distressed the edges of the layers with a distressing tool, then edged with brown distress ink.


The floral strip was punched with the bracket punch.


The paper pieces were all layered to the card base, as shown below.  Pieces of thin fun foam were added beneath a couple layers just to add dimension and interest.  


All chipboard pieces were first painted with white gesso.  This seals the chipboard and prepares the surface for your inks.  It will also keep the chipboard from sucking up large amounts of your ink or paint.  Use whatever inks or paints you have that match colors in your chosen paper.  The solid heart was covered with a piece of the pink print paper and the edges were sanded with an emery board.


The remaining chipboard pieces were colored with Prima ink pads, as follows:

Filigree heart frame - inked with Old Rose ink
Solid heart - covered with pink print paper, stamped with Prima 961961 and Tin Can ink, edged with Shabby Tote ink
Be Mine - inked with Vintage Pink and Turquoise Stone inks, edged with Black Coal inks
XOXO - inked with Garden Green, Olive Vine and White inks
Border lattice heart - inked with Tin Can ink


On the back of the filigree heart, I added small strips of chipboard to one side so that it would be level when I place the solid heart beneath it.  Refer to photo of finished card.


Glue the Be Mine piece to the solid heart, as shown.


Adhere the filigree heart frame, tilting it slightly over the solid heart, as shown.


Adhere the pieces to the card front, as shown.   I was not sure where I was going to place the small lattice heart until I noticed that Mine from the Be Mine piece was "floating". 


 This is where it came in handy.  I slipped it under the word so it would support it.  However, I also determined that the Tin Can color was not right, so I gessoed it again and colored it the same as I did on the XOXO piece. 


Here it is with a pretty bow attached.


The second card is super easy and quick.  


I cut a piece of pink 12"x12" card stock in half at 6", so when folded in half, it would make a 6"x6" square card.  The print paper was from Making Memories that I had in my stash, but any similar paper you have on hand would work.  


I adhered some really pretty white lace along the folded edge of the card.


Each piece of chipboard was first gessoed, as usual, and then colored with the Prima ink pads.

Border hearts - inked with Sweet Pea and Blossom Tree
A Little Romance - inked with Blossom Tree
Lips - inked with Hydrangea and Blossom Tree
Delicata Golden Glitz was used on all chipboard pieces to bring out the gold in the paper.


To bring out the gold in the paper, I decided to hit the chipboard lightly with a Gold Delicate ink pad.


Adhere chipboard pieces, as shown below.  A few flowers and die cut leaves were added below the word art.  I also added the pink ink to color the two white flowers.  


Supplies used:
Printed scrapbook papers (Prima Rossibelle, Making Memories)
Fiskars bracket edge punch
Fern leaf die (Cheery Lynn)
Prima ink pads (Sweet Pea, Hydrangea, Blossom Tree, Old Rose, Vintage Pink, Tin Can, Turquoise Stone, Black Coal, White, Garden Green, Olive Green)
Prima 961961 Peeled Paint clear stamp 
Delicate Golden Glitz ink pad
Floral Embellishments (Recollections)
Lace strip
Blue organza ribbon
White gesso
Distress edger tool
Brown distress ink

I hope you have been inspired to use some beautiful chipboard pieces in your next card making project.  It not only adds dimension to your background, but not so much that it cannot be mailed.

Thanks so much for stopping by, and have a wonderful, crafty day!

Barbara

Thursday, May 5, 2016

Display Stand and Card with Gypsy Soul Laser Cuts

Hello everyone!  I have a project to share today that I know you will enjoy, and most likely NEED!  What am I talking about?  Well, it is this nifty little thing called a display stand by Gypsy Soul Laser Cuts.  

As a matter of fact, you may want two, three, four, or more of these to use to display your artwork.  Or how about decorating it and leaving it flat for mailing with your card?  They can insert the sides into the bottom and, because these are made so accurately, the pieces fit together quite tight.  Then, they can display the beautiful card you sent them for all to see!


Let me show you how easy it is to put together.  I chose to keep it simple so it would look great without taking away from the art being displayed.

These are the chipboard pieces with the print paper I have chosen to cover it.


Turn the paper over and trace around the pieces.  Since this particular paper has a direction, i.e., script, you will need to be sure to keep the writing going up  for best results.


Cut out each piece, as shown.  I like to lay it all out before I adhere the papers so I get that script going in the correct direction.


When covering the base, do one side first, then be sure to cut out the holes for fitting the side pieces before covering the other side.  Otherwise, you won't be able to find them.  


Here are a few of the tools I like to use when adhering paper to my chipboard. You can get nice, smooth edges on every piece by first using the craft knife to trim excess paper and cut out around the holes.  Then the emery board works quite nicely for smoothing the edges.  I use a couple of thin metal files to get into tight spots, like the holes, to ensure my "dovetails" will fit nice and tight.


Before gluing the pieces together, I inked the edges with a brown chalk ink.  I find that the chalk ink works better than distress ink for this purpose.


Glue the sides to the base to finish it off.


Now let's work on some art to display.  I thought a simple card would be a nice beginning.  I chose the square Filigree Frame to fit over a piece of art I found in my stash.  I painted it with black chalk paint.


Paint over the black with an iridescent gold acrylic paint for an aged look.


Dry brush burnt umber acrylic paint over the frame for an even more aged look, and to make it better match the colors in my paper.


Choose a stackable label to fit the size of the happy birthday stamp.  Treat the pieces the same way as the frame, but on the top part of the label, leave it gold so the stamping will show up better.  Stamp happy birthday with black archival ink.


Cut card stock and layering paper to A2 (4-1/4" x 5-1/2") size.  These are the pieces used for my card.


Put it all together and there you have a beautiful, finished card.


Supplies used:

Display Stand (coming soon)
Filigree Frames Shape Set
Stackable Labels Shape Set
Acrylic paints
Black archival ink pad
Brown chalk ink pad
Emery board
Craft knife
Metal files
White glue

I hope you enjoyed this fun little project today, and get yourself a bunch of these Display Stands to showcase all kinds of art work, or to give as gifts.  

Thanks for stopping by, and have a wonderful, creative weekend!

Barbara