Showing posts with label Halloween card. Show all posts

Wednesday, October 29, 2014

Only One Way In and One Way Out - Smeared and Smudged 31 Days of Halloween 2014 Blog Hop- Day 29

Welcome to Day 29 of the 31 Days of Halloween Blog Hop. Not too much longer before the big day!!!  As you know by now, I am participating in this month-long blog hop with some extremely talented artists.  The complete list of Wicked Bloggers (that's what we are called) are in my side bar.  There are lots of prizes in the daily scavenger hunt, and a Grand Prize worth over $300.

To see all of the rules and regulations for 31 Days of Halloween 2014, please visit THIS POST.

To see Scavenger Hunt winners from previous days, please visit THIS PAGE

I used this same stamp on a previous post in a different way.  This time, I made doors that open using it.  You have to wait til the end to see what awaits inside!  There's only one way in, and only one way out!!!

Cut orchid card stock to 7" x 10", fold in half to make a 5" x 7" card.

Trim blue Iron Works print paper from Provo Craft Slab XI to slightly smaller than card front.

Stamp flourish grid twice onto white card stock.  I used VersaFine black ink and silver embossing powder.  I wanted the two colors to mix when I heated the EP, so it would look like weathered iron.  The bottom half, or doors, only need to be stamped a second time.
Add tabs to one of the door pieces, as shown in the photo below.
Cut the door pieces out and use the door piece without flaps to measure an opening on your top layer of printed card stock.  These two pieces are just laying on the paper for me to gauge where to trace around the doors.
Cut out opening in the blue Iron Works print paper, as shown.
Score along the tabbed edges.  Center and adhere second door piece, making sure they both go in the same direction.  Ink edges with Faber-Castell Black Big Brush Art Pen.
Blend Rusty Hinge, Gathered Twigs, and Salty Ocean on both sides of door pieces.  Color the half circle door topper the same way and set aside.
Cut through the center of both pieces to form the door.
Stamp Urban Grunge image onto white card stock with Spiced Chai StazOn ink and trim.
Use an ink blusher to apply Radiant Neon ink in Electric Orange and Electric Yellow, blending the two colors where they meet.
Align the image through the window opening and adhere to the reverse side of the blue print paper.  Adhere only the top and bottom of the image to the frame.  Leave the left and right sides open so you can slip the tabbed doors through in the following steps.
Slip each tabbed door through the opening and adhere, ensuring you have not covered up the score line.  You want the doors to be able to open freely.  The picture below shows the left door being inserted into the opening.
 Here, both doors are inserted and adhered, one door open for your to see.
 
Stamp long border twice from the Metal Madness stamp set onto white card stock with Black StazOn ink.  Color blend with Gathered Twigs.  Trim to size, edge with  Faber-Castell Black Big Brush Art Pen and adhere over door.  Add door topper on top of that piece.  I later added the second stamped border to the bottom of the door to "ground" it so it did not look like it was floating.
 I added a couple of tiny metal stickers to the doors for door knobs.
 I used the shatter stencil in both top corners and sponged some brown and black soot ink through it.  To bring out the webs a bit more, I added a white charcoal pencil to the web lines.
 I stamped "One Way" from the Urban Grunge stamp set with Emerald StazOn ink onto white card stock, then punch with a decorative label punch.  Adding some more of the Radiant Neon ink in Electric Orange and Electric Yellow again gave it that look, and edged with a bit of  brown distress ink.  Pop dotted the label for dimension.
 
 I added a couple of dimensional spider stickers to the web and beneath the One Way sign.
 I felt it needed a tad bit more embellishing, so I die cut these black roses from black glitter card stock with a Cuttlebug die and added them to each side of the doors.
 And here is the scene you see when you open the doors.  If your a a fan of "The Walking Dead", this barbed wire fence with black birds flying overhead, waiting to see if it is safe to go eat some of the rotting flesh below, is what I was thinking when I saw this stamp image. Not a pretty sight when you think of it that way.  Bwaaaahaaahaaaa!


Supplies:

Sin City Stamps Metal Madness and Urban Grunge stamp sets
Hero Arts Flourish Grids 4x6 clea stamp
Card stock:  Orchid, white, black glitter, print paper from Slab XI
Mark Richards 5mm Nailheads stickers (Black Nickel)
Distress inks:  Black Soot, Gathered Twigs, Rusty Hinge, Salty Ocean
Sakura White Gelly Roll Pen
Tim Holtz Shatter stencil
IMAGINE Crafts/Tsukineko:  Black StazOn, Spiced Chai StazOn, Emerald StazOn, Radiant Neon Electric Orange and Electric Yellow, Ink Blushers, Black VersaFine
Silver embossing powder
Embellishments: 3D Spiders (Recollections)
Cuttlebug 2x6 dies:  Poppies and Honeycomb set
Label Punch (Stampin Up)

Thanks for sticking with me through another long post, but I hope you enjoyed it and that maybe I have inspired you to play and look at what you have in different ways.

Only a few days left til Halloween, so have a wonderful week and hope to see you til the end!

Barbara Rankin


Tuesday, October 28, 2014

Smeared and Smudged 31 Days of Halloween 2014 Blog Hop- Day 28

Welcome to Day 28 of the 31 Days of Halloween Blog Hop. As you know by now, I am participating in this month-long blog hop with some extremely talented artists.  The complete list of Wicked Bloggers (that's what we are called) are in my side bar.  There are lots of prizes in the daily scavenger hunt, and a Grand Prize worth over $300.

To see all of the rules and regulations for 31 Days of Halloween 2014, please visit THIS POST.

To see Scavenger Hunt winners from previous days, please visit THIS PAGE

I've been dying, simply dying, (he he) to use my Vampiress stamp, and here she is.  She looks like such a tease, but beware of those teeth ... she does BITE!
I started with a 5"x7" kraft card base, so I die cut the two printed papers from a 6x6 My Mind's Eye paper pad using the Enchanted Labels die.  I stamped my vampiress onto a piece of white card stock and colored her with Derwent Inktense Pencils, blending with a water brush.  Then I fussy cut her out.
I punched two sizes of daisies from another piece of the 6x6 blue print paper.  I punched the entire sheet.
I very lightly misted my daisies and crinkled the ends, giving each petal a good pinch and twist to make them look really shabby.  I gently cupped each one with my large ended ball stylus on a foam sheet.  Let the flowers dry, and they become quite stiff.  
I free-hand cut out some leaves from another green print paper, misted and folded each in half, gave a bit of a pinch and twist at the bottom, and allowed these to dry also.  I trimmed the excess off as needed.
I made this cute little flag with a toothpick that I gilded with my Krylon gold leaf pen.  I stamped "One Scary Night..." from the Sin City Stamps set onto the reverse (blue) side of the orange dot paper with black ink, and cut out into a flag shape.  I decided where I wanted to place my toothpick and folded the paper, as shown.  The excess paper (dotted parts) shown in the photo was trimmed off and then glued to the toothpick.
I punched two bats from graveyard black paper, formed them with my stylus, and misted them with the Black Magic glimmer mist.
Here is a close-up of the flowers and leaves I made, and some Stickles glitter glue was added.
Another close-up of the two bats. I gave them eyes with a dot of Apple Green Smooch accent ink.
And last, the flag, which I inserted into the bouquet of flowers.

Supplies:

Rubber Stamps:  Sin City Stamps Halloween Takes Flight (One Scary Night); Enchantment by Debbi Moore Designs (Vampiress)
My Mind's Eye 6x6 paper pad - Butterfly
5x7 kraft card (pre-folded)
Spellbinders die: 5x7 Enchanted Labels 28
1" and 1-3/8" Daisy Punches (Paper Studio)
Stickles glitter glue: Eucalyptus, Crystal
Tattered Angels Black Magic Glimmer Mist
Derwent Inktense Pencils
Fiskars corner edgers - Nostalgia


I hope you enjoyed my ""steamy hot" vampiress card today.  Have a wonderful week, and enjoy the rest of the hop!

Barbara Rankin

Monday, October 20, 2014

Smeared and Smudged 31 Days of Halloween 2014 Blog Hop- Day 20

Welcome to Day 20 of the 31 Days of Halloween Blog Hop. As you know by now, I am participating in this month-long blog hop with some extremely talented artists.  The complete list of Wicked Bloggers (that's what we are called) are in my side bar.  There are lots of prizes in the daily scavenger hunt, and a Grand Prize worth over $300.

To see all of the rules and regulations for 31 Days of Halloween 2014, please visit THIS POST.

To see Scavenger Hunt winners from previous days, please visit THIS PAGE

I made another Halloween card using my Martha Stewart Vampire stamp set.  I sure am getting a lot of mileage from this little set.  That always makes me happy when I feel like I can get my money's worth.


I started with a black 5" x 6-1/2" pre-folded black card.  

Next, trim orange print paper from the Momenta Halloween pad just slightly smaller than the card.

The paper has a slightly darker outer edge all around, but when you cut it to size, you lose two edges.  That happens a lot when trying to use the larger papers to make a card.  I lucked out this time, as you will see in the following steps.

I first stamped all of my images from the Vampire set with black StazOn, i.e., the fence, birds, bags, and corner web.  I had preplanned where I wanted my focal image to be before doing all that stamping.  
Next, I stamped the row of tomb stones with VersaFine Smokey Grey ink at the bottom of the card, but I needed to stamp it once more to deepen the color.  Fortunately, these are clear stamps, which made it very easy to do.

To make the cut paper edges match the uncut edges, I sponged more Smokey Grey ink around the top and right edges, and used the blood drops from the set to add similar grungy effects.  
blood drops from Vampire set
I did this by inking up with black StazOn, inking off once and then stamping onto the edge randomly.  I think it turned out pretty well, don't you?  I can hardly tell it wasn't there in the first place. 

For the focal image, I die cut the witch from espresso glitter card stock.  

Next, die cut largest circle from mirrored card stock.  Remove protective film and dab Orange Zest ink pad over circle.  Let dry.
Dab Antique Linen distress paint over circle for moon craters.
After it dried, I adhered to the center of the card, adhered my die cut witch and added "O 'Hallows Eve" that I cut from a scrap of the MME Haunted paper below that.

One last thing was needed, so I used my black Pico embellisher to highlight the corner web and spider.  I love how it makes it pop!

Supplies:

Card Stock:  Black, Memento Halloween 12x12 paper pad, Recollections Espresso glitter card stock
Martha Stewart Vampire clear stamp set
IMAGINE Crafts/Tsukineko:  Orange Zest, Black StazOn midi ink pads; Versafine Smokey Grey ink pad; Irresistible Tuxedo Black Pico Embellisher; 
Tim Holtz:  Mirrored card stock; Antique Linen distress paint; 
Sizzix dies:  Circles, Bewitching Hour 

I hope you enjoyed my bewitching card today.  Thanks for stopping by, and remember to leave a comment for your chance to win that Grand Prize!!!

Barbara Rankin


Friday, October 17, 2014

Sin City Stamps, Gelli Plates, and 31 Days of Halloween, Oh My!!

Welcome to Day 17 of the 31 Days of Halloween Blog Hop. I am also posting this for the Sin City Stamps design team blog.  As you know by now, I am participating in this month-long blog hop with some extremely talented artists.  The complete list of Wicked Bloggers (that's what we are called) are in my side bar.  There are lots of prizes in the daily scavenger hunt, and a Grand Prize worth over $300.

To see all of the rules and regulations for 31 Days of Halloween 2014, please visit THIS POST.

To see Scavenger Hunt winners from previous days, please visit THIS PAGE

Today's project is a very colorful and a bit creepy card that I made using my Gelli Arts printing plate for a background.
While playing around with my gelli plate, I also made this same or similar background on a different color card stock to see what the difference would be.  Then I couldn't help myself.  I had to turn it into a  tag, or a card to slip into a pocket, or even used as a focal point on a card.  

I have prepared a bit of a tutorial for you using Snapguide.  All you have to do is click START THE GUIDE for complete instructions.

Check out How to Use a Gelli Printing Plate for Card Making by Barbara Rankin on Snapguide.

Supplies:

Sin City Stamps:  Urban Grunge stamp plate; Clockworks Inspired by Terri Sproul stamp plate; Metal Madness stamp plate; Entangled stencil; Honeycomb chipboard pieces
Gelli Arts:  5x7 gelli printing plate
5" x 7" pre-folded kraft card
MME Haunted 12x12 paper pad
Card stock:  Orchid, black, kraft
Ink Pads:  Versamark, white pigment, dark brown chalk ink,
Distress stains:  Spiced Marmalade, Mustard Seed, Peeled Paint, Shabby Shutters
Black distress glitter
Lime Green Stickles
Black lace ribbon
White gel pen
Clear acrylic squares (1" and 1/2") (from my stash)
Momenta wooden tickets
Detail white embossing powder
Glimmer Mists:  Dewberry, Olive Vine, Bittersweet

I hope you enjoyed my gelli printing plate project today, and that I have inspired you with all of the great products available at Sin City Stamps.  I also hope that you are enjoying the hop and gaining lots of inspiration from everyone!

Thanks for stopping by!

Barbara Rankin

Wednesday, October 15, 2014

Smeared and Smudged 31 Days of Halloween 2014 Blog Hop- Day 15

Welcome to Day 15 of the 31 Days of Halloween Blog Hop. As you know by now, I am participating in this month-long blog hop with some extremely talented artists.  The complete list of Wicked Bloggers (that's what we are called) are in my side bar.  There are lots of prizes in the daily scavenger hunt, and a Grand Prize worth over $300.

To see all of the rules and regulations for 31 Days of Halloween 2014, please visit THIS POST.

To see Scavenger Hunt winners from previous days, please visit THIS PAGE

I have another Halloween card for you today.  As I said, I love making cards, and even better, the focal image is sized just right for an Artist Trading Card, if you are a collector of ATCs. 

Trim black card stock to 4-1/4" x 5-1/2", fold in half to make top-folded card.

Stamp image with Black StazOn onto white card.  Adhere 1-¼" circle punch from a post it note to mask the moon area.  Apply Antique Linen over entire piece.
Apply Rusty Hinge over entire piece, keeping it darker around the edges, and lighter as you move toward the center.
Apply Black Soot around the edges, again keeping it darker around the edges and lighter in the middle.
Trim MME green herringbone paper from Butterfly pad to 3-1/2" x 4-3/4", edge with black soot and adhere to card front., then add 2-3/4" x 3-3/4" black magic card stock layer.  Scruff up paper edges with sandpaper or emery board.
Trim stamped image to size and adhere to black layer with fun foam or pop dots.
Trim second strip of paper from the green herringbone paper to 1/2" x 4-1/4".  Ink SCS border with Spiced Chai StazOn midi and turn paper over to stamp on reverse (solid green) side.  (TIP: Instead of trying to line up the strip of paper by stamping onto it, I laid the strip on top of my stamp.)
Adhere strip to card base, as shown.
Using the Tuxedo Black Pico Embellisher, highlight the prominent portions of the tree. This really brings the tree image forward and makes it "pop".
Cut orange "31" and black bat from both dies listed.  Add Rusty Hinge to "31" to make the orange card stock coordinate better with the focal image.

Add Smooch Pumpkin accent ink around edge of numbers.
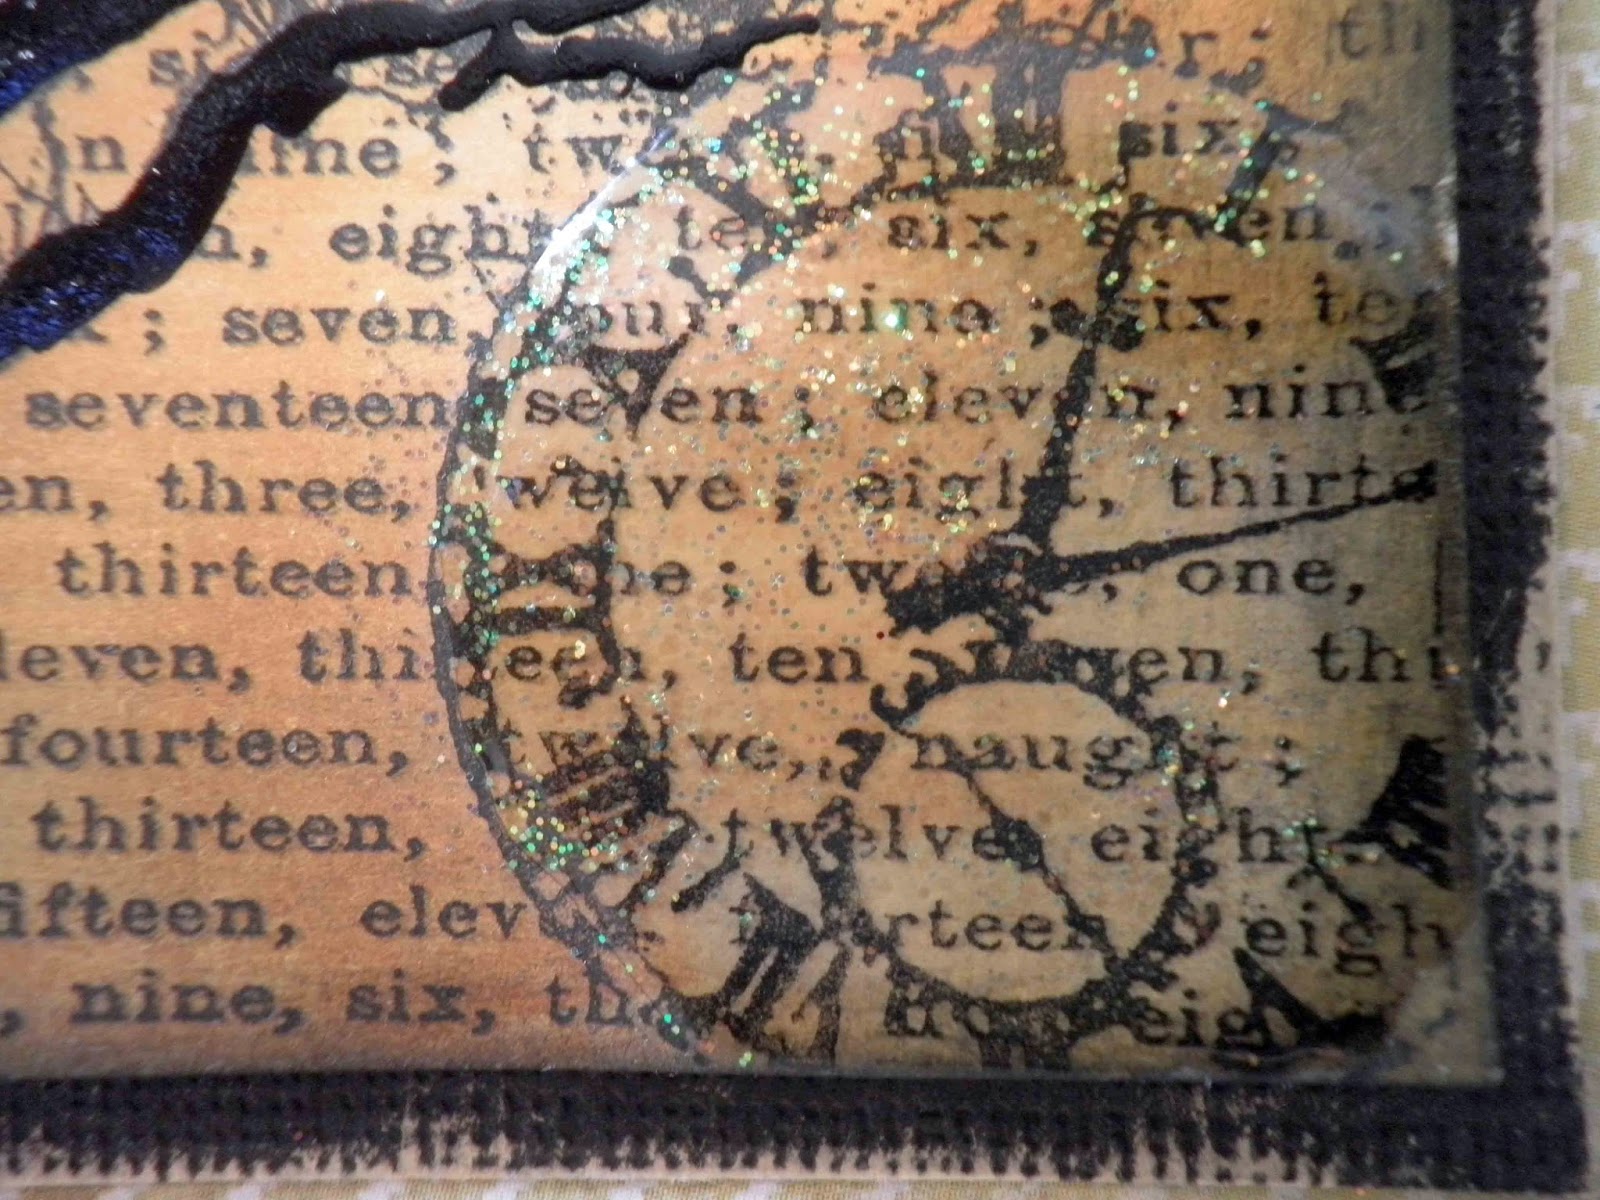
Add Smooch Green Apple accent ink for eyes to bat, then add 3D Crystal Lacquer over bat and the clock on the focal image.
While the lacquer is still wet, sprinkle very lightly with the Blue Water glitter.  All to dry.
Add these embellishments to card front, as shown in finished photo above.

Here is a pic of the products used to embellish those die cut pieces.
Supplies:

Card stock:  Black, Black Magic Core-dinations, White
MME Butterfly 6x6 paper pad
Sin City Stamps Metal Madness stamp plate
Stampers Anonymous/Tim Holtz P4-1295 rubber stamp
IMAGINATION Crafts/Tsukineko:  Jet Black StazOn and Spiced Chai midi ink pads
Distress Ink Pads:  Antique Linen, Rusty Hinge, Black Soot
Sizzix/Tim Holtz Movers & Shapers dies:  Mini Spider & 31; Mini Bat & Skull set
Colorbox Smooch Accent Inks: Pumpkin; Green Apple
Art Institute Blue Water fine glitter
3D Crystal Lacquer

Please be sure to visit each blog listed in the side bar and leave comments for chances to win the big prize at the end of the month, and look for the Scavenger Hunt prizes each day.

Thanks for stopping by.

Barbara Rankin