Showing posts with label Garden Fairies. Show all posts

Thursday, September 8, 2016

Tiny Fairyland Theatre with Gypsy Soul Laser Cuts and Prima

Hi everyone!  Barbara here today on the Gypsy Soul Laser Cuts blog.  Today I want to share this sweet  Tiny Matchbox Theatre, another new item from GSL.  Wait til you see what can be done with these little boxes.


These are the two pieces to make this cute little box.


I glued the two pieces together, but left the flap on the inner box unglued.


I covered the outer "box cover" with a piece of the flower print paper.  In order to allow this piece to slide easily over the "inner box", I left the chipboard bare on the inside.  Next, I chose my chippies to use on the cover ...


... and painted them with a beige chalk paint.


I next cut a piece of print paper to fit inside the inner box and chose my chippies to use on the inside. These pieces were also painted with the beige chalk paint.


I used Twinkling H20s to color all of my chipboard pieces.


I simply added some Platinum Stickles over the Victorian Corners, and Star Dust Stickles was added to the wings on both fairies.


Waterfall Stickles was added over the water colors on the star, and more Star Dust Stickles was added over the mushroom top.


I painted the inner box with the beige chalk paint, then added some texture by dabbing some of the H20 water colors over the background.  


Next, I used a damp baby wipe to blend out some of the darker colors.  As you can see, I left the top flap open so I can insert my pieces when I get it put together.


Glue your pieces to the top of the outer box, as shown.


Glue the remaining pieces to the background paper for the inner box, as shown.  Trim off any excess chip board, as needed.


Slip the background paper inside the inner box and close it.  You can decide whether or not to glue the lid closed,  but if you choose not to, you can always open it and change out the background paper and chippies to suit any occasion.  Better yet, you could make multiple "cards" to keep inside the box.  That would be super fun!


At this point, you can also add more tiny embellishments, if you wish, like tiny flowers, bits of lace, glass glitter, beads, charms, the possibilities are  endless.

Supplies used:

GSL Tiny Matchbox Theatre (coming soon)
GSL Garden Fairies Small
GSL Victorian Corners 1
GSL Celestial Shape Set (star)
GSL Mushrooms Shape Set

ColourArte Twinkling H20s
  (Natural Linen, Almond Beige, Ruby Red, Black Cherry, Key Lime, Blue Grass)
Prima Fairy Belle 6x6 paper pad
Americana Timeless chalk paint
Stickles Glitter Glue (Star Dust, Platinum, Waterfall)

I hope you enjoyed this project today, and be sure to stop by the Gypsy Soul Laser Cuts shop to see more new and exciting chipboard available.

Thanks for stopping by, and have a wonderful, creative day!

Barbara

Thursday, March 3, 2016

Fairy Garden House

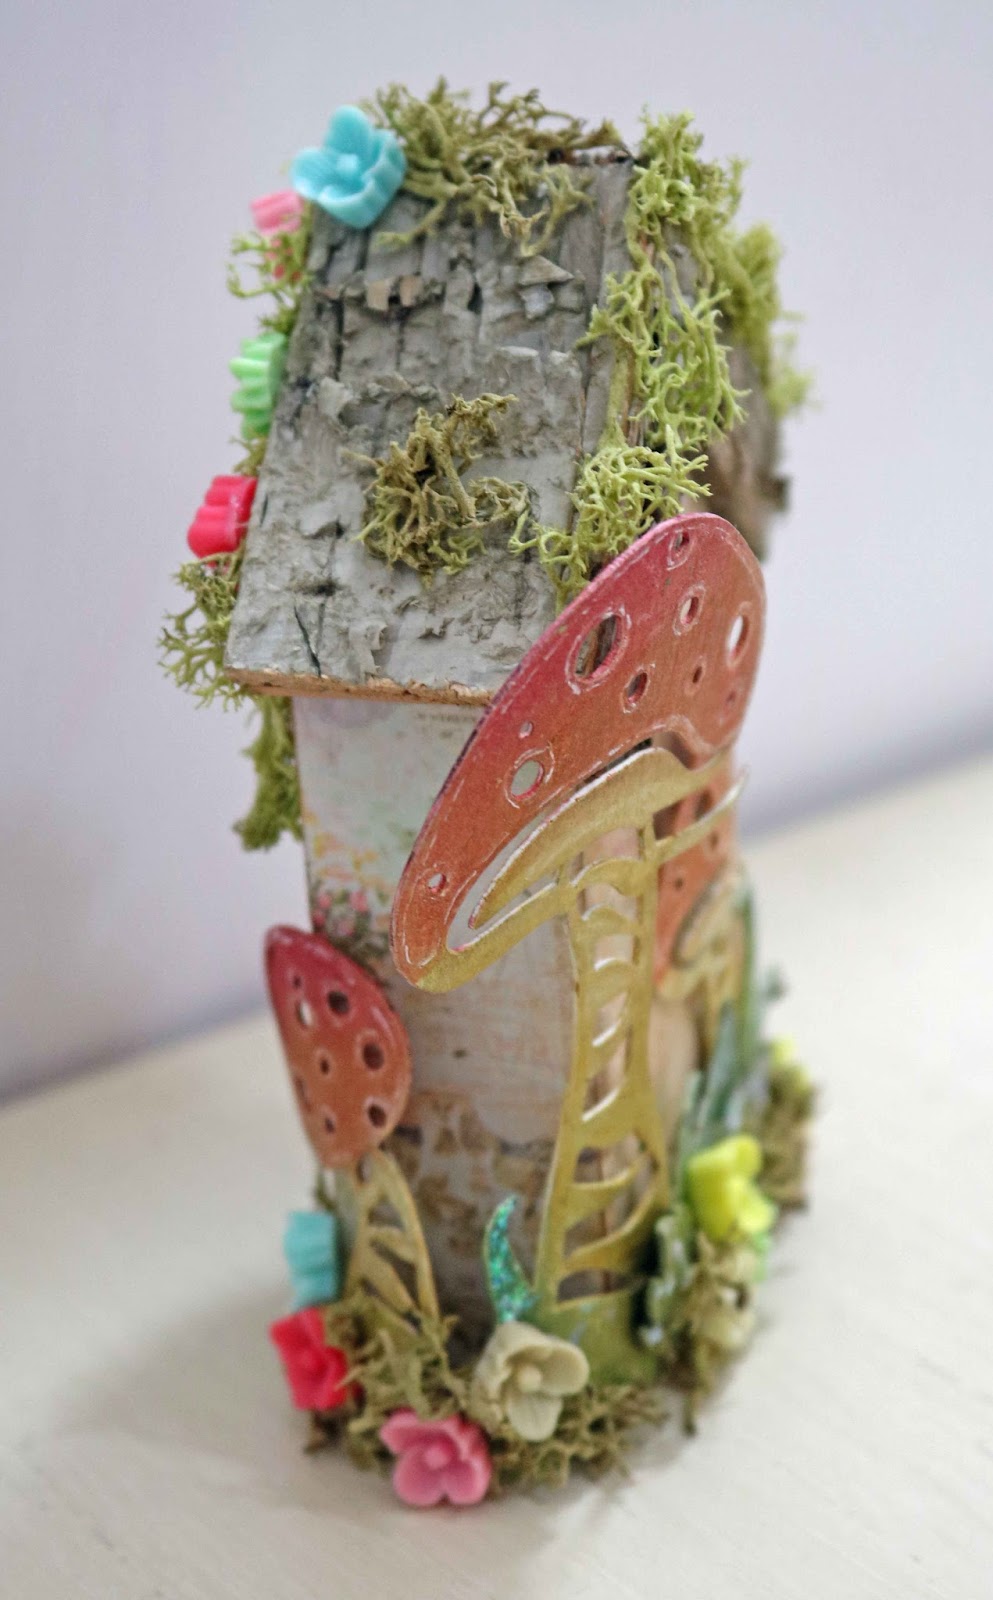
Hey there everyone!  Barbara here with my third in the series of mini house shadow boxes by Gypsy Soul Laser Cuts.  Today's project is a Mushroom Fairy Garden House.  I had so much fun making this one.  I hope you like it.  To see my previous mini house shadow box, please click here.


As always, I start out by laying out my pieces so I can see clearly how to glue them together.


Paint box inside and out with flesh tint acrylic paint, or color that matches your paper.  Then cover box, inside and out, with Prima Fairy Rhymes paper.  The roof was covered with natural birch bark strips.  


I painted the mushrooms with white gesso first, then began the coloring process with Caran'dache NeoColor II water soluble crayons.  I did not color all of these, but I was not sure which ones I would use for my fairy garden until I got started.  I used a white gel pen to do a little pen work on the mushroom heads, an idea I borrowed from my good friend and fellow team mate, Pam Bray.  


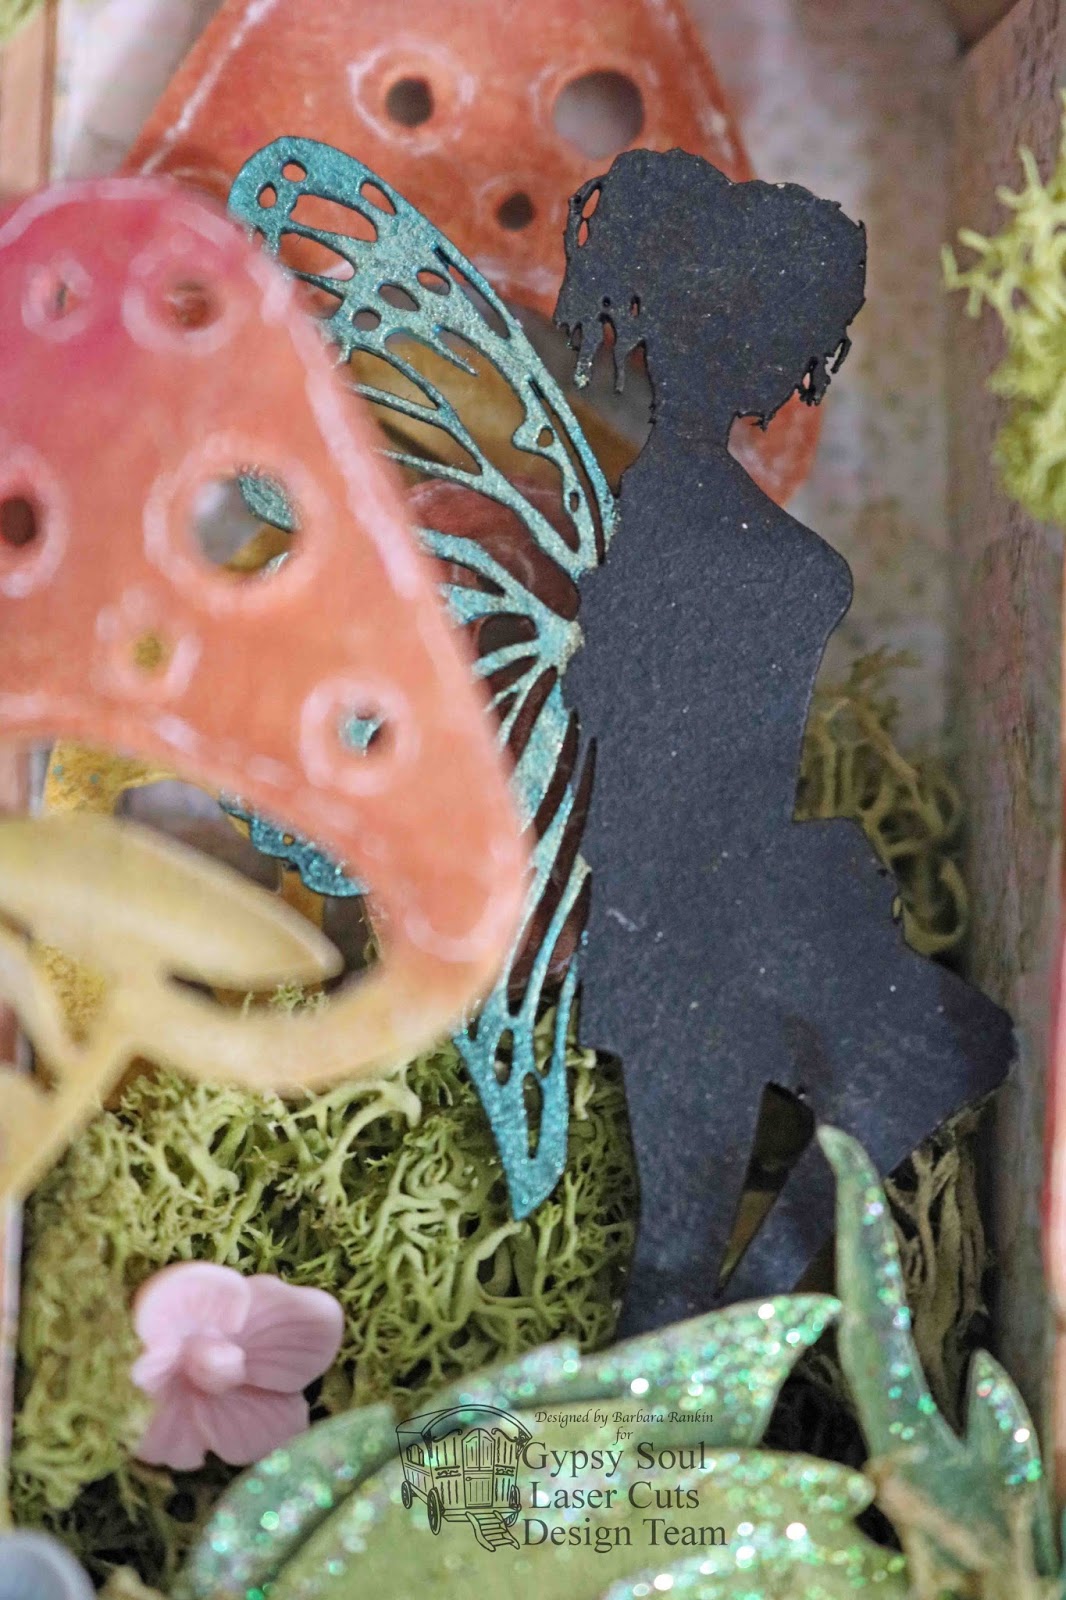
Paint the fairy with black acrylic paint, including the wings.  Then color the wings with Pearl-Ex watercolors in a blue interference color, then add a bit of green interference color, as shown.  The interference colors only show up really well on a black or dark surface.


Using foam dots in varying levels, I adhered the two mushrooms inside the box, as shown.  Reindeer moss was added as garden filler.


Foam dots were placed beneath the fairy to raise her up and glued at her knee and foot.  You can see where the glue is still wet on her foot.  


The largest strip of mushrooms (colored in the photo above) was wrapped around the base of the house and glued to the front and back bottom only.    Use fingers to shape and bend the mushroom base and the mushrooms themselves.  

Tiny resin flowers and bits of reindeer moss were adhered along the base and the roof, as shown.

Crystal glitter glue was added to the leaves for extra magical sparkle.

Here are a few close ups from different view points of my magical fairy garden.


Supplies:

Mini House Shadow Box 4
Mushrooms Shape Set
Garden Fairies Medium (pre-order)

White gesso
Black gesso
Prima Fairy Rhymes paper
Prima resin flowers
Natural birch bark strips
White gel pen
Reindeer moss
Pearl-Ex Interference watercolors
Water brush
Tea Dye distress ink (for edging the paper)
Crystal stickles

I hope you are enjoying my series of mini house shadowboxes from Gypsy Soul Laser Cuts.  I plan on displaying these in my studio for inspiration, and I hope that perhaps I have inspired you in some small way, too.

Thanks for stopping by, and have a crafty week!

Barbara