Showing posts with label Sabor Papel. Show all posts

Thursday, May 26, 2016

Pillow Boxes with Sabor Papel and Craftwell USA eBrush

Hello everyone!  Barbara here today with another fun project using my amazing CraftwellUSA eBrush!   We are using Sabor Papel papers and embellishments, along with our eBrush, this month.  What a great combination!  So, let's play!

These papers make me feel like a party!  So, I made a couple of pillow box style favor boxes that would make be a real treat for any party!  If you look at them, though, you can also turn these into the front of a card, too!


I cut out the pillow box shape from white card stock, as shown, using my Silhouette electronic cutting machine, but there are templates all over the internet.  Just google "pillow box template" to find them.


Now, the really interesting, and fun, thing about the eBrush is that you can make your own background papers to match anything in your craft stash.  In this instance, I want to show you how easy it is.  I chose this chevron stencil to start, and I used the B24 Sky marker to add a light coat of color.


Next, I eBrushed the Y35 Maize lightly over the background.  I was not going for full coverage.


Next,  random splotches of YR68 Orange were added.


Add more random splotches of V09 Violet.


Move the stencil to cover the color sprayed areas, revealing the white spaces.  eBrush the G05 Emerald Green onto those areas, giving full coverage.


Remove the stencil and here is what the background looks like now.


Now, cover the paper with the large circles stencil and eBrush with the B95 Light Grayish Cobalt.


The layering of the colors gives such a nice depth to the background.


Open the pillow box, align the stencil and continue eBrushing the opposite side.


Here is the finished background for your pillow box.


Cut out some flowers from Amor Ramitos paper and the guitar with flowers from Olé Burrito paper.


I adhered the guitar with flowers over an orange doily.  The fussy cut flowers were added with pop dots for dimension.  I also fussy cut the Mi Fiesta banner and adhered it to the front.  The music note is a die cut embellishment that I added with a pop dot, too.


The second pillow box was decorated exactly the same as the first.  A purple and pink banner were fussy cut from the Papel Picado paper, and the heart with flowers was fussy cut from the Amor Enamorado paper.  


I used the Teresa Collins TODAY Project Dies to die cut the "remember in rectangle" from the reverse side of the Olé Burrito paper.


Each piece was adhered to the front of the pillow box, over a blue doily, as shown.  The candle is a die cut embellishment.


Supplies used:

Copic Markers: B24 Sky, B95 Light Grayish Cobalt, G05 Emerald Green, Y35 Maize, YR68 Orange, V09 Violet
White card stock
Doilies

I hope you are enjoying the projects this month with Sabor Papel.  Be sure to stop by the Craftwell blog for more inspiration from the team.

Thanks for stopping by, and have a wonderful, creative day!


Thursday, May 19, 2016

Festive Lantern with Sabor and CraftwellUSA eBrush

Hello everyone!  The Craftwell USA eBrush design team is still working with the beautiful Sabor Papel papers this month.  We just participated in a Cinco de Mayo blog hop with them, and if you missed it, you can find more inspiration by clicking here.   

However,  my project for today is a 3D festive lantern that would be suitable for any party or occasion.


The Sabor paper collections are quite beautiful, as you can see.  I die cut the lantern pieces in white card stock first to get an idea of how it goes together.  That way, I hoped I would not make any mistakes when cutting out my gorgeous papers.


So, when you are comfortable with the assembly, simply follow the directions given.  Below are the two pieces of the lantern.  Cut two pieces of vellum to fit behind the openings and adhere to the inside of the lantern.  The lantern comes apart so you can put a battery-operated candle inside.  DO NOT use a real tea light candle, only the battery-operated type should be used.


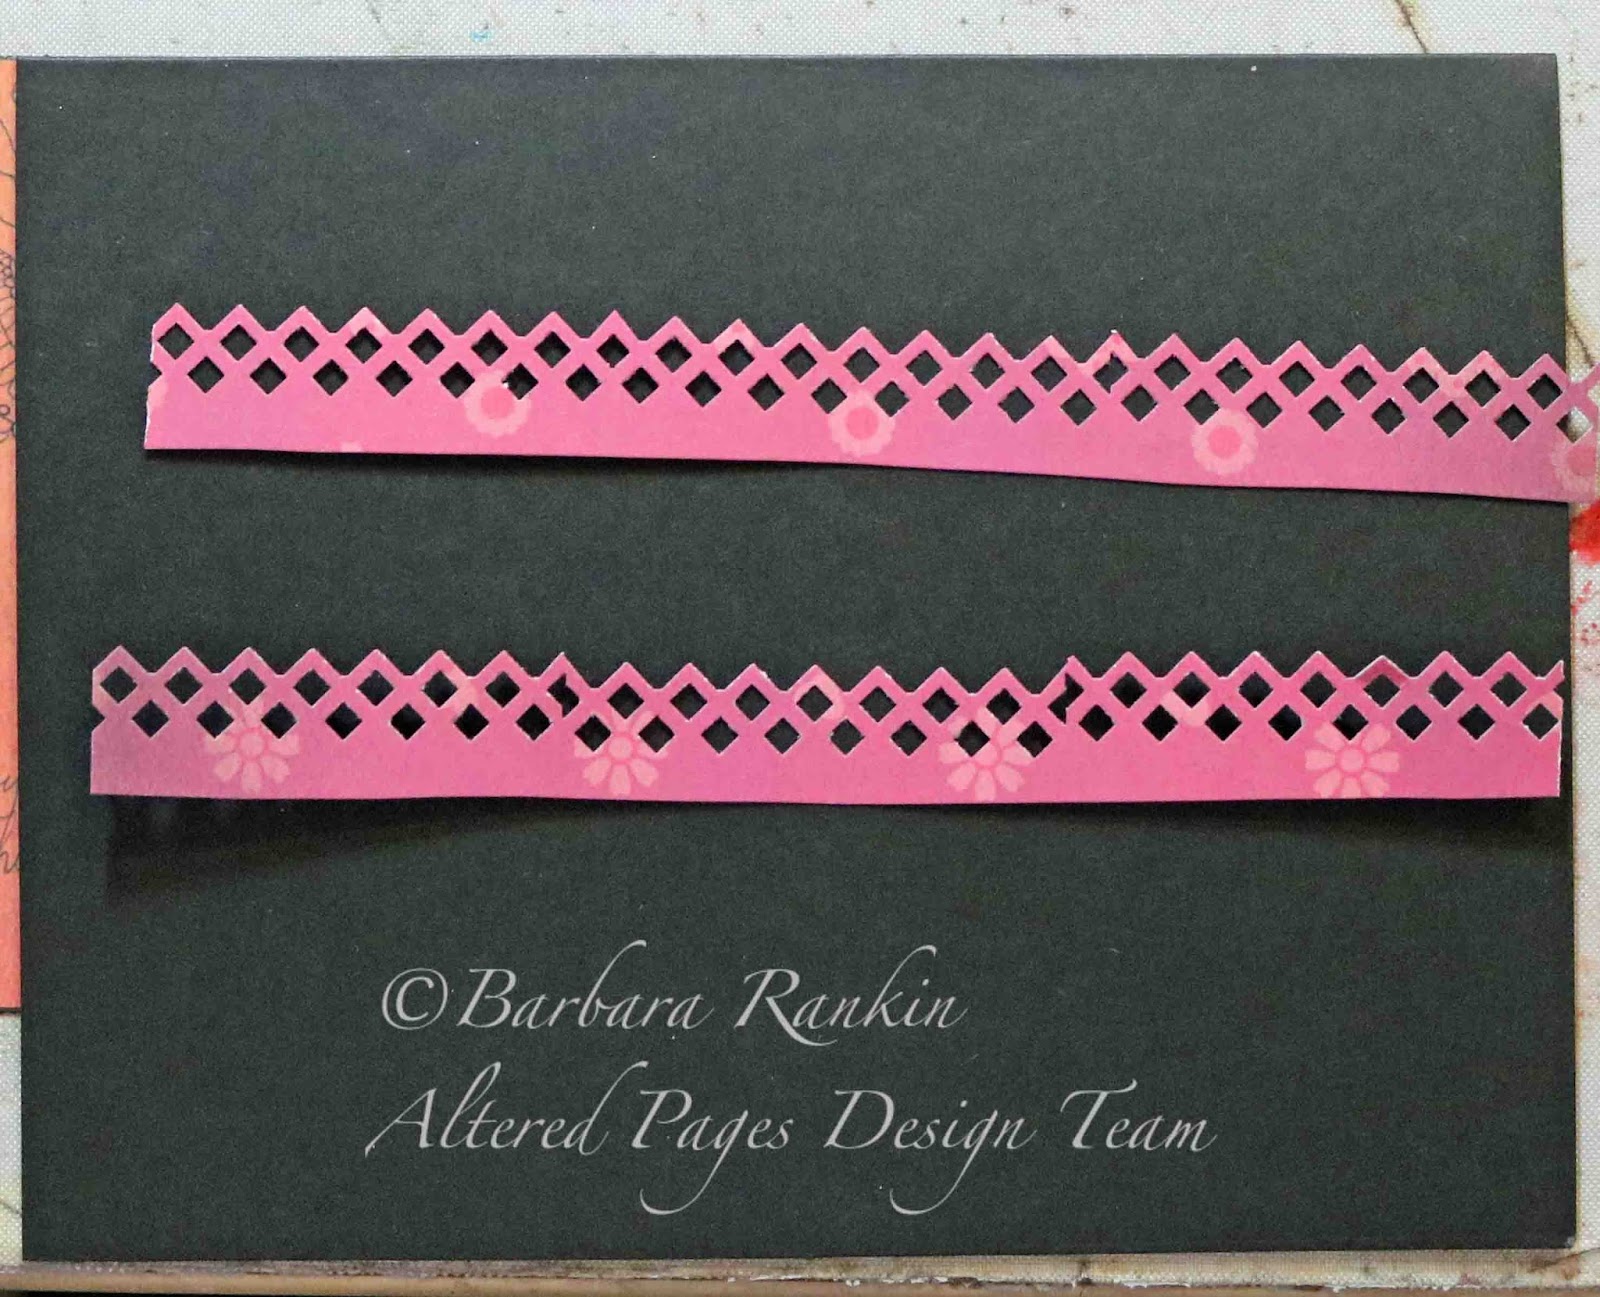
Punch two strips of white card stock along the 11" side of paper, as shown.


Trim paper about 1/4" from the punched openings on both strips.


Choose your marker colors to match your paper.  Adhere the two strips together and lay it onto a scrap of paper to catch the overspray from the eBrush.


eBrush your strip using all four marker colors, as shown.


Adhere strip around the bottom of the lantern top.  When you come to a corner, trim the strip evenly with the angle of the top, as shown.  Only cut the 1/4" section, not the decorative section.


When you turn the corner, you will have this tiny extra piece sticking up, which you will need to trim once again, following the angle of the top.  This will give the border strip a neat, mitered look.


Here are the three pieces finished from the front.


Here are the lantern pieces from the inside.  There is a little strip of paper that is glued inside to hold the battery-operated tea light candle.  This piece is then inserted into the larger piece, on the left, to close it up.


And here it is with the tea-light on.  I decided at the last minute to fussy cut a shape from the Amor Enamored paper and adhered it to the top of the lantern with foam dots for added dimension.  (See finished photo above).


Supplies used:

Craftwell USA eBrush
Sabor Papel:  Amor - RamitosAmor EnamoredOlé Sorpresa
Silhouette electronic cutting machine
Silhouette cut file:  3D Lantern
Copic Markers: BG15, R05, RV06, G05
Decorative edger punch
White card stock
Vellum
Battery-operated tea light candle


Thanks for stopping by, and be sure to stop by the Craftwell blog for more inspiration from the team. 


Monday, May 9, 2016

Card and Matching Tag with Sabor Papel and Rubber Stamp Depot

Hello everyone.  The Altered Pages design team is sharing some fun projects using stamps from this month's sponsor, Rubber Stamp Depot.  Their stamps are beautiful and deeply etched red rubber.  There is even a coordinating set to match the beautiful Sabor Papel paper, which I am also using today.

I decided to make a card and matching tag with these beautiful papers and two of the stamps from the coordinating set .


Let's start with the card.  I stamped the two heart stamps onto separate pieces of eco board with Black Stazon Midi ink.  


I used the three Gelato colors shown below with a water brush to color the stamped eco board images.  I was trying to match the Recuerdos Amor paper color.  The Gelatos make easy work of this and blend beautiful with the Water Brush.


I filled in the background of each eco board piece with the pink Gelato, again blending the color with the water brush.  When that was dry, I edged each eco board with the black Big Brush Pen.


I used a decorative edge punch to make these pink borders from the Picado paper.


I adhered each border piece to the Recuerdos Amor paper using Double Sided Tape ⅜ inch, then adhered the papers to the black card.


I used a scrap left from the Picado paper to die cut a small doily piece, then glued the eco board on top.  To finish if off, I add 3D Crystal Lacquer over the stamped image.


For the tag, I used a piece of the Corazonitos paper cut to 3" x 4-1/4".  I rounded the bottom corners and punched a hole in the top center.  

I cut a small label from the Sentimentios Amor paper and adhered to the lower bottom left of the tag.  I cut a partial image of the guitar from the La Guitara paper and edged with the Black Big Brush pen.  


I used the reverse side of the La Guitara paper and adhered above the small label.  Then I colored it with the orange Gelato, blending the color with the water brush.  I punched another piece of the Picado paper and adhered to the bottom of the tag.  The stamped eco board was glued down over the label and a piece of Sari Silk Ribbon was added through the hole.  


SUPPLIES USED:

Sabor Papel:  Recuerdos AmorLa GuitaraRamitosSopressaPicadoCorazonitosSentimentios Amor
Red Rubber StampsPierced Heart rubber stampDivided Heart rubber stamp
Eco board
Gelatos
Big Brush Pens
Water Brushes
Sari Silk Ribbon
Double Sided Tape ⅜ inch
Black Stazon Midi ink pad
3D Crystal Lacquer
Black card stock
Decorative edge punch


I hope you have enjoyed my project today, and be sure to check out all the fun things at Altered Pages.  

Thanks for stopping by, and have a wonderful, creative week!

Barbara

Wednesday, May 4, 2016

Cinco de Mayo Blog Hop with Craftwell and Sabor Papel

Happy Cinco de Mayo!!!!  I hope you are enjoying the festivities of our blog hop.  There are lots of inspiration from our design team, along with the Sabor Papel team, and other invited guests.  There are prizes to win, so be sure to leave comments along the way.

Sabor Papel is a brand new company that makes these beautiful and bright papers and embellishments.  Their papers are high quality and double-sided, heavyweight card stock.  We are sharing lots of ideas and inspiration for using their products in your own celebrations, along with the fabulous products by Craftwell USA!  So sit back and enjoy!


Supplies used: 

Craftwell USA eBrush
Sabor Papel:  Ole 107 Dulces; Celebrar label
Copic Marker:  BG18-Teal Blue
Spectrum Aqua Markers:  Spice, Wildflower, Meadow, Bud Green
Scoring tool
3" Blue doily
Flowers and foliage dies
Decorative edger punch
Coffee filter paper
Wavy wood stick
White glue

Score 12x12 Ole 107 Dulces paper every half inch with score tool.


Cut paper in half horizontally for this particular paper, since it has a directional design.


Accordion fold each section of paper, as shown.


Glue both pieces together to make one long strip.  Use a decorative edge punch along one edge.


Add dots of glue to bottom edge of strip between each fold.


Make scores in center of decorative doily 1/2" apart, as shown.


Squeeze accordion folds together along bottom where glue was added, center and adhere doily along bottom, wrapping around the fan shape, as shown.  Use clips to secure while glue dries.

Front


Back
Die cut flowers from white coffee filter paper.  


Color larger petals with Spectrum Aqua Spice marker.  Since these markers are water-based, you can spritz the paper with water, if you like, to help the color spread.


Cut petals apart and pinch at the bottom to make flowers.  These remind me of Bougainvillea flowers.


Next, eBrush small petals with the Wildflower marker, again spritzing with water to help the colors spread easily.


Use eBrush to spray Wildflower marker over them, again spritzing with water if you like.


If you do not clean your craft mat before beginning to spray your next set of lighter colored flowers, you will pick up the previous color from the mat.  In this case, the flowers picked up the Wildflower color.  I kind of like the variegation as it looks more natural.

Make the rest of the flowers the same way as before, pinching at the bottom and twisting to get your flower shapes.


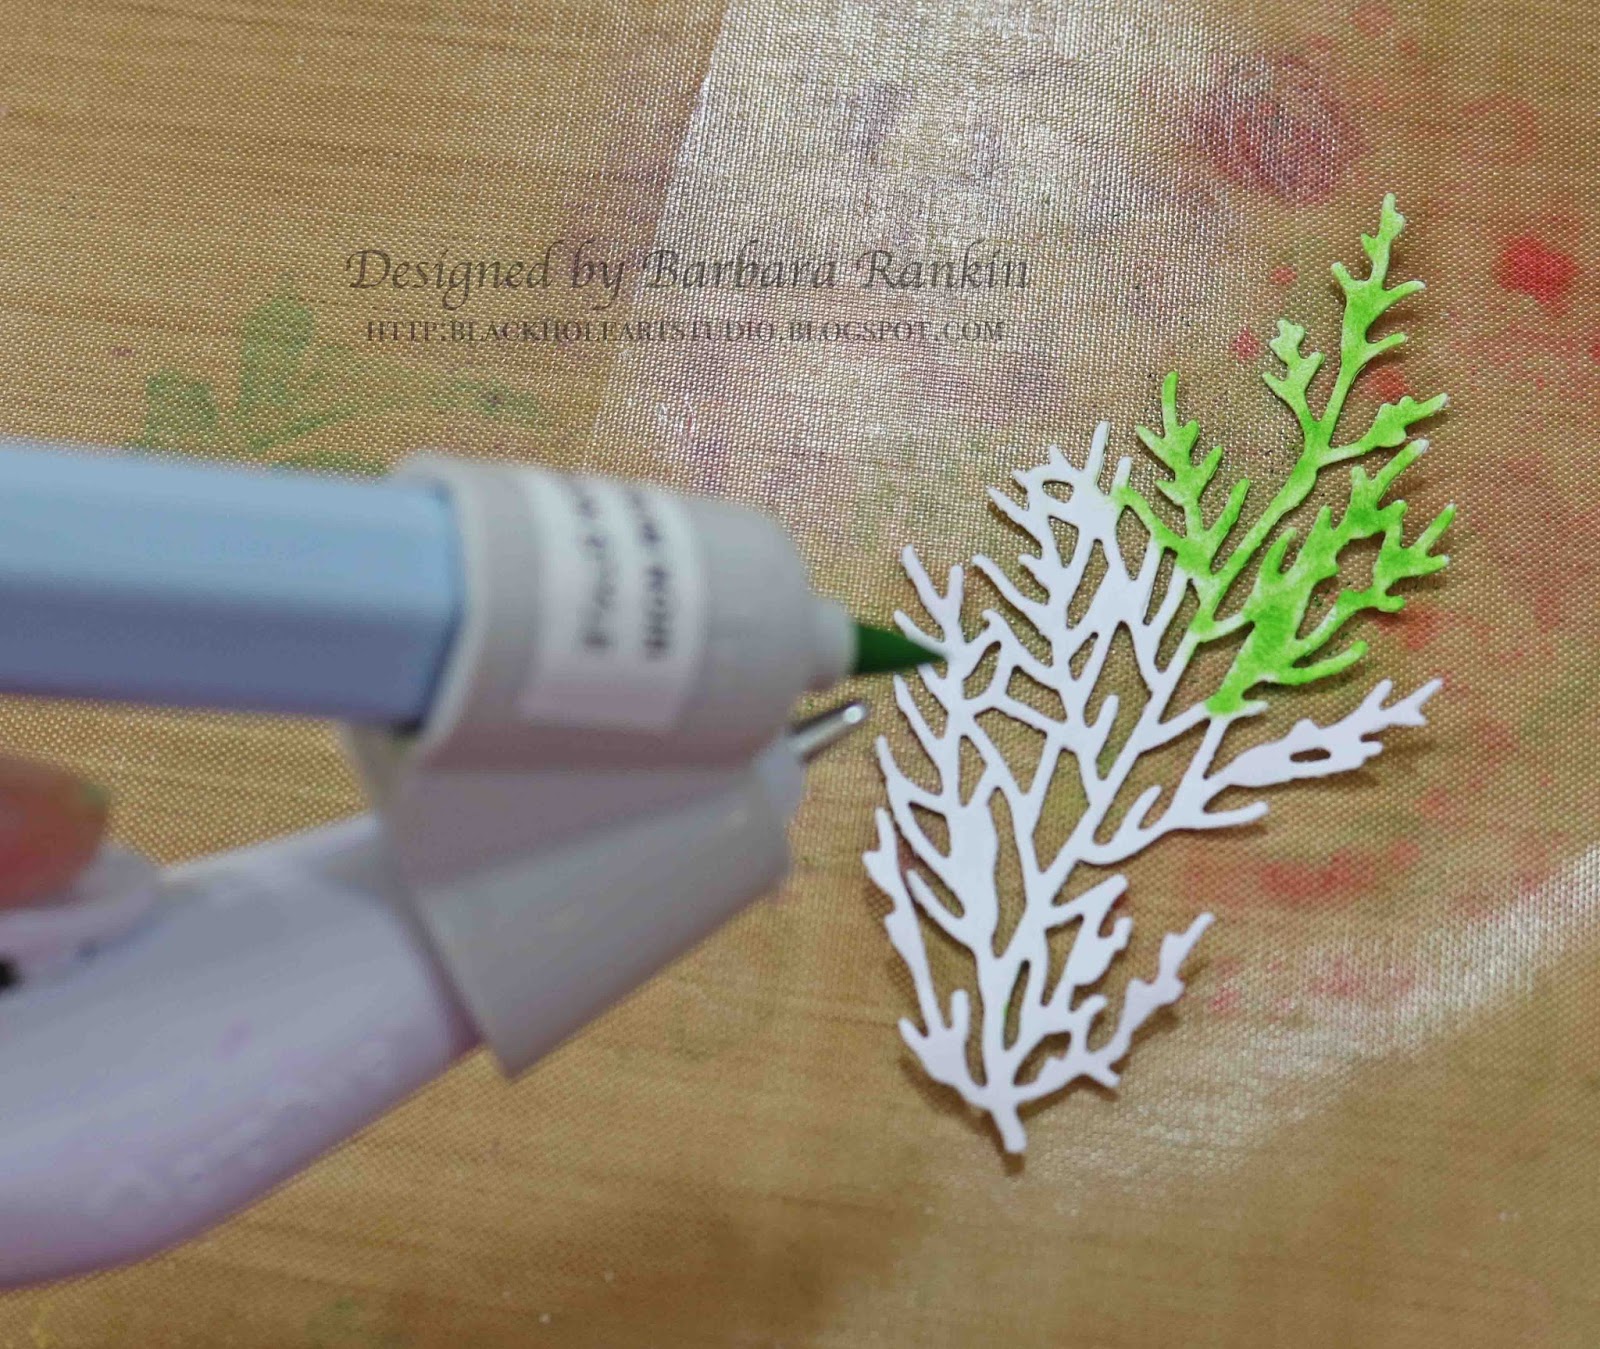
eBrush a piece of white card stock with the Bud Green marker.


Die cut the foilage piece over the colored paper.


Alternatively, you can simply die cut your paper first, then color the delicate foliage leaves.  The eBrush is perfect for coloring this way as you are not touching the delicate fronds with a sponge or ink pad and possibly ripping them apart.  


Add foilage and flower petals to base of fan, as shown.  


To make the fan free-standing, eBrush a wavy wood stick with Copic BG18 marker.  


Center and glue the stick along the bottom of the fan.  As you can see, the fan is now free-standing and can be used as a table decoration, but can also be used as a traditional fan, as well. 


And here is a close-up of the flowers and foliage.  I also added the Sabor Paper embellishment "Celebrar!" in the bouquet.


Now, we are ready to celebrate Cinco de Mayo!!!  Let the festivities begin!

I hope you are enjoying the hop today, and be sure to leave comments along the way for your chance to win some really great prizes!  The complete list of bloggers is included for your convenience.

Have a wonderful Cinco de Mayo!!!!

Barbara