Showing posts with label card. Show all posts

Monday, May 9, 2016

Card and Matching Tag with Sabor Papel and Rubber Stamp Depot

Hello everyone.  The Altered Pages design team is sharing some fun projects using stamps from this month's sponsor, Rubber Stamp Depot.  Their stamps are beautiful and deeply etched red rubber.  There is even a coordinating set to match the beautiful Sabor Papel paper, which I am also using today.

I decided to make a card and matching tag with these beautiful papers and two of the stamps from the coordinating set .


Let's start with the card.  I stamped the two heart stamps onto separate pieces of eco board with Black Stazon Midi ink.  


I used the three Gelato colors shown below with a water brush to color the stamped eco board images.  I was trying to match the Recuerdos Amor paper color.  The Gelatos make easy work of this and blend beautiful with the Water Brush.


I filled in the background of each eco board piece with the pink Gelato, again blending the color with the water brush.  When that was dry, I edged each eco board with the black Big Brush Pen.


I used a decorative edge punch to make these pink borders from the Picado paper.
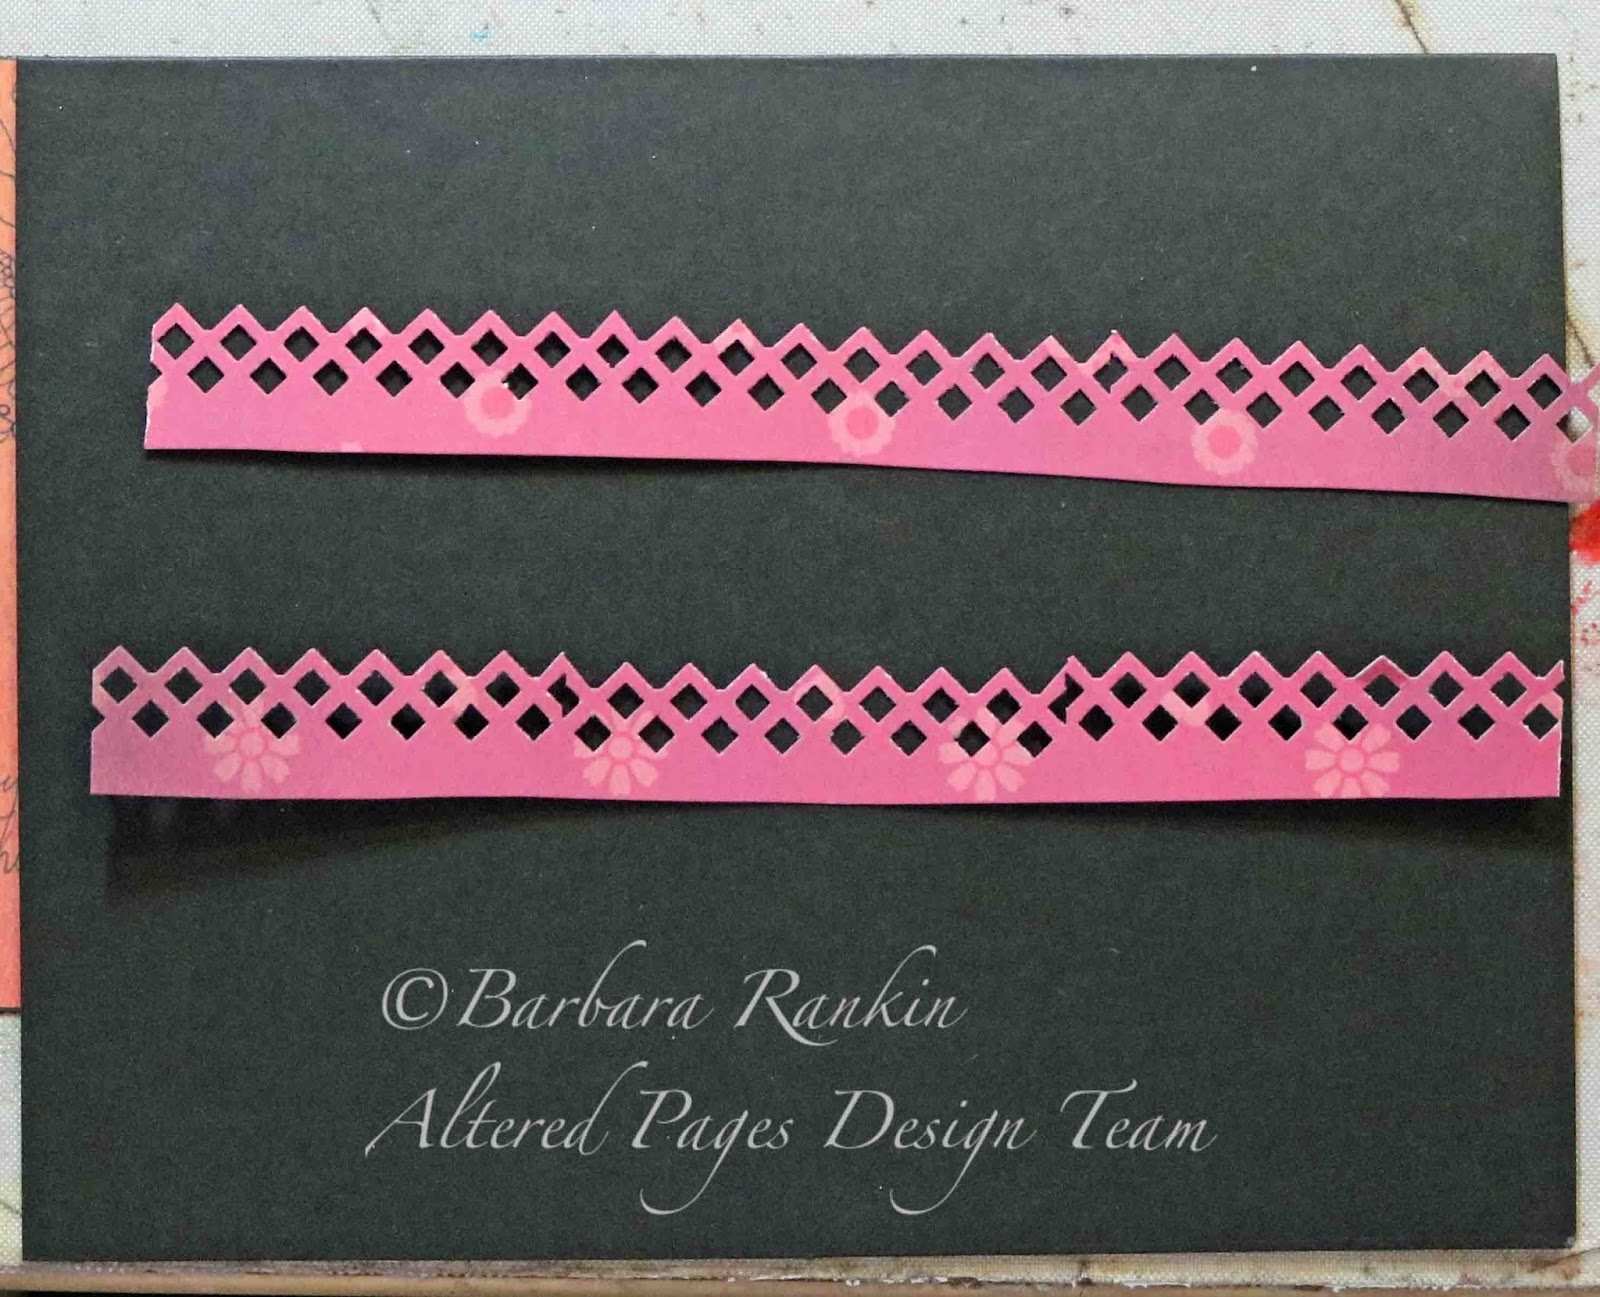

I adhered each border piece to the Recuerdos Amor paper using Double Sided Tape ⅜ inch, then adhered the papers to the black card.


I used a scrap left from the Picado paper to die cut a small doily piece, then glued the eco board on top.  To finish if off, I add 3D Crystal Lacquer over the stamped image.


For the tag, I used a piece of the Corazonitos paper cut to 3" x 4-1/4".  I rounded the bottom corners and punched a hole in the top center.  

I cut a small label from the Sentimentios Amor paper and adhered to the lower bottom left of the tag.  I cut a partial image of the guitar from the La Guitara paper and edged with the Black Big Brush pen.  


I used the reverse side of the La Guitara paper and adhered above the small label.  Then I colored it with the orange Gelato, blending the color with the water brush.  I punched another piece of the Picado paper and adhered to the bottom of the tag.  The stamped eco board was glued down over the label and a piece of Sari Silk Ribbon was added through the hole.  


SUPPLIES USED:

Sabor Papel:  Recuerdos Amor, La Guitara, Ramitos, Sopressa, Picado, Corazonitos, Sentimentios Amor
Red Rubber Stamps: Pierced Heart rubber stamp; Divided Heart rubber stamp
Eco board
Gelatos
Big Brush Pens
Water Brushes
Sari Silk Ribbon
Double Sided Tape ⅜ inch
Black Stazon Midi ink pad
3D Crystal Lacquer
Black card stock
Decorative edge punch


I hope you have enjoyed my project today, and be sure to check out all the fun things at Altered Pages.  

Thanks for stopping by, and have a wonderful, creative week!

Barbara

Saturday, March 5, 2016

March 2016 Craft Hoarders Anonymous Monthly Blog Hop

Welcome to the March Craft Hoarders Anonymous Blog Hop! You should be coming to my blog from Teresa's blog. After visiting me, hop over to Karen's blog next! To start at the beginning of the hop, and for the full list of Bloggers, go to Gloria's Blog!


March always makes me think of St. Patrick's Day, luck of the Irish, and so on.  It is also National Irish American Heritage Month, so better way to commemorate it than with a 3D Shamrock card.  


I love 3D, and some years ago, I discovered paper tole.   So, what is paper tole? 
    Paper tole, also known as three-dimensional decoupage, is the art of handcrafting three-dimensional pictures from flat prints. This art is created by skillfully cutting, shaping, and assembling pieces of paper layered onto an image until a three-dimensional version of the image emerges.
This technique was right up my alley.  Of course, back in those days, I would stamp, color, and fussy cut an image several times to achieve what can be done quickly and easily today with our die cuts and electronic die cutting machines.  

Below is a picture of the various layers of paper shapes I cut using my Silhouette die cutting machine.  This paper is from Imaginesce.  One sheet is called Sweet Pea from Out on a Whim collection, and the other two prints are Totally Taj and Artistic Kashmir, both from from Exotic East collection.  The date on the paper tab is 2007, now that is some serious hoarding!  


The papers were layered onto the card base, as shown below.  The top two layers were adhered with foam dots to raise it off the card.  I also added gold pearls around the perimeter, as shown.


The shamrock bouquet needed to be shaped by using a large ball stylus and forming the petals over a soft piece of foam.


Then the piece was turned over to push the petals down in the center, as shown.


And here is one of the completed pieces.  Each layer will give beautiful dimension and add so much to your card.


Tiny pieces of foam dots were adhered to the centers of the shamrocks to keep them lifted, only gluing down the end of the stems.  


Each shamrock was adhered over its corresponding petal below it, giving this beautiful layering effect.   


I added Crystal Stickles glitter glue to the petals, and a seam binding bow with a tiny metal lock charm. 


Here is the list of the participating Bloggers. Make sure to hop along and say hello! 

Craft Hoarders Anonymous Blog Hop List:
Gloria Stengel
Debbie Seyer
Pam Bray
Jacquie Southas
Glenda Brooks
Tracey Sabella
Donna Idlet
Wendi Robinson
Teresa Horner
Barbara Rankin (you are here)
Karen Zueger-Brownell
Christy Houser


I hope we have inspired you to join us every month and de-hoard those supplies! 

Have a wonderful and creative weekend, but most of all, have fun!!!

Barbara

Thursday, December 10, 2015

Christmas Tag and Swing Card with Gypsy Soul Laser Cuts

Hi everyone.  It's time for another Christmas card and tag today.  Cards and tags are so fun to make with Gypsy Soul Laser Cuts chipboard embellishments because it gives them a nice dimension without adding a lot of bulk.


My card is called a swing through card.  I used my silhouette to cut the pieces, but it could be easily replicated with some circular dies.  

After putting the card together, I colored each ornament with intense water colors and pearlized dimensional paint.  I adhered them to the swing cut outs and added more dimensional paint in the center of the flower.  

A pinecone with a few berry stickers were added, as well as a "Seasons Greetings" word from scrapbook paper.  
               Card Front                          Card Back

The really cool thing about this type of card is the way it opens and is free standing, making it ideal to use as a Christmas decoration.  Here it is when you open the card.  It shows both the front and back focal points. 

For the tag, I layered some scrapbook papers and cut it into a tag shape.  I used black acrylic paint for the body of the  penguin, and colored the parts with my intense water colors.  I added a pair of mittens to keep his little flippers warm, and used a black marker to draw in his eyes.

To make the peppermint candy, I used two chippies and colored both sides of each with red and white paint.  I adhered them together so the red would show through the openings on the white side, and vice versa.  I used a glue dot to adhere it to a ribbon bow at the top, and added the "Happy Holidays" cut from a piece of scrapbook paper.


Supplies Used:

Swirled Ornaments Set 2
Christmas Shape Set

Green Cardstock
K&Co Christmas Cheer scrapbook paper
Silhouette Cut File: A2 Swing Through Card Ornament
Derwent Inktense Blocks
Water brush
Ranger Pearl Paint (Butterscotch) (Pearl Platinum)

I hope you enjoyed this fun project and will stop by the Gypsy Soul Laser Cuts store for all your Christmas projects.  

Thanks for stopping by and have a wonderful, creative weekend!

Barbara

Monday, October 12, 2015

Pink Card and ATC for October

Hello everyone! Welcome to my first Altered Pages post for October.  Can you believe Fall is here already?  And since October is Breast Cancer Awareness month, I thought it would be fitting to make a card and ATC in honor of it.  We also have a wonderful sponsor this month, Royal & Langnickel, makers of many fine art products.  I hope you will stop by and check out their website.


Here are the parts I used to make the card.  I started with a kraft card (A2 size), trimmed paper slightly smaller than card front, and die cut the pieces shown with label dies.  The middle solid pink piece was made by tracing around the smaller die and fussy cutting.  I did not want too much of the brassy gold paper to show, and this particular die set does not have another in-between size.

Edge the print layer with Delicata Gold ink and the blending tool, adhere to card front.
I needed to color my dyeable seam binding to a matching pink color, so these are the products I used to do this.  The Royal sable brushes worked like a charm and were so soft and silky smooth that they just glided across the ribbon.
A tiny dot of the Magenta Splash ink on my craft mat was all that was needed, adding lots of water and picking the color up with the Royal sable  brush.
When dry, I folded it in the shape used to promote breast cancer awareness, stapled in the center, and covered the staple with a dew drop.
I also made an ATC that I thought would be nice to include inside the card.
Once again, I used my Splash Inks to color this beautiful gypsy lady.  She was stamped with black Stazon ink onto a piece of print paper from the Pretty in Pink pad.  Stazon ink is waterproof and will not bleed when I add water.  

I put a few drops of each color and one drop of white acrylic paint onto my craft sheet.  With a wet brush, I picked up the colors, as needed, mixing colors to make new colors, and adding the white if I needed a more pastel, and somewhat opaque, color. The possibilities are absolutely endless with these highly concentrated inks.  

When the paper was dry, I adhered it with glue stick to a darker pink paper layer, which was glued to a slightly larger ATC sized kraft card.

Supplies:
Altered Pages Collage Sheets:  ATC Beauty;
6x6 Glitz Paper Pads (Pretty in Pink)
Rubber Stamp Sets: Gypsy Journey set
Kraft envelopes & cards
StazOn Midi ink pad Black
Delicata Ink Pad Gold
Ranger Blending Tools
Dyeable Seam Binding
Splash Inks
Dew Drops (Pink)
Glue Stick
Double Side Tape Mini
Royal & Langnickel SableTek brush
White acrylic paint
Big Chat stickers (Remember)


Altered Pages will be having a Royal Brush PINK giveaway this month, so be sure to leave a comment on their blog for a chance to win.  And while you're there, take a moment to check out the new products in the Altered Pages shop.  Good things await!

Thanks for stopping by, and have a wonderful and creative week!

Barbara

Friday, February 14, 2014

Happy Valentine's Day

Happy Valentine's Day!  So glad you stopped by.  I want to share this card I made for my sweet husband.  I tried to keep it more masculine.  What do you think?


Supplies used:

Pre-printed, pre-folded Kraft card (Hobby Lobby) (Herringbone design) (A2 size)
Corrugated cardboard
Graphic 45 Olde Curiosity Shopped print paper
Sizzix Funky Hearts die (Original)
Gears embossing folder (Tim Holtz)
Vintage text pages (Altered Pages)
Mix'd Media Inx (Schoolhouse Red, Leather) (Altered Pages)
Sin City Stamps Romance stamp plate
Stampin Up label punch
Metal sheet
Metal brad and metal studs
Metal spinner (Tim Holtz)
Distress stain (Gathered Twig) (Tim Holtz)

Directions:

I used a pre-printed Kraft card (4-1/4" x 5-1/2") for the base of my card.  Distress edges of  3-3/4" x 5" piece of Graphic 45 print paper and ink with Gathered Twig distress stain.  Curl three edges, as shown. Adhere to base card.

Cut out clock face from reverse of Graphic 45 paper, attach black metal Fleur de Lys brad through center and adhere.

Clear emboss a portion of vintage text pages then tear a small piece and adhere to card.  It will look like you used Ice Resin on the paper without the wait.

Die cut three funky hearts from corrugated cardboard.  The smallest piece was cut from metal sheet that had been embossed with gears embossing folder and inked with alcohol inks.  I also hit the high spots of the embossing with black archival ink to bring out the design.

I first inked the two corrugated cardboard hearts with Schoolhouse Red Inx, then edged with Leather Inx.  Next, layer the hearts onto the card, as shown.

I wanted to simulate an arrow through the heart, so I cut one of the largest spinners in half and adhered to the largest heart, as shown.

Next, I stamped "Two Hearts One Love" in black archival ink on the reverse side of the Graphic 45 paper and punched it out with the label punch.  I adhered it to the front with foam dots for added dimension.  Adding metal studs at each corner of the label and the card added a bit more interest.

This photo shows the embossed metal heart a bit clearer. It really does look pretty on the front.


For the sentiment inside, I stamped the "Love is a burning desire" poem onto a separate piece of specialty paper and cut to size.  Then adhered that to the card inside.  I also stamped the pink lips near the bottom right.  Now my card is "sealed with a kiss".  


I hope you enjoyed my masculine Valentine's Day card! 

Thanks so much for stopping by, and I wish each and every one of you a wonderful, sweet Valentine's Day, and much love in your life always.  

Barbara