
For my first post this month, the theme is "Fairies". I love making tags, and so I decided I needed to use one of the oversized tags from Altered Pages in order to fit everything I wanted to include in this piece. And I could not stop at decorating only one side, so I decorated both sides. I love how these turned out.
 |
| Tag Front |
 |
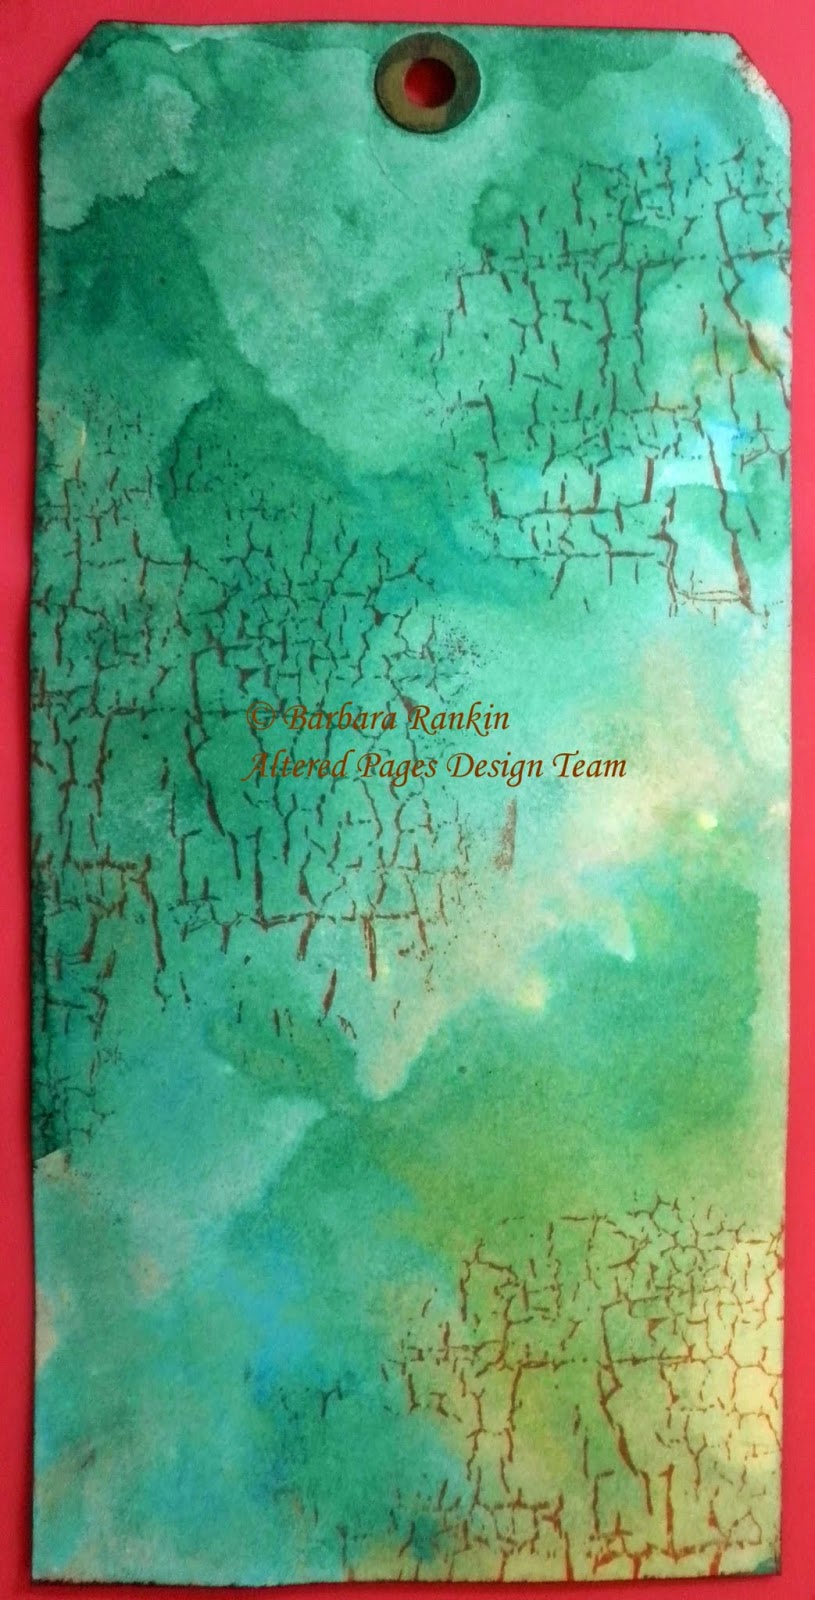
| Tag Back |

I started with a blank oversized tag that measures 8-1/2" x 4-1/8".


Can you see the dimension with this paint?


Here's what you should have so far.


Stamp "I Believe in Fairies" onto scrap smooth white cardstock with StazOn Midnight Blue. Use fancy tags die to cut out around the image.

Leave paper in die and ink with Peeled Paint distress ink.

Remove die and this is what it now looks like.

Remove from die and ink label with Shabby Shutters distress ink.

Adhere label to top of tag with foam tape and sitting fairy to bottom of tag with foam tape. Stamp small butterfly onto scrap smooth white card stock with chalk inks, fussy cut, add small piece of wire for antennae, and adhere with glue along the body only, allowing the wings to lift off of the tag.

A tiny butterfly, also from Anime Fairies 2 Art Rubber Stamps was stamped, fussy cut, and adhered to a single flower cut from the Floral Trim.

To finish it all off, add Stickles glitter glue in Champagne to the mini flowers previously stamped onto the thicket stamping, and a light coat of Crystal Stickles to her wings and the butterfly wings.

One last thing, I applied a coat of Gilder's Paste in German Silver to the metal butterfly charm from my stash, and attached it with a Light Bulb safety pin to the Sari Silk Ribbons at the top.
Now back to the tag front. Ink each of the Alphabet Fairies images with the Delicata Gold ink pad, heat set to dry.


Adhere "Magic" label to top of tag with foam dots.


Adhere stamped images to front of tag with Scor Tape 1/4 inch, as shown. Place a tiny foam dot beneath the center wings to keep them raised.


Color small mushroom die cut with Memento inks (Pistachio, Peanut Brittle, Rhubarb Stalk), adhere to bottom of tag for fairy to stand upon.

Add a strip of German Edging Gold Braid along bottom of tag and a few fern leaves (from my stash) beneath the mushrooms.
Altered Pages: AP-1729 Alphabet Fairies; Punchinella mask and stencil; German Edging Gold Braid; Scor Tape 1/4 inch; Stickles glitter glue; Floral Trim; Sari Silk Ribbons; Resin Blossoms; Petaloo Flowers; Oversized Tags (8-1/2" x 4-1/8"); Dylusions Inks (Calypso Teal, Chopped Pesto, Polished Jade, Pomegranate Seed ); Memento Ink Pads (Rhubarb Stalk); StazOn Jet Black ink pad; Art Anthology Dimensional Paint (June Bud); Delicata Gold ink pad; Wink of Stella pens; Light Bulb safety pins; Gilder's Paste
Sin City Stamps: Anime Fairies 2 Art Rubber Stamps; Fairies and Blossoms 2; Sin City Wings; Pam Bray's Fall Collection; Art Journaling with Terri Sproul 2; Fairy 2 die cuts
Other supplies: smooth white card stock, Copic markers, Distress Inks, Spellbinders Fancy Tags die, metal butterfly charm
I hope you enjoyed my double-sided tag today, and that you are inspired to create one, or two, or three of them. And please be sure to check out both blogs for more inspiration, and both online shops for all of the supplies you need to make one of these fun tags for yourself, or whatever you choose to create.
Have a wonderful week, and happy crafting!
Barbara


.jpg)


