Monday, April 25, 2016

Party Invitation with Altered Pages and Sabor Papel

Happy Monday, everyone!  I hope your week is off to a good start.  Here, at Altered Pages, we are getting ready for Cinco de Mayo using our newest addition to the Altered Pages store, the gorgeous Sabor Papel papers and embellishments.  In my previous post, I shared a fun, bright fan to help keep the Summer heat at bay.  Today, I want to share a brilliant Cinco de Mayo invitation to send out to friends for your very own celebration!


I cut out a lacy tri-fold card using my electronic die cut machine.  You can always make a straight edged tri-fold card, but I like the fancy top.  Decorative punches could also be used.  Use what you have.

Cut colorful card stock layers to match colors in the Sabor Papel papers.  I also cut half circle pieces to place behind the lacy top sections of my card.


Adhere half circle pieces with Zig 2-Way Glue Pen behind lacy openings on card inside.


Adhere cut layers of card stock and print from the Ramitos paper to each side on the front, as shown, using Double Side Tape 1/4 inch.


I found a sample of an invitation online, so I printed it out and adhered it to the center on the inside.  Simply computer generate your invitation with all of the information necessary.


On the outside, I cut out a few banners from the Picado paper, gave them a deep curl with my fingers, and adhered them with Adhesive Dimensionals to the front (right side in picture), adding a bit of twine along the top edge with dots of Aleene's Tacky Glue.

Cut out the flag that says "Sorpresa" (surprise!) from the Picado paper.  Adhere to lower portion of card front.


Cut out a partial guitar image from the  La Guitara paper and a label from the Sentimentios Amor  paper.  Adhere them to the inside page, as shown, and handwrite "You are Invited!" on the label.


And there you have it, a fun, bright and cheery invitation to a celebration party that will be equally fun, bright and cheery!  

I hope you enjoyed my project today and will take a peek at all the fabulous Sabor Papel papers and embellishments in the Altered Pages shop!  Imagine all the things you could make for your Cinco de Mayo celebration with these perfect papers.   And don't forget to check out the awesome collage sheets in the shop that go with these papers.  

SUPPLIES USED:

Sabor Papel:  Recuerdos Amor, La Guitara, Ramitos, Sopressa, Picado, Corazonitos, Sentimentios Amor
Bakers Twine Multi Colors
Zig 2-Way Glue Pen
Adhesive Dimensionals
Aleene's Tacky Glue
Double Side Tape 1/4 inch
Card stock colors to match papers


And don't forget to
JOIN our EVENT!!!

Simple and EASY:
1. Add a photo of your art project using SABOR Papers and AlteredPages item(s) to the Altered Pages Facebook page. 
Order supplies now in time to create!
2. Include hashtag #AlteredpagesSABOR .
Order supplies now in time to create! 

3. WEEKLY DRAWINGS WILL BE HELD FOR PRIZES TO BE SHOWN ON ALTEREDPAGES FACEBOOK PAGE AND BLOG.

GIVEAWAYS include SABOR Papers, AlteredPages Rubber Stamps, Petaloo flowers, digital collages AND more...

HOPE TO SEE at the EVENT 
Leave a comment let us know if you need an invite!

Thanks for stopping by, and have a wonderful, crafty week!

Barbara


Thursday, April 21, 2016

Mixed Media: Art Journal with DecoArt Media

Hello fellow DecoArt lovers!    Today, I have a mixed media art journal page up on the DecoArt Mixed Media blog.    There is a complete step-by-step tutorial for you to follow along, if you like.  You can check out all the details by clicking here!  See how I use the products and "play" with them to get different effects.  


Have a wonderful, creative week!!!  Stay crafty, my friends!

Barbara

Altered Art: Hidden Drawer Book Box

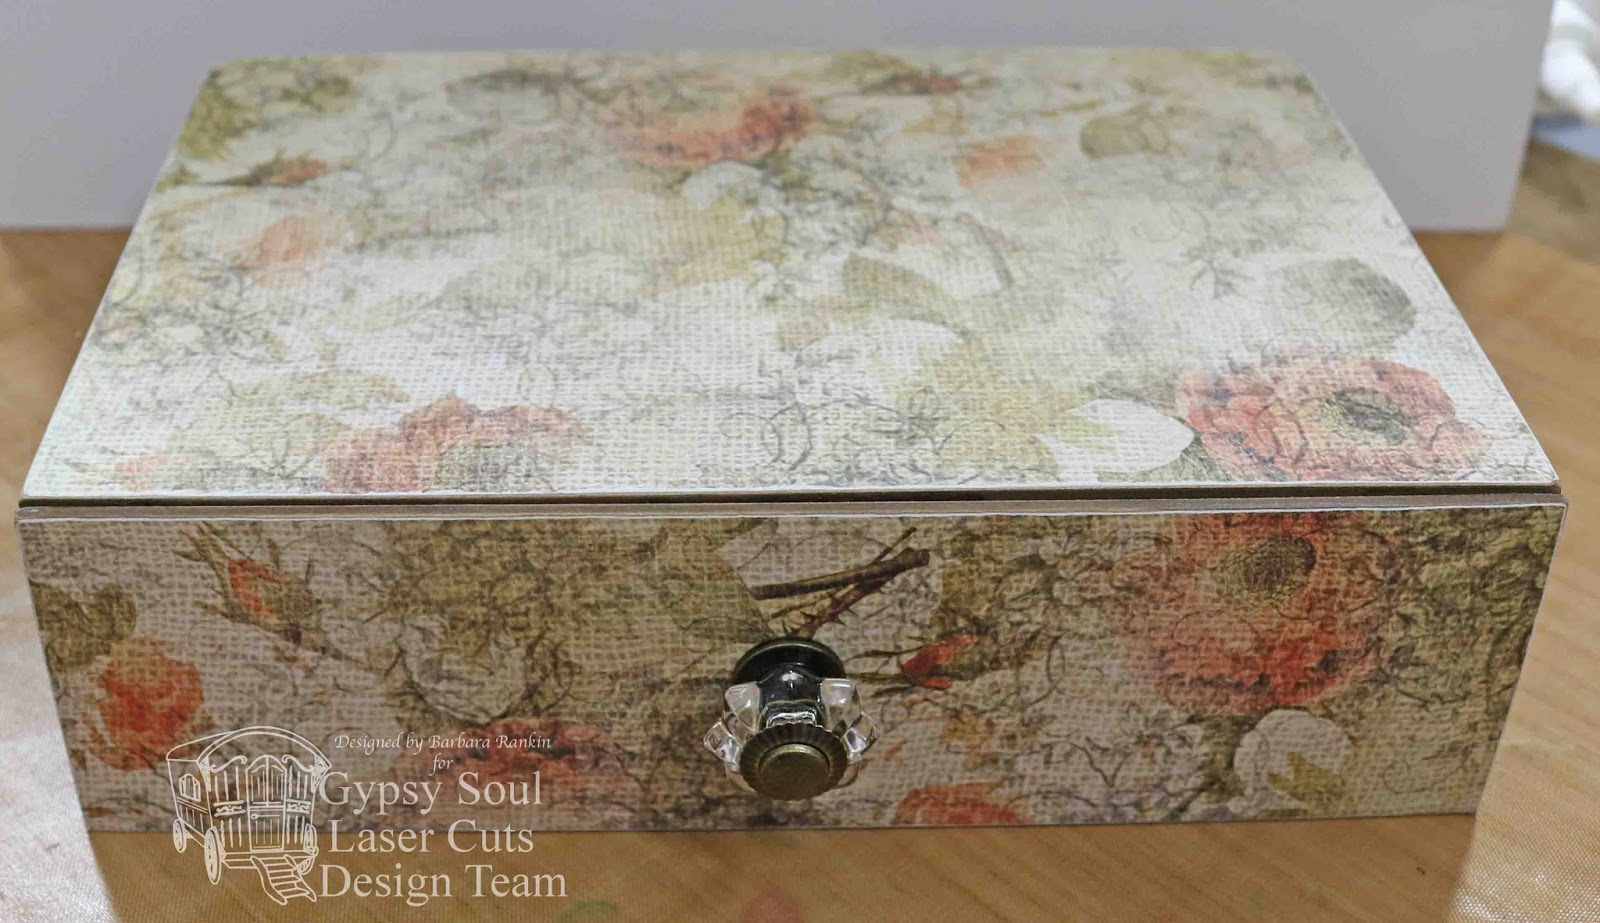
Hi everyone!  It's Thursday again, and it is my turn to share another fun project with you using the fab laser cut chipboard from Gypsy Soul Laser Cuts.  I am a huge fan of books and boxes, and what better way to satisfy that need than with a Hidden Drawer Book Box.  Just think of the things you could stash inside this beauty... paper, pencils, love notes, ephemera, or how about a mini album made to fit?  What other ideas do you have?  I would love to hear them.


Lay out the pieces for the box that holds the drawer.


Lay out the pieces that form the drawer.


Cover the inside of the drawer pieces with the script paper.  Use a craft knife to cut out the openings for the connector pieces.  Be sure they are free from any excess paper or glue to ensure a good fit when putting the pieces together.  I used tiny metal files to remove any residue that was left in them.


Adhere script paper to the inside pieces of the box and the inside of the drawer front. I then glued the box together, but you could glue the box together first and then cover the inside.


(TIP:  Use a sanding block or emery boards to sand excess paper off of any edges where it may still show).

Adhere the box together and cover the outside with the flower paper.  Again, trim any excess paper and sand the edges for a more finished look.


Center a hole in both the front of the drawer, and the drawer front piece.


Add the drawer knob though the holes in both pieces.  The drawer is now ready to use.  Add Gold Krylon pen around all edges.


Color two hinges with the Gold Krylon pen.


Fold and adhere each hinge to back side of box.


Slide drawer into box.  Now start the embellishing.


Paint the Deco Lattice Panel 2 with chalk ink that matches colors in the paper.  Center and adhere to top of box.


Paint Fashionista with chalk ink to match the green in the paper.  Adhere to the left side of the panel.


Paint fern fronds in a similar but darker green chalk paint to match the papers, and arrange in the lower bottom right corner of the box top.  Add flowers, cut up pieces of intricate doilies, snippets of lace, and glass glitter.


Lastly, I decided to add a decorative escutcheon under the drawer pull using a stackable label that I colored with the gold Krylon pen.   Center and punch a hole in it, and add it beneath the drawer pull, as shown.


Here are a few views from different angles.


Supplies Used:

Hidden Drawer Book Box
Deco Lattice Panel 2
Fashionistas: 1930s
Fern Fronds
Cardstock Doilies - Intricate (coming soon)
Hinges Shape Set
Stackable Labels Shape Set
Drawer knob
Print scrapbook paper
Chalk paints
Glass glitter
Flower embellishments
Lace

So, have you thought about how you would use this pretty little box?  There certainly are a lot of choices, and it is only limited by your imagination.

Thanks for stopping by, and have a wonderful, creative weekend!!

Barbara

Friday, April 15, 2016

Altered Embroidery Hoop with ColourArte and Paverpol

Happy Friday, everyone!  I hope you are ready for a wonderful weekend.  In fact, just to get you started, I want to share this fun video tutorial using the amazing ColourArte products and Paverpol, a fabric hardener product that is new to me.  I enjoyed experimenting with it, and I hope you get some ideas and inspiration to give them both a try.


SUPPLIES USED:

ColourArte Radiant Rains Shimmering Mists
Apple Blossom
Teal Zircon

ColourArte Silks Acrylic Glaze

ColourArte Radiant Rain Daubers

ColourArte Primary Elements


Paverpol Fabric Hardener - Transparent
The Crafter's Workshop 12x12 Stencil - TCW566 Winged Exploration (Gabrielle Pollacco)
Liquitex white gesso
Finnabair Art Basics 3D Gloss Gel - Transparent
DecoArt Soft Touch Varnish ?
8" wooden embroidery hoop
Muslin square
Prima Flowers
Sizzix 658232 Originals Medium Die - Leaves & Vine
Pearl bead strand
Assorted brushes
Spatula

Thanks for stopping by, and have a wonderful, creative weekend!  Don't forget to PLAY!

Barbara

Thursday, April 14, 2016

Super Large Altered Tag with Gypsy Soul Laser Cuts

Hi everyone!   Have I told you how much I love Gypsy Soul Laser Cuts lately?  Well, I do, and today is no exception.  I just received these extra large chipboard tags in my design team package, and I finally get to decorate them.  They measure 4-3/4" x 11-1/2", so there is a lot of area to work with.

Lay out your chipboard pieces and select some coordinating paper colors to use.


Adhere papers to both front and back of tag and ink edges with chalk ink.

               
                                    Front                                    Back

Spread texture paste through the Cobblestone chipboard sheet and let dry.


Paint coat of clear gesso over both sides of the tag, let dry.  Mist cobblestone areas with Seafoam, Teal Zircon, and Butternut misters.  Set aside to dry.


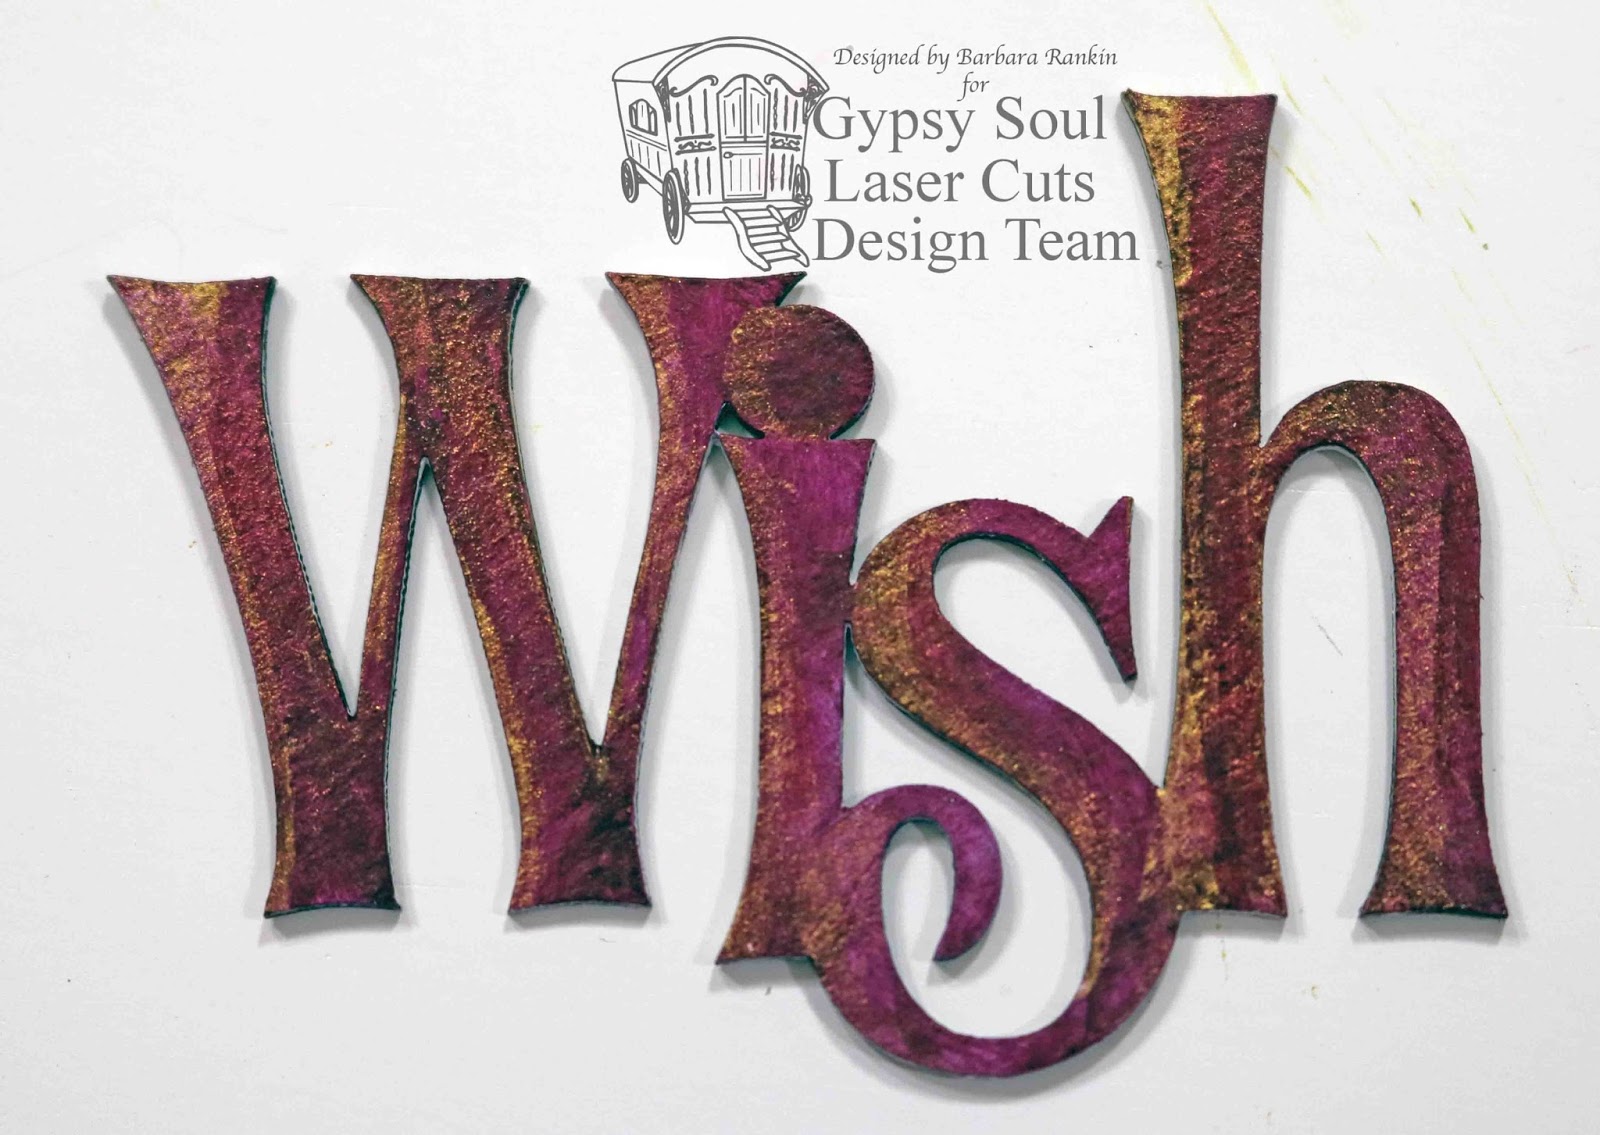
Brush white gesso over the Scribble Frame Fairy and the Catweed.  I also painted the word "Wish" (not shown in picture).


Paint each pieces as follows:


Wish - Quinacridone Violet + water, Interference Gold

Catweed - Sap Green + water

Fairy - Primary Cyan + water,  Blue Green Light, Interference Gold,
Vine - Burnt Umber + water
Vine Leaves - Phtalo Green-Yello + wate, Green Gold

Adhere chipboard pieces to tag, as shown.


Lastly, I added a patinated metal embellishment over the tag hole instead of using ribbon or lace.  I like to change it up and when I saw this piece, I knew it was perfect.

Supplies:

GSL Scribble Frame Fairy
GSL Chipboard Decorative Tags XL
GSL Catweed Shape Set
GSL Cobblestone
Colourarte Radiant Rains Shimmering Mists
Acrylic Paints
Texture Paste
Clear gesso

I hope you have been inspired by my super big tag today.  It was a lot of fun to alter, and I encourage you to stop by the GSL online shop and check out all the beautiful laser cut chipboard available.

Thanks for stopping by, and have a wonderful, creative weekend!!!

Barbara

Monday, April 11, 2016

Celebration Fan for Cinco de Mayo

Happy Monday, everyone!  I hope your week is off to a good start.  Here, at Altered Pages, we are getting ready for Cinco de Mayo using our newest addition to the Altered Pages store, the gorgeous Sabor Papel papers and embellishments.

I decided to make this easy and fun church fan with them.


                                             Front                                                          Back  

Here is a selection of some papers and images to use.
Remove wood handle from fan and trace around fan with pencil onto back side of colored card stocks; cut out.
Adhere papers to each side of fan with Aleene's Tacky Glue.

Print image from Cinco de Mayo collage sheet, then cut colored card stock slightly larger, then cut the  Sopressa paper even larger.  Cut papers freehand, or use a nesting die.  Layer and adhere the three pieces together with double sided tape.  Adhere to center of fan.

Fussy cut out four heart pieces from the Corazonitos paper.  Adhere the hearts beneath the four corners, as shown.
Edge the green side with the Mix'd Media ink pad.
Paint handle with Chalk Paint.
Adhere to back of fan with Aleene's Tacky Glue.
Fussy cut image from Sentimentios Amor and adhere to back of fan.  Print "Celebrate Cinco de Mayo" from the  Cinco de Mayo collage sheet onto purple paper, cut out and adhere to back of fan, as shown in finished photo at the top of the post.

Add Ball Fringe Baby Size around the front edge of the fan, as shown in the finished photo at the top of the post.

SUPPLIES USED:

Sabor Papel:  Recuerdos Amor, La Guitara, Ramitos, Sopressa, Picado, Corazonitos, Sentimentios Amor
Collage Sheets:  Vintage Latino, Cinco de Mayo
Church Fans
Pierced Heart rubber stamp
Divided Heart rubber stamp
Aleene's Tacky Glue
Ball Fringe Baby Size
Chalk Paint
Double sided tape ⅜ inch
Mixd Media Ink Pad

Bright colored card stock
Nesting dies (Quickutz Nesting Frames 6)


I hope I have inspired you to play along with us this month using these gorgeous papers from Sabor Papel and products from Altered Pages.  Stop by the Altered Pages blog for more inspiration from the team.

Have a wonderful, creative week!

Barbara


JOIN our EVENT!!!

Simple and EASY:
1. Add a photo of your art project using SABOR Papers and AlteredPages item(s) to the Altered Pages Facebook page. 
Order supplies now in time to create!
2. Include hashtag #AlteredpagesSABOR .
Order supplies now in time to create! 

3. WEEKLY DRAWINGS WILL BE HELD FOR PRIZES TO BE SHOWN ON ALTEREDPAGES FACEBOOK PAGE AND BLOG.

GIVEAWAYS include SABOR Papers, AlteredPages Rubber Stamps, Petaloo flowers, digital collages AND more...

HOPE TO SEE at the EVENT 
Leave a comment let us know if you need an invite!


Thursday, April 7, 2016

Shabby Chic Business Card Holder

Hey everyone!  I am here today with another project using the awesome Gypsy Soul Laser Cuts chipboard.  When I saw this business card holder, I just knew I would love to have it to sit on my desk, displaying my business cards.  They are so easy and quick to make!  You could make several as gifts to friends, and of course, yourself!  If you don't have business cards, it would also make a pretty note holder, as well.  Just insert cut up pieces of paper and sit next to your phone.  So many ideas!


First, lay out the pieces to make sure you know how they will go together.


I first ran my paper through my Xyron machine to add adhesive to the back.  In the photo, the sticky side is on the striped side showing.  Lay your pieces onto the sticky side, as shown.  If your paper has a direction, as mine does, be aware of how you are placing your pieces.  My paper has flowers that all go in one direction.  At this point, I removed the two curved side pieces.  I want to cover the outside last.  I continued covering the rectangular pieces and set my paper aside for now.


Now, for the inside pieces, I continued laying my pieces out on the sticky side of my second paper, trimming away the excess.  


At this point, I used a craft knife to remove the paper along the slit openings in the side pieces, as well as the extended bits that fit into the slit openings.  The chipboard is cut precisely to fit together nice and tight.  Do not leave any paper on those pieces.  

In the photo below, I show you why you need to cover the inside of the side sections first.  This allows you to cut out the slits before adding the outside paper.  The outside paper will cover the slit openings.

I sanded the edges of each piece to bring out the white of the paper.  In this instance, I did not add distress ink because I liked the look of the white edge with the paper and the natural color of the chipboard.  Next, I glued all the pieces together.


I cut a section from the 6 inch Deco Frame, as shown.  This will be adhered to the back of the card holder.  I inked this piece with embossing ink and heat embossed with a blue embossing powder.


I chose a label from the stackable labels set, heat embossed the base label the same as for the frame piece.  I computer generated "Black Hole Art Studio", the name of my blog, and printed it onto a polka dot paper from the Graphic 45 pad.  I carefully aligned it onto the top label, removed the excess paper and sanded the edges.


I treated the shells border stick the same way and adhered them along the bottom edges of the holder. Then I glued the frame piece to the back at the top, and the stacked label to the front, as shown.


Here are some pictures from different angles.


And here it is holding my business cards.  


Gypsy Soul Supplies Used:

Business Card Holder
Border Sticks
Deco Frames 6 Inch
Stackable Labels Shape Set

Other Supplies Used:

Graphic 45 Botanical Tea 8x8 paper pad

Zing embossing powder (Glacier)
Alene's Fast Grab Tacky Glue
sandpaper or emery board

I really love how this turned out, and I hope you are inspired to make one, too!  

Thanks for stopping by, and have a wonderful, creative week!!!

Barbara