Showing posts with label Craftwell. Show all posts

Thursday, February 25, 2016

Airbrushed Tag with the Craftwell eBrush & Teresa Collins dies

--------------------------------------------------------------------------------------------------
I have two posts to share today, so if you would like to see my project for Gypsy Soul Laser Cuts, please click here.  Thanks!
--------------------------------------------------------------------------------------------------

Hello everyone.  Today I get to share my first post as part of the Craftwell eBrush design team.  I am so thrilled to be here, and I don't mind telling you how much fun this eBrush is to use!  It is a fabulous little machine.  While I have done some airbrushing before using monstrous air compressors that were so loud, you could not hear yourself think, this little gem is so much quieter, and has several settings from low, medium, to high air pressure.  It is so convenient to use and store, too, unlike the monstrosities I have used before.  I cannot say enough good things about it.  So let's play!!!!


This month, we are pairing up with products from Teresa Collins.  I get to play with three different die sets, and I used something from each one of them for my tag!


After cutting the honeycomb from manila card stock, I used it first as a stencil to make background layers.


Move the die cut around the page, spraying Copic markers with the eBrush by Craftwell.  Keep your images random and uneven for best results.


BG72
BG34
YR23
B34, BG72
Script stamp from Bo Bunny set with Forest Moss distress ink
Airbrush these colors until you like it.
Stamp Finnabair Crackle randomly with Vintage Photo distress ink.
Stamp Blips randomly with Black Soot distress ink
Airbrush edges with 100 Black
Airbrush R85 in a few spots
Cut paper into a tag shape, approximately 8-1/2" by 5" wide, and set aside.  Die cut a butterfly from manila card stock.

Airbrush edges with B100
Y17 and YR23
B28 around edges, softening as you move inward
Die cut the numbers from manila cardstock and airbrush them in a similar fashion as the butterfly.  I added a white edge with a white craft pen to help it stand out better against the background.  

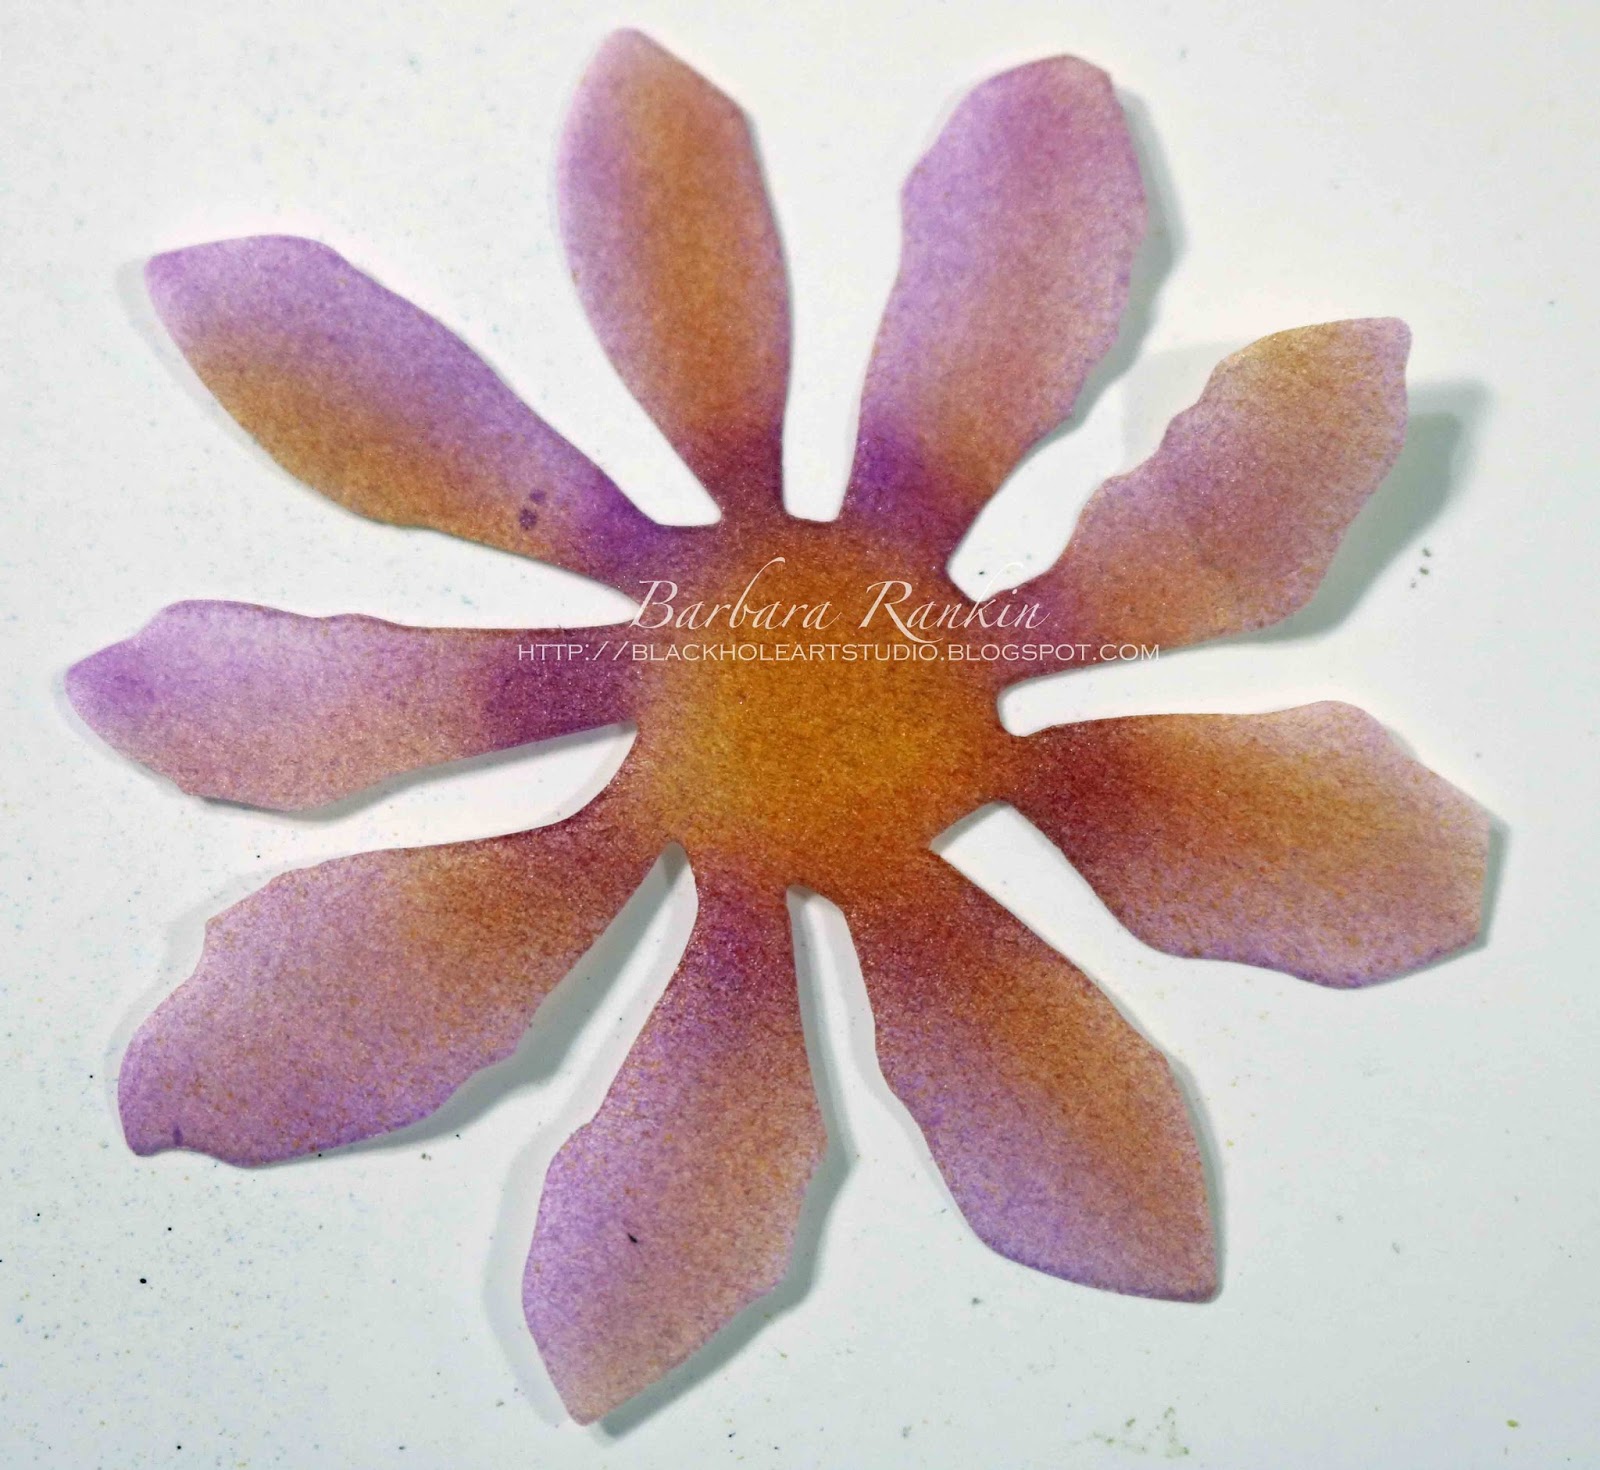
Die cut four tattered flowers from coffee filter paper.  Airbrush each as shown.


V11
YR23
V15
Offset two petals for each flower.
Trim the edge of the honeycomb die cut unevenly, then adhere to center of tag.  Add flowers, butterfly, numbers, and gold leaf ribbon trim, as shown.  Punch a hole and add eyelet to top center of tag.  Add jewel stickers to butterfly body and flower center.


Use the negative of the butterfly die cut (the portion left in the card stock piece after cutting out the butterfly) as a mask and airbrush Warm Gray No. 5 through the opening, lower right and upper left.


Airbrush with Warm Gray No. 5
The illusion of butterfly shadows
Lastly, pretty yarns were added through the tag hole to finish it off.  See photo of finished tag at top of post.


Supplies Used:


Teresa Collins Project Dies
Copic Markers
  • BG72
  • B34
  • B28
  • YR23
  • Y17
  • Y38
  • YG23
  • R85
  • V12
  • V15
  • 100 Black
  • Warm Gray No. 5


Rubber Stamps
  • Finnabair Crackle
  • Bo Bunny It is Written
  • Hero Arts Blips
  • Manila card stock
  • Tattered Flowers die (Sizzix)
  • Coffee filter paper
  • Gold leaves ribbon trim
  • Jewel stickers
  • Yarns
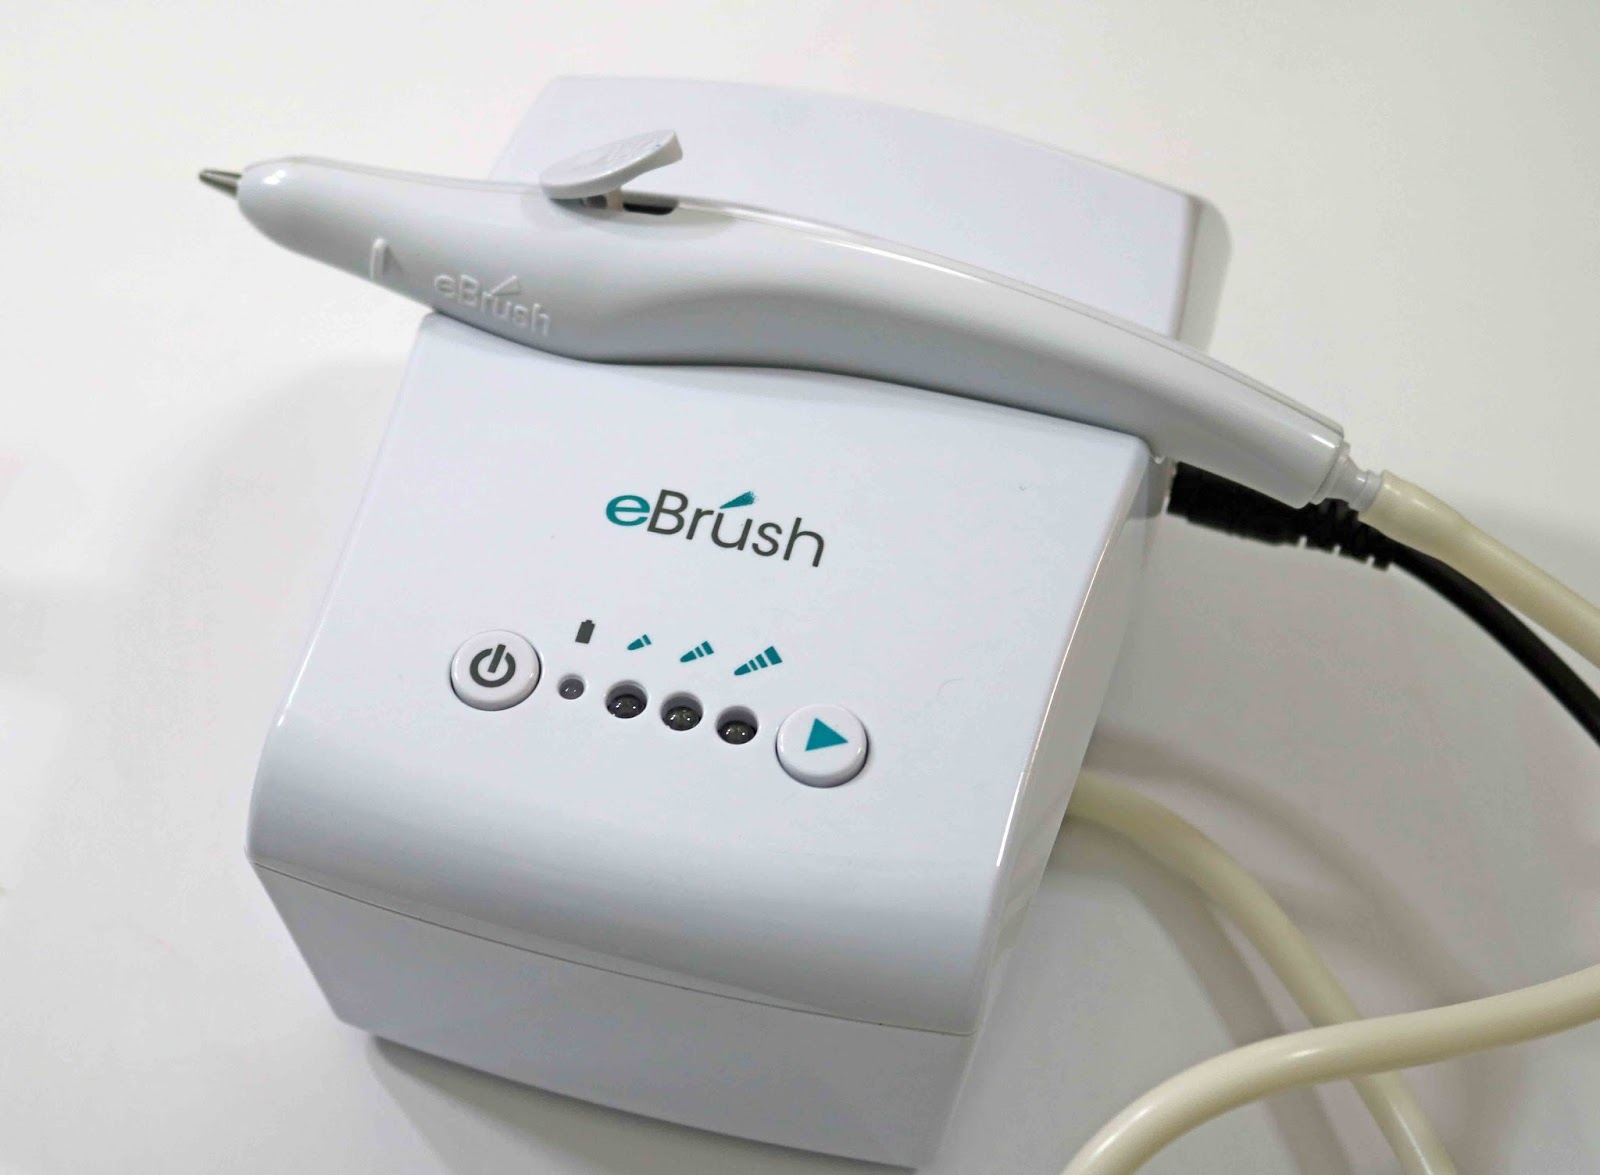
And here is a picture of my sweet tool!  Is that not just amazing... how small it is and totally easy to use.  And you can use all of the most common markers on the market, so there are just no limitations with this fabulous tool!


Thanks for stopping by, and have a great week!  See you next time with more fun and hopefully a slew full of inspiration.  


Sunday, November 30, 2014

Craftwell Guest Designer - Christmas Cards Made Easy

Hello everyone, and I hope you all had a wonderful Thanksgiving holiday!!   I am so excited to have been invited to be the guest designer for Craftwell today.  Craftwell USA makes the eBrush, the Teresa Collins Cut 'n Boss and eBosser machines, and extra large embossing folders.

Speaking of embossing folders, I received this beautiful Teresa Collins Bella Rose embossing folder to use for my post today.  This is a very large (8-1/2" x 11") embossing folder, and it will emboss an entire sheet of paper.  Can you imagine what you can do with an entire sheet of beautiful embossing?  I can, and so here are a couple of projects that I made with my one sheet of beautifully embossed paper.


This cute coffee mug and matching Christmas card used less than one entire sheet of embossed paper.  As you can see, the mug is made entirely from a piece of the rose embossed card stock.  The card, however, is embellished with fussy cut pieces of embossed roses and adhered to another piece of red print card stock (from My Mind's Eye All is Bright paper collection) that I embossed with a Spellbinders M-bossibilities (Nobility) embossing folder.  I then highlighted that embossing with green ink.  I love how you can enhance any paper, even a print  paper, and make it more suitable to your project.


Here, I have added some Christmas picks to the mug for a beautiful table decoration, but this would make such a quick and easy gift that you could fill with candies, tea, or even hot chocolate packets.


And here is a close up of that card that looks so complicated, yet was so easy to make.

I could not stop there.  You see, I was able to borrow the Teresa Collins eBosser machine from a friend, and so I wanted to give the machine a good workout while I had use of it.  I had this very intricate die of snowflakes, and these edger dies, as well.  I had always had such a problem getting complete cuts with my die cutting machine.  Well, let me tell you, the eBosser machine is now on my wish list.  It worked like a charm, as you can see from this beautiful Christmas card I made, again, in no time flat.

I used several Spellbinders edger dies, the Joy Craft snowflake circle die, and the Teresa Collins woodgrain embossing folder. 


And here is a closeup of those delicate, intricate snowflakes.  The eBosser gets my vote from now on.  


I hope you enjoyed my set of Christmas cards and coffee mug for home decoration or gift.  I also want to thank Craftwell for asking me to be their guest designer today.  It was such a pleasure to design something for you and to hopefully inspire you with their fabulous products.
I am also linking this project up with the Unruly Paper Arts 12 Days of Christmas Link Up Party.  You can join in the fun, too, or just sit back and enjoy the inspiration.

Thanks for stopping by, and have a wonderful and creative week!!

Barbara