Showing posts with label eBrush. Show all posts

Thursday, March 3, 2016

Mixed Media ATCs - Best Day Ever

--------------------------------------------------------------------------------------------------
I have two posts to share today, so if you would like to see my project for Gypsy Soul Laser Cuts, please click here.  Thanks!

--------------------------------------------------------------------------------------------------

Hello everyone!  So glad to see you again.  Barbara here with my second post for the Craftwell blog.  I am having so much fun with this very versatile little machine.  If you have not used an airbrush before, you just don't know what you are missing.  I am here to tell you that it is so easy and so enjoyable!  I am also using products from our sponsor, Teresa Collins.

I made three Altered Trading Cards (ATCs) with, believe it or not, St. Patrick's Day in mind, hence, the green background and tiny shamrocks to tie my ATC set together.


Supplies:


Teresa Collins Project Dies
Ivory card stock
Shamrock craft punch
Charcoal Pencils
Stripes stencil
Texture Paste
Pearlescent dimensional paint
Copper tube beads

Cut three pieces of card stock to ATC size (2-1/2" x 3-1/2").  Spread texture paste through stripes stencil and let dry.  Round corners.


Color background with a variety of green marker colors.  Continue adding colors until you like the result.  I used arm grey to tone down the brightness of the color a bit.


Die cut the honeycomb, butterfly, star in circle, key, numbers, and Best Day Ever using the Teresa Collins dies.  Color each with markers, as shown.  Tear the honeycomb in half irregularly, adhere to two ATCs.  Use the negative pieces left from the honeycomb and add to the third ATC.  

Add die cuts to each ATC, as shown.  Add shading around the focal image on each one with a charcoal pencil.  

Color a scrap piece of card stock with green markers and punch tiny shamrocks, adhering to the ATCs, as shown. 


Use a pearlescent dimensional paint to add dots on each ATC and along the stenciled stripes.


Thanks for stopping by, and be sure to check the Craftwell blog for more inspiration from the team.


Thursday, February 25, 2016

Airbrushed Tag with the Craftwell eBrush & Teresa Collins dies

--------------------------------------------------------------------------------------------------
I have two posts to share today, so if you would like to see my project for Gypsy Soul Laser Cuts, please click here.  Thanks!
--------------------------------------------------------------------------------------------------

Hello everyone.  Today I get to share my first post as part of the Craftwell eBrush design team.  I am so thrilled to be here, and I don't mind telling you how much fun this eBrush is to use!  It is a fabulous little machine.  While I have done some airbrushing before using monstrous air compressors that were so loud, you could not hear yourself think, this little gem is so much quieter, and has several settings from low, medium, to high air pressure.  It is so convenient to use and store, too, unlike the monstrosities I have used before.  I cannot say enough good things about it.  So let's play!!!!


This month, we are pairing up with products from Teresa Collins.  I get to play with three different die sets, and I used something from each one of them for my tag!


After cutting the honeycomb from manila card stock, I used it first as a stencil to make background layers.


Move the die cut around the page, spraying Copic markers with the eBrush by Craftwell.  Keep your images random and uneven for best results.


BG72
BG34
YR23
B34, BG72
Script stamp from Bo Bunny set with Forest Moss distress ink
Airbrush these colors until you like it.
Stamp Finnabair Crackle randomly with Vintage Photo distress ink.
Stamp Blips randomly with Black Soot distress ink
Airbrush edges with 100 Black
Airbrush R85 in a few spots
Cut paper into a tag shape, approximately 8-1/2" by 5" wide, and set aside.  Die cut a butterfly from manila card stock.

Airbrush edges with B100
Y17 and YR23
B28 around edges, softening as you move inward
Die cut the numbers from manila cardstock and airbrush them in a similar fashion as the butterfly.  I added a white edge with a white craft pen to help it stand out better against the background.  

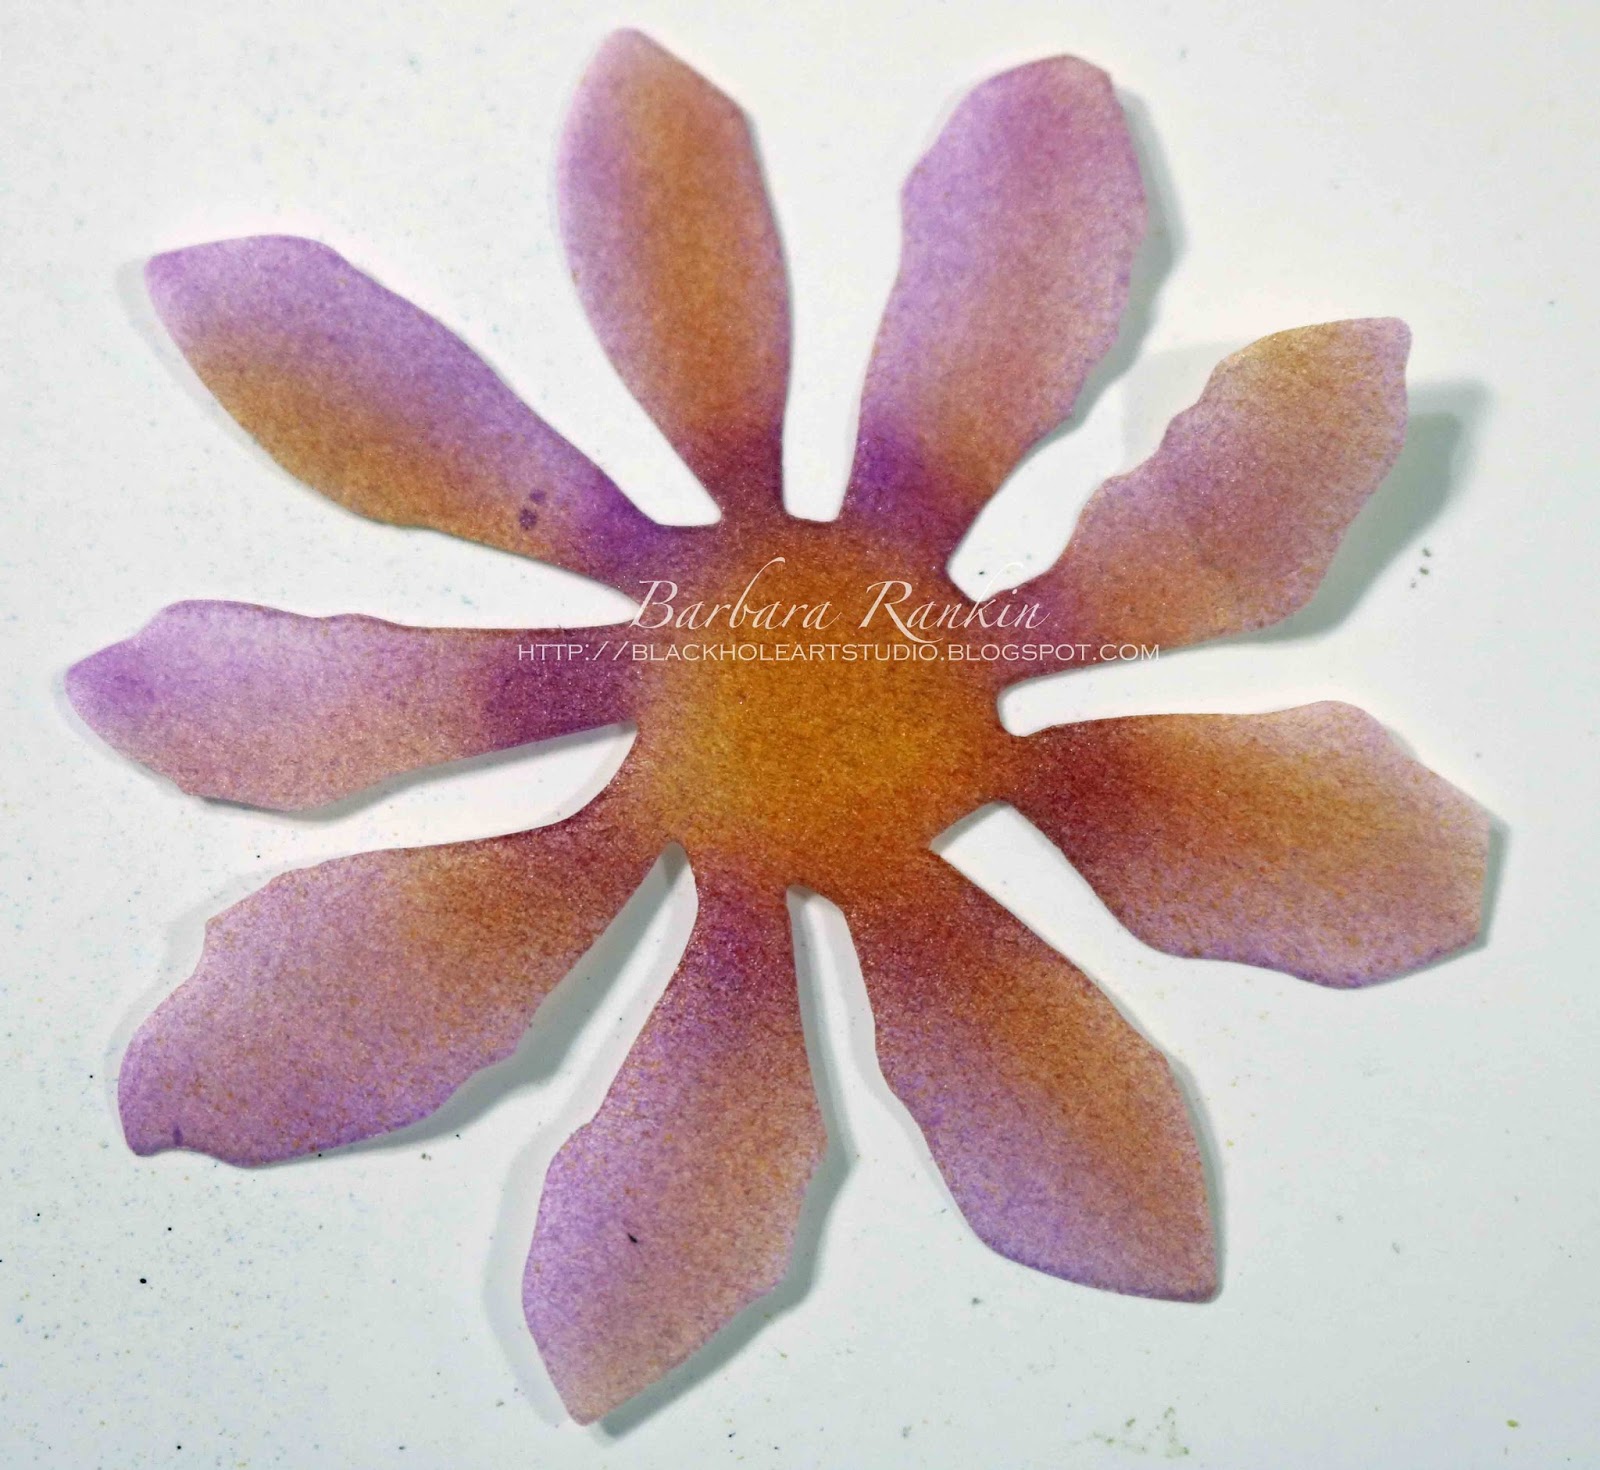
Die cut four tattered flowers from coffee filter paper.  Airbrush each as shown.


V11
YR23
V15
Offset two petals for each flower.
Trim the edge of the honeycomb die cut unevenly, then adhere to center of tag.  Add flowers, butterfly, numbers, and gold leaf ribbon trim, as shown.  Punch a hole and add eyelet to top center of tag.  Add jewel stickers to butterfly body and flower center.


Use the negative of the butterfly die cut (the portion left in the card stock piece after cutting out the butterfly) as a mask and airbrush Warm Gray No. 5 through the opening, lower right and upper left.


Airbrush with Warm Gray No. 5
The illusion of butterfly shadows
Lastly, pretty yarns were added through the tag hole to finish it off.  See photo of finished tag at top of post.


Supplies Used:


Teresa Collins Project Dies
Copic Markers
  • BG72
  • B34
  • B28
  • YR23
  • Y17
  • Y38
  • YG23
  • R85
  • V12
  • V15
  • 100 Black
  • Warm Gray No. 5


Rubber Stamps
  • Finnabair Crackle
  • Bo Bunny It is Written
  • Hero Arts Blips
  • Manila card stock
  • Tattered Flowers die (Sizzix)
  • Coffee filter paper
  • Gold leaves ribbon trim
  • Jewel stickers
  • Yarns
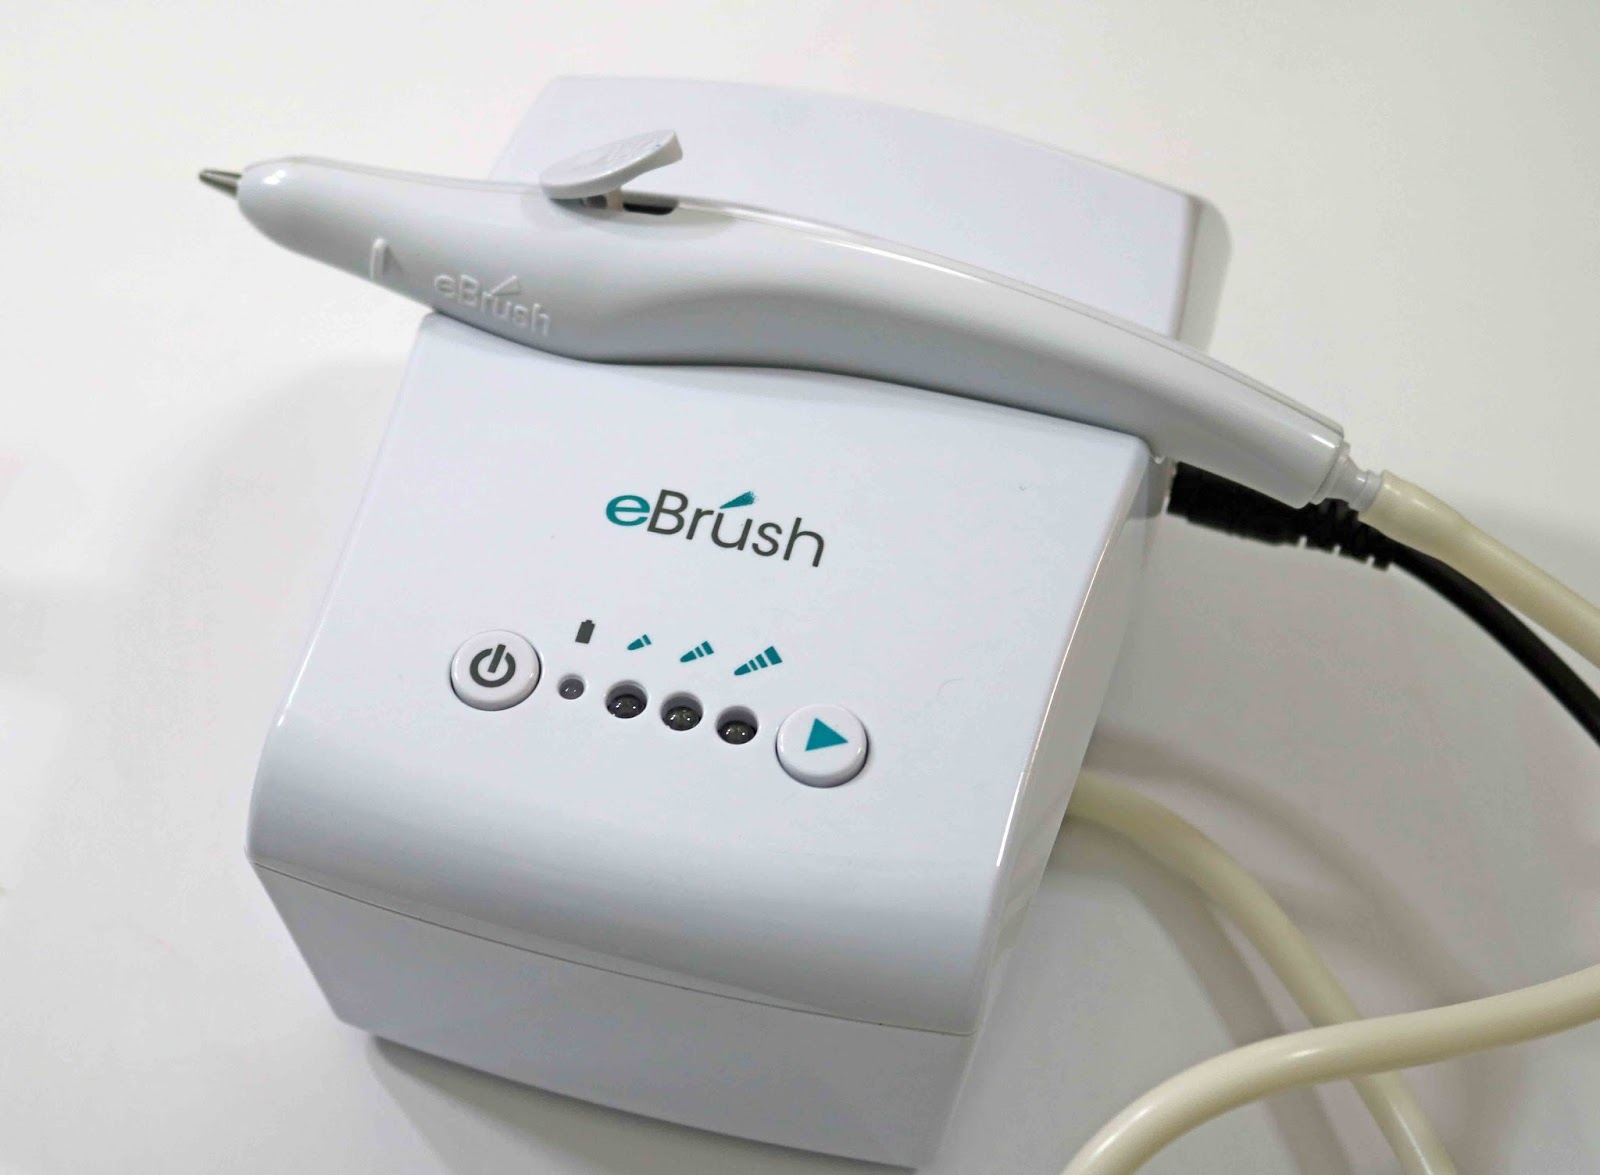
And here is a picture of my sweet tool!  Is that not just amazing... how small it is and totally easy to use.  And you can use all of the most common markers on the market, so there are just no limitations with this fabulous tool!


Thanks for stopping by, and have a great week!  See you next time with more fun and hopefully a slew full of inspiration.