Sunday, August 17, 2014

Steampunk Soiree Adventure and Blog Hop Announcement

Hello my fellow Steampunkers!  I got back from my Steampunk Soiree adventure a couple of weeks ago, but I had so much fun, it took me all of the first week to recuperate.  While I have a moment, I just wanted to share some of the fun pics from this fabulous time with like-minded arsty crafters!


These were my cohorts for the weekend.  We managed to stay one step ahead of trouble, if you know what I mean.  Although you'd never know it from our attire.  But seriously, everyone seemed to be truly enjoying every moment, and asking when and where the next Soiree will be.  So get yourselves ready for more fun next year, where ever it will be held.  It is sure to be an amazing time once again.

In case you haven't seen the fashion show video, here it is for your viewing pleasure.  It is a trip!


We worked on three projects and they were awesome.  I had to ship mine home, so I stopped way short of finishing so I would not have a lot of embellishments or things that could get broken off in transit.  While others worked through the night and got theirs completed, needless to say, I still have quite a bit to do on mine.  So, some day, I will post my finished pieces right here.  But until then, I hope you enjoyed seeing a bit of my adventure.

Before I leave you, I just want to let you know that tomorrow begins a new Craft Hoarders Anonymous Challenge Blog Hop with Altered Pages, who is sponsoring the hop.  And to win this amazing giveaway, all you have to do is leave comment on each blog.  How easy is that?  So I hope you will join in the fun.  It is sure to be a blast for everyone!

Altered Pages Blog Hop Giveaway with
Craft Hoarders Anonymous Challenge Blog

Have a wonderful Sunday, and enjoy your week!

Barbara


Thursday, August 14, 2014

Mausoleum Card Featuring Altered Pages and Sin City Stamps


Hello everyone, and welcome back to the second half of our monthly partnership with Altered Pages.  For the next two weeks, both design teams will be creating Halloween themed projects using products from both Sin City Stamps and Altered Pages.  So if you love Halloween, like I do, you won't want to miss all the inspiration from both design teams.

I am just sharing a peek at my project here.  You can see this project in its entirety over on the Sin City Stamps blog.  I have a complete step-out and much more detail for you there.

Supplies used:

Sin City Stamps:  Halloween Takes Flight stamp set; Halloween Bingo stamp set; Art Journaling with Terri Sproul 2 stamp set;

Altered Pages:  AP-562 The Other Side of Halloween collage sheet; Jet Black StazOn ink pad; Niji Oil Pastels; Scor Tape; Glitz Giant Rhinestones (Raven); Faber-Castell Big Brush Pen (Black); Stickles glitter glue

Other:  Eileen Hull/Sizzix Gift Card Holder-House; chipboard; Cuttlebug rose die, Odorless Mineral Spirits; cotton swab; StazOn Orange Zest

So, please pop on over to see much more of my project, and check out the rest of both of the design team's Halloween themed inspiration for the rest of this month. 

Thanks for stopping by, and have a wonderful, creative weekend!


Monday, August 11, 2014

Double-Sided Fairies Tag featuring Altered Pages and Sin City Stamps

Hello everyone!  Today, I am so excited to tell you that Altered Pages and Sin City Stamps are partnering up this month, and both design teams will be sharing their creativity and use of products from both of these fabulous companies.  So be sure to stop by both blogs to see all the inspiration from everyone.

For my first post this month, the theme is "Fairies".  I love making tags, and so I decided I needed to use one of the oversized tags from Altered Pages in order to fit everything I wanted to include in this piece.  And I could not stop at decorating only one side, so I decorated both sides.  I love how these turned out.  


Tag Front
Tag Back


I started with a blank oversized tag that measures 8-1/2" x 4-1/8".
I cut out each of the Alphabet Fairies to spell "F A I R Y", and laid them onto my tag for placement.  I took a picture for reference as I work on my tag.
I removed the collage images and set them aside.  Now to work on the tag background.  Spritz Dylusions Pomegranate Seed, Polished Jade, and water onto craft sheet.  Pick up the colors onto your tag and heat set.
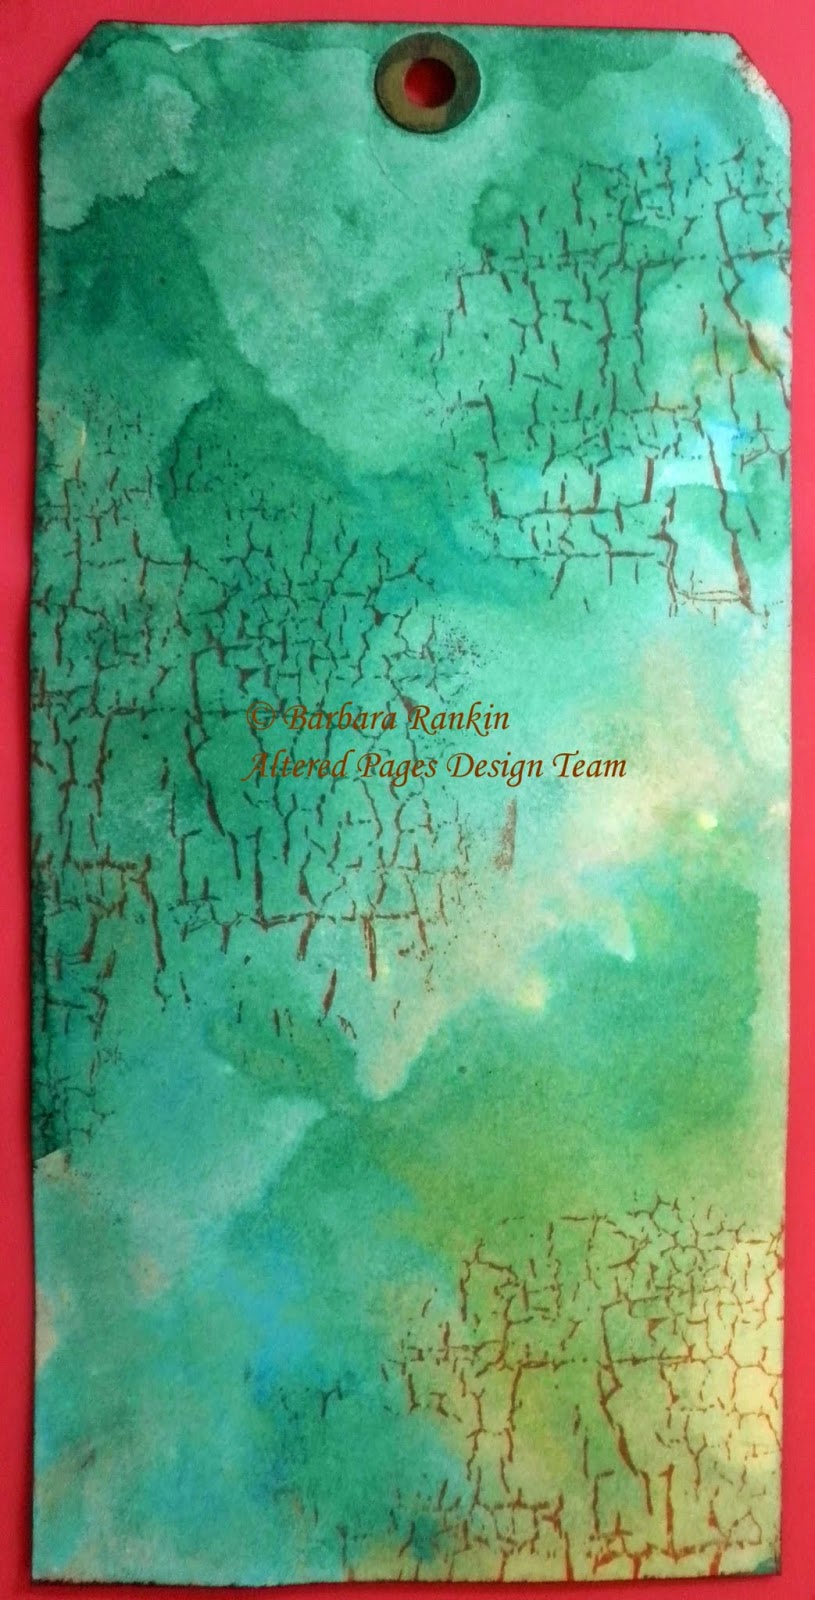
On the reverse side of the tag, spritz your craft sheet with Dylusions Calypso Teal, Chopped Pesto, and water.  Pick up these colors onto your tag and heat set again.  Aren't these colors awesome?
Stamp crackle background stamp using Rhubarb Stalk randomly over tag.
Turn tag over and stamp thicket background with StazOn black ink along bottom of tag.
Use spatula to apply June Bud Art Anthology Dimensional Paint through Punchinella mask and stencil and allow to dry.  This paint is awesome because it really is dimensional and beautiful, too.

Can you see the dimension with this paint?  
Stamp large flourish with StazOn Blue Hawaii ink along top of tag.

Here's what you should have so far.
Stamp two different mini flowers using StazOn Gothic Purple and Claret randomly over the thicket background stamping.
Stamp sitting fairy onto smooth white cardstock with Memento black ink.  Color with alcohol-based markers and fussy cut image.  Set aside.

Stamp "I Believe in Fairies" onto scrap smooth white cardstock with StazOn Midnight Blue.  Use fancy tags die to cut out around the image. 
Leave paper in die and ink with Peeled Paint distress ink.
Remove die and this is what it now looks like.
Remove from die and ink label with Shabby Shutters distress ink.
Adhere label to top of tag with foam tape and sitting fairy to bottom of tag with foam tape.  Stamp small butterfly onto scrap smooth white card stock with chalk inks, fussy cut, add small piece of wire for antennae, and adhere with glue along the body only, allowing the wings to lift off of the tag.
A tiny butterfly, also from Anime Fairies 2 Art Rubber Stamps was stamped, fussy cut, and adhered to a single flower cut from the Floral Trim.
To finish it all off, add Stickles glitter glue in Champagne to the mini flowers previously stamped onto the thicket stamping, and a light coat of Crystal Stickles to her wings and the butterfly wings.
One last thing, I applied a coat of Gilder's Paste in German Silver to the metal butterfly charm from my stash, and attached it with a Light Bulb safety pin to the Sari Silk Ribbons at the top.

Now back to the tag front.  Ink each of the Alphabet Fairies images with the Delicata Gold ink pad, heat set to dry.
Adhere the images to the tag.  Use the picture taken earlier for reference.
Stamp  "Magic" onto scrap smooth white card stock with Gothic Purple StazOn ink, punch out with scalloped oval punch, add color with Dusty Concord distress ink.  

Adhere "Magic" label to top of tag with foam dots.
Stamp two fairies onto scrap purple card stock with Gothic Purple StazOn ink.
Fussy cut each image, cutting into the center wings and shaping for dimension, then color wings with green Wink of Stella pen.

Adhere stamped images to front of tag with Scor Tape 1/4 inch, as shown.   Place a tiny foam dot beneath the center wings to keep them raised.

Color small mushroom die cut with Memento inks (Pistachio, Peanut Brittle, Rhubarb Stalk), adhere to bottom of tag for fairy to stand upon.
Add a strip of German Edging Gold Braid along bottom of tag and a few fern leaves (from my stash) beneath the mushrooms.

Supplies Used:

Altered Pages:  AP-1729 Alphabet FairiesPunchinella mask and stencil;  German Edging Gold BraidScor Tape 1/4 inchStickles glitter glueFloral TrimSari Silk RibbonsResin BlossomsPetaloo Flowers;  Oversized Tags (8-1/2" x 4-1/8")Dylusions Inks (Calypso Teal, Chopped Pesto, Polished Jade, Pomegranate Seed ); Memento Ink Pads (Rhubarb Stalk); StazOn Jet Black ink padArt Anthology Dimensional Paint (June Bud); Delicata Gold ink padWink of Stella pensLight Bulb safety pinsGilder's Paste

Sin City Stamps:  Anime Fairies 2 Art Rubber StampsFairies and Blossoms 2Sin City WingsPam Bray's Fall CollectionArt Journaling with Terri Sproul 2Fairy 2 die cuts

Other supplies:  smooth white card stock, Copic markers, Distress Inks, Spellbinders Fancy Tags die, metal butterfly charm

I hope you enjoyed my double-sided tag today, and that you are inspired to create one, or two, or three of them.  And please be sure to check out both blogs for more inspiration, and both online shops for all of the supplies you need to make one of these fun tags for yourself, or whatever you choose to create.


Have a wonderful week, and happy crafting!

Barbara