Thursday, May 12, 2016

Mixed Media Canvas: Just One Drop with DecoArt Media and Gypsy Soul Laser Cuts

Hello everyone!  Today, I want to share a really fun, easy mixed media canvas that, of course, uses the fabulous Gypsy Soul Laser Cuts line of products, along with the awesome DecoArt Media product line.  I am totally in love with them, and I know you will be too.

As I have said many times, I love quotes that make me think or inspire me.  This one really spoke to me.  I hope you feel the same, but of course, there are tons of quotes out there to use, so pick one you like, or that "speaks" to you, and make your own inspirational canvas.  This would also be a beautiful Mother's Day or birthday gift!


Instructions:

Step 1:  Paint an 8x10 canvas with DecoArt Media white gesso, let dry.


Step 2:  Paint three chipboard pieces with DecoArt Media white gesso, let dry.


Step 3:  Mix three DecoArt Media Fluid Acrylic colors on palette (Blue Green Light, Cerulean Blue, Titan Buff).  Paint color mixture onto top and sides of canvas.


Step 4:  Paint chipboard frame with Titan Buff, let dry.


Step 5: Align frame over quote and trace around it with pencil.


Step 6:  Cut quote out around pencil lines, leaving about 3/8" margin for gluing behind chipboard.  Set aside.


Step 7:  Brush DecoArt Media Clear Crackle Glaze over frame, leaving some areas uncovered.  Allow to dry thoroughly to develop cracks.


Step 8:  To enhance the crackle effect, apply DecoArt Media Raw Umber Antiquing Cream over frame with your finger or an almost dry wet wipe.  Use the wipe to remove or add more or less antiquing cream until you like the effect.


I think this looks like vintage ivory.  Set frame aside.


Step 9:  Draw petal lines with a pencil over the flower head.


Step 10:  Mix DecoArt Media Fluid Acrylics Quin Violet and Titanium White to make this beautiful pink color.  Paint petals with the lighter mixture, then add details by adding more Quin Violet to the mix.


Step 11:  Mix DecoArt Media Fluid Acrylics Green Gold and Phthalo Green-Yellow and paint stems with mixture.  Add shading with more Phthalo Green-Yellow.


Step 12:  Place a dab of glue in the flower center and sprinkle nut brown Flower Soft over glue.  Let dry thoroughly before brushing off excess Flower Soft.
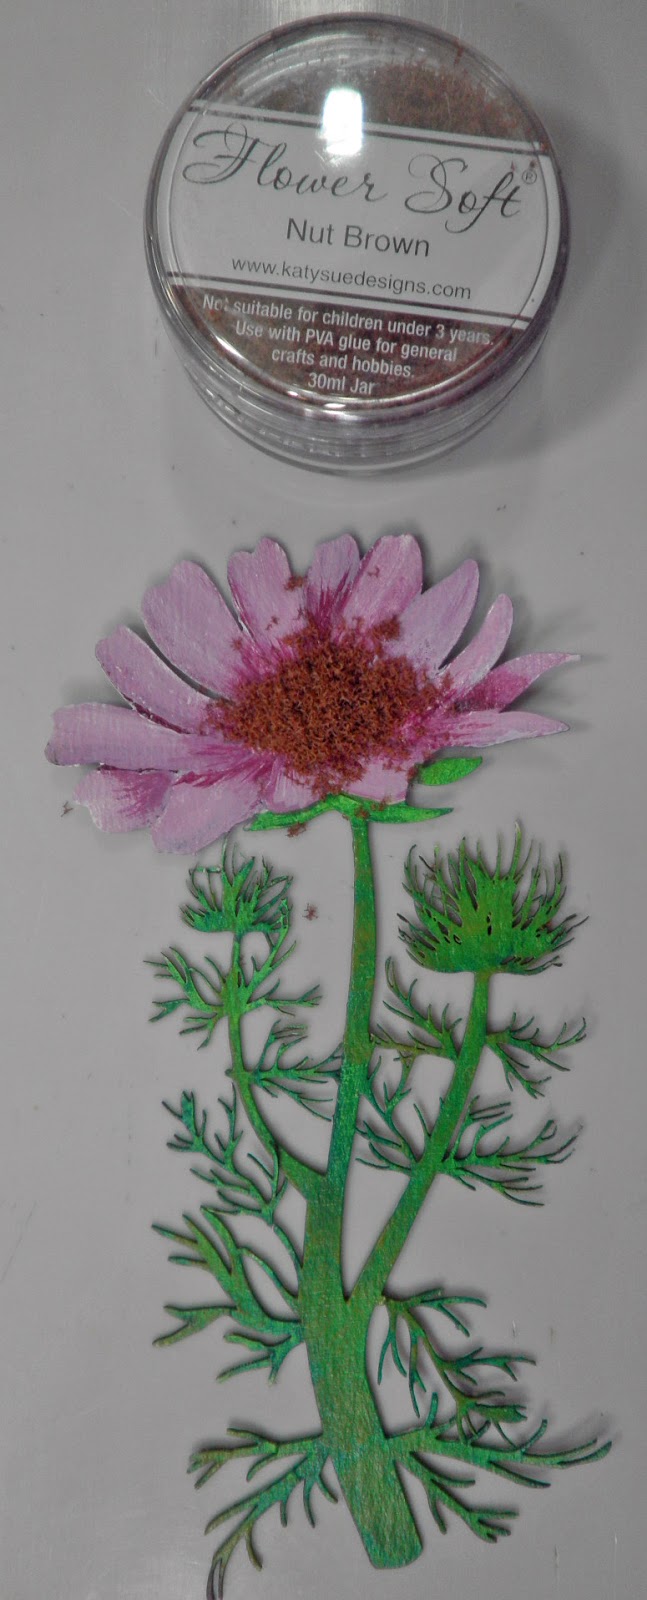

Step 13:  Apply DecoArt Raw Umber Antiquing Cream over stems for an aged look.  Continue adding or removing the color until you like the result.  Set aside.


Step 14:  Paint chibpoard word "Beautiful" with DecoArt Media Fluid Acrylic Metallic Silver, let dry.


Step 15:  Apply DecoArt Media Carbon Black Antiquing Cream over the word, wipe off excess for an aged, silver metal look.


Step 16:  Back to the canvas, edge the canvas with DecoArt Media Carbon Black Antiquing Cream to give it a framed effect.  This tends to draw the eye into the center of the canvas.


Step 17:  Glue quote beneath the oval opening in the frame, erase any pencil lines showing.


Step 18:  Glue frame to center of canvas, as shown.


Step 19:  Glue remaining chipboard pieces to the canvas, as shown.


Supplies Used:

Gypsy Soul Laser Cuts chipboard:  Page Frame Art Deco; Yarrow; Words and Phrases I
DecoArt Media Fluid Acrylics - Blue Green Light
DecoArt Media Fluid Acrylics - Cerulean Blue
DecoArt Media Fluid Acrylics - TitanBuff
DecoArt Media Fluid Acrylics - Quinacridone Violet
DecoArt Media Fluid Acrylics- Titanium White
DecoArt Media Fluid Acrylics - Green Gold
DecoArt Media Fluid Acrylics - Phthalo Green-Yellow
DecoArt Media Fluid Acrylics - Metallic Silver
DecoArt Mediums and Specialty Products - Gesso - White
DecoArt Mediums and Specialty Products - Crackle Glaze - Clear
DecoArt Media Antiquing Creams - Raw Umber
DecoArt Media Antiquing Creams - CarbonBlack
8x10 Canvas
Book of quotes
Assorted Brushes
Baby/wet wipes
Pencil
Flower Soft - Nut Brown

I hope you enjoyed my project today and have been inspired to give this a try.  Be sure to check out these amazing products, too.

Thanks for stopping by and taking a peek, and have a wonderful, creative week!!!

Barbara

Monday, May 9, 2016

Card and Matching Tag with Sabor Papel and Rubber Stamp Depot

Hello everyone.  The Altered Pages design team is sharing some fun projects using stamps from this month's sponsor, Rubber Stamp Depot.  Their stamps are beautiful and deeply etched red rubber.  There is even a coordinating set to match the beautiful Sabor Papel paper, which I am also using today.

I decided to make a card and matching tag with these beautiful papers and two of the stamps from the coordinating set .


Let's start with the card.  I stamped the two heart stamps onto separate pieces of eco board with Black Stazon Midi ink.  


I used the three Gelato colors shown below with a water brush to color the stamped eco board images.  I was trying to match the Recuerdos Amor paper color.  The Gelatos make easy work of this and blend beautiful with the Water Brush.


I filled in the background of each eco board piece with the pink Gelato, again blending the color with the water brush.  When that was dry, I edged each eco board with the black Big Brush Pen.


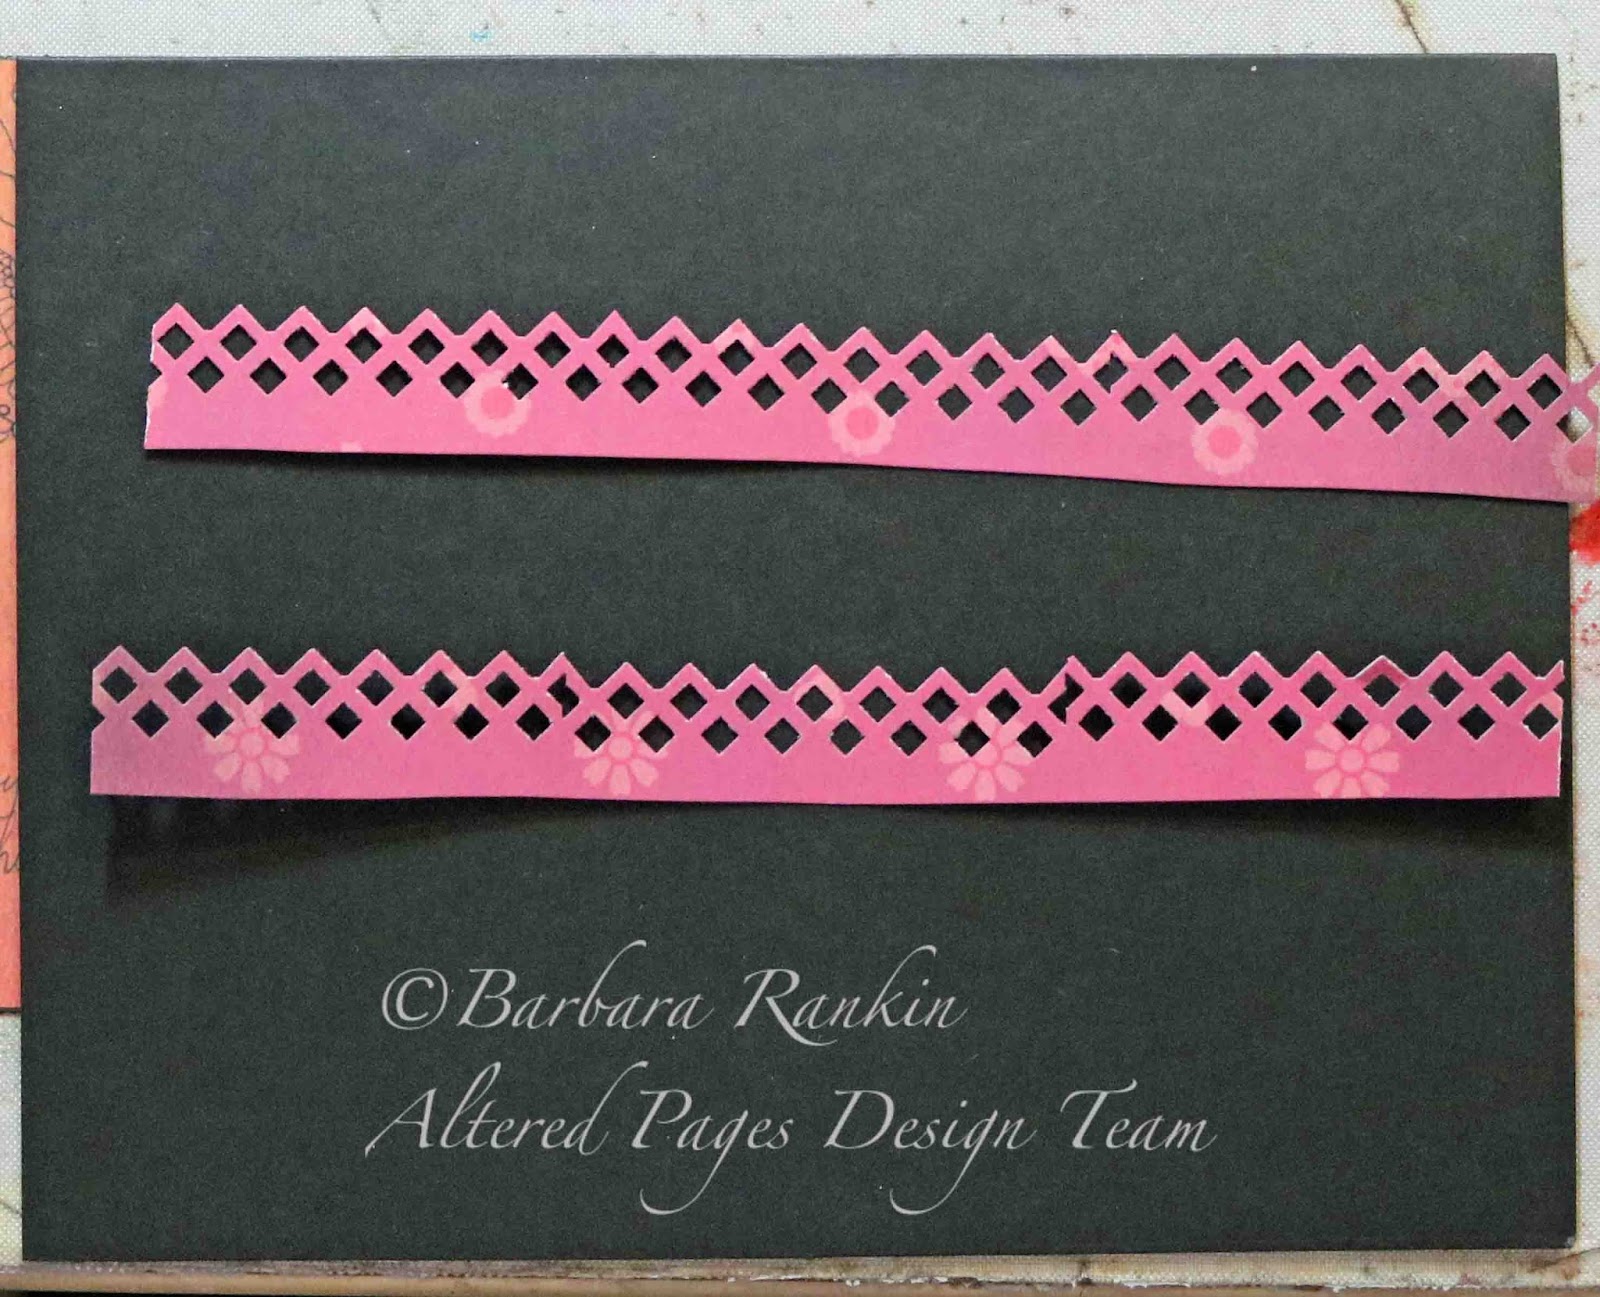
I used a decorative edge punch to make these pink borders from the Picado paper.


I adhered each border piece to the Recuerdos Amor paper using Double Sided Tape ⅜ inch, then adhered the papers to the black card.


I used a scrap left from the Picado paper to die cut a small doily piece, then glued the eco board on top.  To finish if off, I add 3D Crystal Lacquer over the stamped image.


For the tag, I used a piece of the Corazonitos paper cut to 3" x 4-1/4".  I rounded the bottom corners and punched a hole in the top center.  

I cut a small label from the Sentimentios Amor paper and adhered to the lower bottom left of the tag.  I cut a partial image of the guitar from the La Guitara paper and edged with the Black Big Brush pen.  


I used the reverse side of the La Guitara paper and adhered above the small label.  Then I colored it with the orange Gelato, blending the color with the water brush.  I punched another piece of the Picado paper and adhered to the bottom of the tag.  The stamped eco board was glued down over the label and a piece of Sari Silk Ribbon was added through the hole.  


SUPPLIES USED:

Sabor Papel:  Recuerdos Amor, La Guitara, Ramitos, Sopressa, Picado, Corazonitos, Sentimentios Amor
Red Rubber Stamps: Pierced Heart rubber stamp; Divided Heart rubber stamp
Eco board
Gelatos
Big Brush Pens
Water Brushes
Sari Silk Ribbon
Double Sided Tape ⅜ inch
Black Stazon Midi ink pad
3D Crystal Lacquer
Black card stock
Decorative edge punch


I hope you have enjoyed my project today, and be sure to check out all the fun things at Altered Pages.  

Thanks for stopping by, and have a wonderful, creative week!

Barbara

Thursday, May 5, 2016

Display Stand and Card with Gypsy Soul Laser Cuts

Hello everyone!  I have a project to share today that I know you will enjoy, and most likely NEED!  What am I talking about?  Well, it is this nifty little thing called a display stand by Gypsy Soul Laser Cuts.  

As a matter of fact, you may want two, three, four, or more of these to use to display your artwork.  Or how about decorating it and leaving it flat for mailing with your card?  They can insert the sides into the bottom and, because these are made so accurately, the pieces fit together quite tight.  Then, they can display the beautiful card you sent them for all to see!


Let me show you how easy it is to put together.  I chose to keep it simple so it would look great without taking away from the art being displayed.

These are the chipboard pieces with the print paper I have chosen to cover it.


Turn the paper over and trace around the pieces.  Since this particular paper has a direction, i.e., script, you will need to be sure to keep the writing going up  for best results.


Cut out each piece, as shown.  I like to lay it all out before I adhere the papers so I get that script going in the correct direction.


When covering the base, do one side first, then be sure to cut out the holes for fitting the side pieces before covering the other side.  Otherwise, you won't be able to find them.  


Here are a few of the tools I like to use when adhering paper to my chipboard. You can get nice, smooth edges on every piece by first using the craft knife to trim excess paper and cut out around the holes.  Then the emery board works quite nicely for smoothing the edges.  I use a couple of thin metal files to get into tight spots, like the holes, to ensure my "dovetails" will fit nice and tight.


Before gluing the pieces together, I inked the edges with a brown chalk ink.  I find that the chalk ink works better than distress ink for this purpose.


Glue the sides to the base to finish it off.


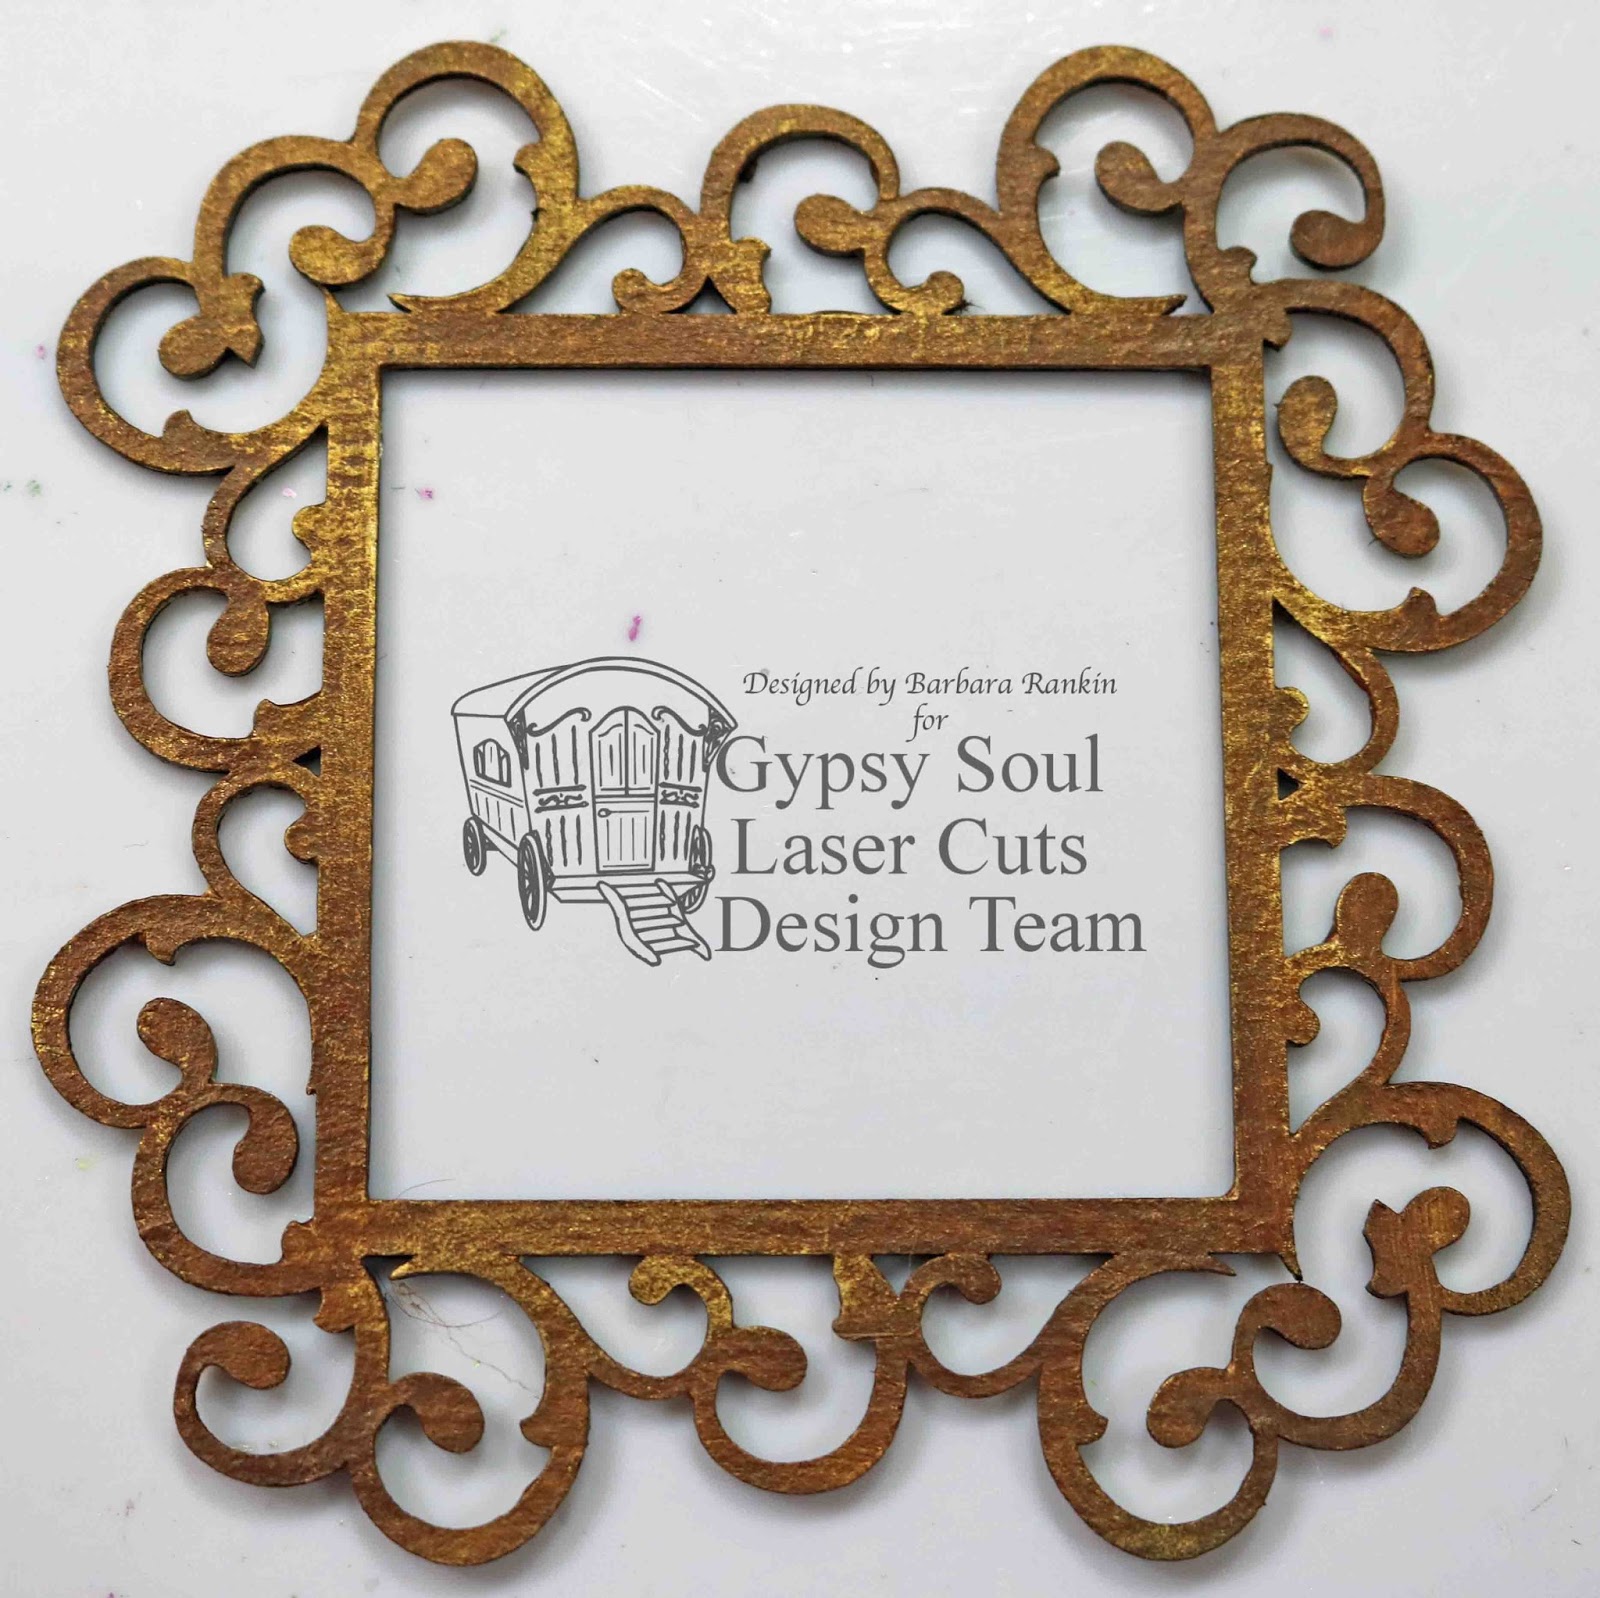
Now let's work on some art to display.  I thought a simple card would be a nice beginning.  I chose the square Filigree Frame to fit over a piece of art I found in my stash.  I painted it with black chalk paint.


Paint over the black with an iridescent gold acrylic paint for an aged look.


Dry brush burnt umber acrylic paint over the frame for an even more aged look, and to make it better match the colors in my paper.


Choose a stackable label to fit the size of the happy birthday stamp.  Treat the pieces the same way as the frame, but on the top part of the label, leave it gold so the stamping will show up better.  Stamp happy birthday with black archival ink.


Cut card stock and layering paper to A2 (4-1/4" x 5-1/2") size.  These are the pieces used for my card.


Put it all together and there you have a beautiful, finished card.


Supplies used:

Display Stand (coming soon)
Filigree Frames Shape Set
Stackable Labels Shape Set
Acrylic paints
Black archival ink pad
Brown chalk ink pad
Emery board
Craft knife
Metal files
White glue

I hope you enjoyed this fun little project today, and get yourself a bunch of these Display Stands to showcase all kinds of art work, or to give as gifts.  

Thanks for stopping by, and have a wonderful, creative weekend!

Barbara

Wednesday, May 4, 2016

Cinco de Mayo Blog Hop with Craftwell and Sabor Papel

Happy Cinco de Mayo!!!!  I hope you are enjoying the festivities of our blog hop.  There are lots of inspiration from our design team, along with the Sabor Papel team, and other invited guests.  There are prizes to win, so be sure to leave comments along the way.

Sabor Papel is a brand new company that makes these beautiful and bright papers and embellishments.  Their papers are high quality and double-sided, heavyweight card stock.  We are sharing lots of ideas and inspiration for using their products in your own celebrations, along with the fabulous products by Craftwell USA!  So sit back and enjoy!


Supplies used: 

Craftwell USA eBrush
Sabor Papel:  Ole 107 Dulces; Celebrar label
Copic Marker:  BG18-Teal Blue
Spectrum Aqua Markers:  Spice, Wildflower, Meadow, Bud Green
Scoring tool
3" Blue doily
Flowers and foliage dies
Decorative edger punch
Coffee filter paper
Wavy wood stick
White glue

Score 12x12 Ole 107 Dulces paper every half inch with score tool.


Cut paper in half horizontally for this particular paper, since it has a directional design.


Accordion fold each section of paper, as shown.


Glue both pieces together to make one long strip.  Use a decorative edge punch along one edge.


Add dots of glue to bottom edge of strip between each fold.


Make scores in center of decorative doily 1/2" apart, as shown.


Squeeze accordion folds together along bottom where glue was added, center and adhere doily along bottom, wrapping around the fan shape, as shown.  Use clips to secure while glue dries.

Front


Back
Die cut flowers from white coffee filter paper.  


Color larger petals with Spectrum Aqua Spice marker.  Since these markers are water-based, you can spritz the paper with water, if you like, to help the color spread.


Cut petals apart and pinch at the bottom to make flowers.  These remind me of Bougainvillea flowers.


Next, eBrush small petals with the Wildflower marker, again spritzing with water to help the colors spread easily.


Use eBrush to spray Wildflower marker over them, again spritzing with water if you like.


If you do not clean your craft mat before beginning to spray your next set of lighter colored flowers, you will pick up the previous color from the mat.  In this case, the flowers picked up the Wildflower color.  I kind of like the variegation as it looks more natural.

Make the rest of the flowers the same way as before, pinching at the bottom and twisting to get your flower shapes.


eBrush a piece of white card stock with the Bud Green marker.


Die cut the foilage piece over the colored paper.


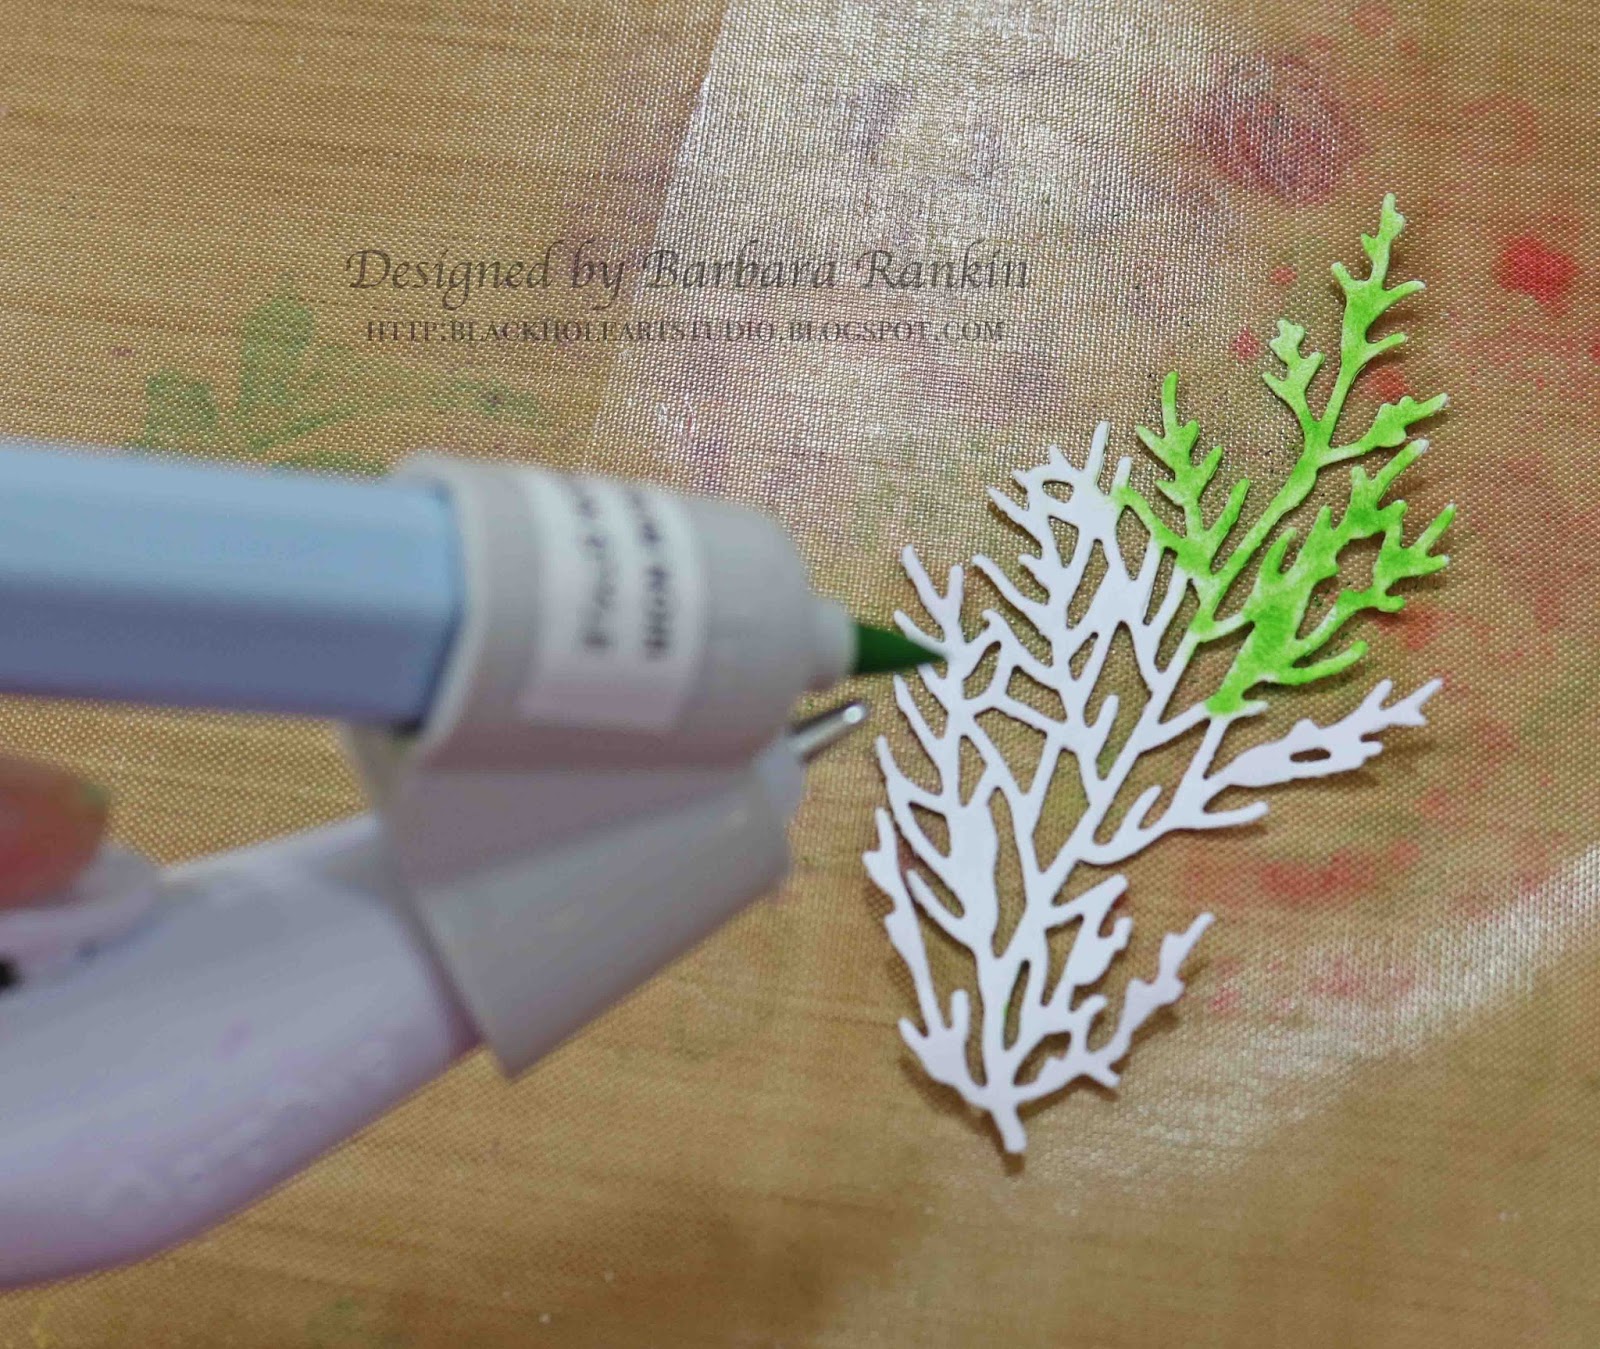
Alternatively, you can simply die cut your paper first, then color the delicate foliage leaves.  The eBrush is perfect for coloring this way as you are not touching the delicate fronds with a sponge or ink pad and possibly ripping them apart.  


Add foilage and flower petals to base of fan, as shown.  


To make the fan free-standing, eBrush a wavy wood stick with Copic BG18 marker.  


Center and glue the stick along the bottom of the fan.  As you can see, the fan is now free-standing and can be used as a table decoration, but can also be used as a traditional fan, as well. 


And here is a close-up of the flowers and foliage.  I also added the Sabor Paper embellishment "Celebrar!" in the bouquet.


Now, we are ready to celebrate Cinco de Mayo!!!  Let the festivities begin!

I hope you are enjoying the hop today, and be sure to leave comments along the way for your chance to win some really great prizes!  The complete list of bloggers is included for your convenience.

Have a wonderful Cinco de Mayo!!!!

Barbara

Tuesday, May 3, 2016

Art Journaling: Beautiful Things Video Tutorial with ColourArte

Hello friends!  I want to share another art journal video tutorial using the gorgeous products from ColourArte.  I love to start my pages with quotes and go from there.  How do you start your pages?


Enjoy the video!


A complete list of supplies is included in the video and in the description section below the video.

I would love if you would leave me a comment and let me know what inspires your art journal pages, and what you use to get started.

Thanks for stopping by and have a wonderful, creative week!

Barbara