Friday, March 6, 2015

ColourArte Art Journal Techniques

Hello everyone.  Today, I am sharing my very first post with the new ColourArte Design Team.  I can only give you a sneak peak at my project, which means you will have to click here to see my full tutorial and project.


Supplies:

ColourArte:  Radiant Gels Dimensional Paint:  Guatamalan Green, Indian Copper, Emperor's Gold
Radiant Rain Color Concentrate (daubers): Mallard, Nutmeg, Mediterranean, Wine & Roses
Radiant Rain Shimmering Mists™: Autumn Leaf, Butternut, Seafoam, Key Lime, and Teal Zircon

Other:
Unbleached muslin
Joint compound (Home Depot)
AP 2065 Fly With Steam collage sheet (Altered Pages)
Chicken Wire stencil (Sin City Stamps)
Mini Bee on Time stencil (TCW)
Rubber Stamp:  Worn Alphabet (Tim Holtz)
Black archival ink (Ranger)
White gel pen
Tiny Text Stickers (Cosmo Cricket)
Bird stickers (Studio 112)
Charcoal pencil (black and white)
Blending stump

For my first project, I thought it would be fun to make an art journal from fabric. What better way to test out new products than in an art journal. Like I said, I can only give you a few glimpses, and here are a few to hopefully entice you!
Stop by the ColourArte blog daily to see more of the fabulous creativity from the fabulous design team.  And be sure to stop by ColourArte to get your hands on some of these wonderful paints!

Thanks for stopping by, and stay crafty, my friends!

Barbara

Sunday, March 1, 2015

House of Cards March 2015 Challenge - Enamel Dots

Hello everyone, and welcome back to a new monthly challenge here at House of Cards.  I so enjoy seeing all the creations each month, not only from the design team, but also from you, the challenge participants.

This month's challenge is ...

There are many videos out there showing how to make your own enamel dots using pony and perler beads.  Here is a youtube video by Brittany H showing just how to do this.  I made a bunch of different sizes and colors to have on hand using Brittany's directions.  And check out how my fellow design team member, Lillian, shows you another way to make your own enamel dots. The fun just doesn't end.

And here is my inspiration card for this month's challenge.


Fold Kraft card stock in half to make 5" x7" card.  Trim blue print layer to 4-1/2" x 6-1/2".  Distress edges.  I used my Distress-It-All tool, but use whatever tool you have to do this.  Apply Mowed Lawn DS around edges, then blend with blending tool and adhere to card front.

Trim Music print layer to 1-1/2" by 6-1/2".  Dry emboss with chain embossing folder.  Distress edges.  Apply Gathered Twigs DS around edges, blend with blending tool and adhere to left side of card front.

Color seam binding with Mowed Lawn and water.  Adhere strip around top edge of print layer.  Make a single loop bow from a second piece and adhere to card, as shown, adding paper butterfly over bow center.

Cut out sentiment from paper pad, edge with Gathered Twigs DS and adhere to upper right of card front.

Die cut large medallion from a piece of pink print paper, and the small medallion from the green print paper. Add a bit of the Mowed Lawn DS over the small medallion. Adhere small medallion to center of large medallion, adhere to lower half of card front.

Cover the chipboard dress form with Tarnished Brass DP, add the Verdigris embossing powder to it while still wet.  Heat the embossing powder.  I liked that some of the brass color showed through, so I left it with the one coat of embossing powder.  Adhere to lower right with foam dots.  Add cream colored enamel dots along bottom edge.

Add a spray of various flowers to the left side, adding a large pink enamel dot in the center of the largest flower.

For more bling, I added light blue enamel dots at the four corners of the large medallion, and tan enamel dots at the corners of the sentiment.  How fun is this?

Supplies:

Kraft card stock (7" x 10")
Kaisercraft Kaleidoscope 6-1/2" paper pad
Spellbinders Victorian Medallion Two
Lifestyle Crafts GooseBumpz Chain embossing folder
Perler and Pony (5mm and 9mm) beads (various colors)
Chipboard dress form (Gina's Designs)
Ranger Antiquities Verdigris embossing powder
Distress Stain (DS): Gathered Twigs, Mowed Lawn
Distress Paint DP): Tarnished Brass
Ranger blending tool
Zutter Distress-it-All
Webster's Pages lace
5/8" seam binding ribbon
Paper flowers and butterfly (Petaloo and Recollections)

I would also like to share my card with Imagination Crafts Challenge Blog-Anything Goes

Thanks for stopping by, and please come back on Monday for MORE inspiration from this very talented Design Team!  We hope you join in the fun, too--please check out our House Rules HERE before linking up!  I can't wait to see your creations!

Barbara xo

Tuesday, February 24, 2015

Unruly Paper Arts Guest Artist Spotlight

Hello everyone!  I am so excited to share with you that I am in the guest artist spotlight today over on the Unruly Paper Arts blog.  I hope you will stop by and check it out, and hopefully leave me a comment and let me know you were there.
This month's theme is Fully Booked.  I think you know what that means.  Each of the talented artists will be sharing something book related with you, and so far, there is so much inspiration, you won't want to miss a second of it.  Today, I will be sharing an altered book project with you.  I hope you will pop on over to the UPA blog and let me know what you think of my book.  I am very proud of it (if I do say so myself) and I hope you enjoy it!

If you have a little time, you might want to check out my artist spotlight earlier in the month on the Unruly Paper Arts blog by clicking the link.

Thanks for stopping by, and have a wonderful and creative week!

Barbara xo


Saturday, February 14, 2015

ColourArte Design Team Announced

Happy Valentine's Day!  Today I have some wonderful news to share with you all.  I have been asked to be a part of the ColourArte design team, and I could not be more thrilled.  ColourArte is the company that makes those fabulous Twinkling H20s that we have all grown to love, but in addition to that, they also make those shimmery Silks Acrylic Glazes, as well as Primary Elements Artists Pigments™, Radiant Rains, and a brand new product called Radiant Gels.  

Whether you are a mixed media artist, scrapbooker, card maker or paper crafter, you will find the line of products from ColourArte to be an amazing addition to each of your artistic creations.

I hope you will not only visit the online shop, but also check out their Facebook page by clicking here, and be sure to LIKE their page.  That way, you will get all the latest news and updates, and sales, too!  And be sure to stop by their blog to meet the new Design Team!!!  

Crafty hugs,

Barbara

Monday, February 9, 2015

Unruly Paper Arts Artist Spotlight

Hello everyone!  I am so excited to share with you that I am in the artist spotlight today over on the Unruly Paper Arts blog.  I hope you will stop by and check it out, and hopefully let me know you were there.

This month's theme is Fully Booked.  I think you know what that means.  Each of the talented artists will be sharing something book related with you, and so far, there is so much inspiration, you won't want to miss a second of it.

And later in the month, February 24th, I will be sharing an altered book project with you.  I hope you will visit the UPA blog often to see all of the fabulous book projects being shared.

Thanks for stopping by, and have a wonderful and creative week!

Barbara xo

Altered Pages Valentine and Storage Tips

Hello everyone!  It's me again, yep, with another fast and easy Valentine's Day card.  I just love the vintage feel of Altered Pages' collage sheets, and this one is a beauty.
I had this card stock in my stash, and while I don't expect you to have it, too, I want you to take a look at the papers and card stocks that you do have.  Pull them out and see what collage images go along with your own stash.

There were several images on the Les Fleurs collage sheet that I thought would go very well with this card stock.  What do you think?  Am I right?

This particular image of the little cherub with a wheelbarrow full of flowers just jumped right out at me.  So, I first adhered her to a piece of chipboard with Nori Paste and cut it out.
Edge chipboard image with brown distress ink.

Adhere Gold Opulence Stickers Corners and go around the edges with a Gold Xtreme Pen.


Stamp and heat emboss "Happy Valentine's Day" at top center with VersaMark ink and gold embossing powder.

Adhere chipboard image with Scor-tape.

Add a few punched leaves from green card stock around the edges.

Add a bit of Stickles glitter glue randomly to the surrounding flowers imprinted on the card for extra "OOOMPH"!!!


Now, for my storage tip!  How do I store my Stickles glitter glue?  I am sure you have seen these pencil cases in the drug store, Wal-mart, office supplies stores, etc.  You will always find them just before school starts.  I stock up then and store many things inside, like pens and pencils, embossing tools and other supplies that I use in my paper craft, and of course, my Stickles glitter glue bottles.


They fit perfectly inside these little holders, and stack very nicely inside a drawer, on a shelf, or whatever your storage system may be.

I also use the index card size ...


... to hold my gem stickers.  There are so many uses for these, and I particularly like that they stack nicely while containing things that otherwise would roll around and get lost, or in the case of gem stickers, I usually find these stuck to the bottom of my shoe.
Stay tuned this month, as the design team is sharing not only their fabulous art all month long, but more storage tips for you to take with you and try out.


The Altered Pages giveaway this month will be a Treasure Box of supplies and tools!  All you need to do is leave a comment on their blog and share us on your Facebook page to be eligible. (tell us you shared)


The February Giveway will include a Cigar Box with binder clips, ATC cards, Memento Marker, oversized paper clips and a sturdy colorful band for closure. 


As always, thanks for stopping by, and have a wonderful and crafty week!


Barbara


Sunday, February 1, 2015

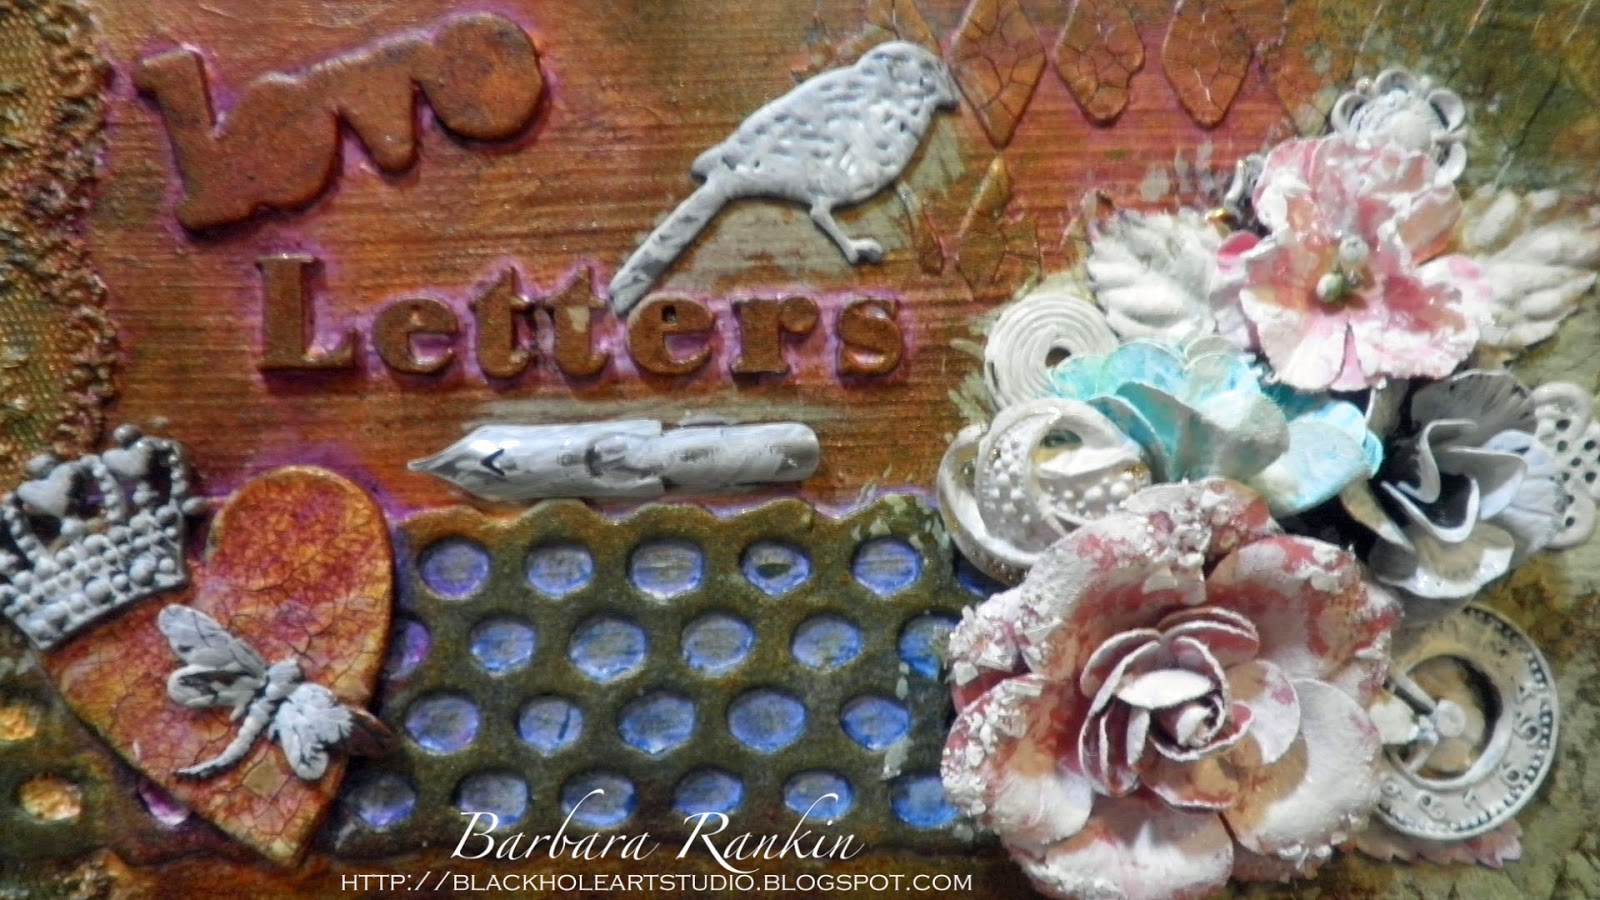
ColourArte Design Team Application-Love Letters Keepsake Box


Hello everyone.  Today, I have the great pleasure of trying out for a fabulous company, ColourArte.  This company sells Twinkling H20's Watercolors, Silks Acrylic Glazes, Radiant Gels Dimensional Paints, Radiant Rains, and Primary Elements Artist Pigments.  While I have been using Twinkling H20's and Radiant Rains for years, the newer (to me) Silks and Primary Elements are so beautiful, I think they may be my favorites.  Of course, each product has a use, depending on how you wish to use them and the look your are trying to achieve.

Since Valentine's Day is just around the corner, I decided to alter a box to hold love letters.


Side Front
Side Back
I started with an empty Cricut cartridge box.
I painted the outside of the box with Utrecht white gesso.  It is very thick and only one coat covered all of the writing very nicely.

I added a scrap piece of lace to the still wet gesso and allowed everything to dry.
While that is drying, gather chipboard, die cuts, ephemera, metal bits and charms, and anything you plan on using on the top of your box.
Use a spatula to spread the crackle paste through the stencil and allow to dry.  Continue adding the stenciled crackle paste along the back of the box, as well.  Do not use a heat gun to speed drying time for this step.  (See Fig. 1 below).
Allow the paste to air dry to form the crackles.
Adhere chipboard pieces and alphabet letters to box, as shown.
Use a ruler to help keep letters straight.
Cover entire box with another coat of white gesso.  Add a medium thick coat of crackle paste to the chipboard heart and allow to air dry.  Then adhere over honeycomb chipboard.
Randomly add streaks of crackle paste along the two side edges (See Fig. 2 below), as well as along the front edge on either side of the chipboard ornamental.

Add Burnt Umber Primary Elements to white gesso and mix together on your craft sheet.
Paint inside edges of box, as shown.  Allow to dry.
Adhere print paper to inside of box, leaving scant borders all around each section of the box.  One 12"x12" sheet of paper will cover the inside.  
Now comes the real fun ... coloring!!!  I began adding colors using the Silks Acrylic Glazes, beginning with Pomegranate, Ginger Peach, Yellow Rose, Olive Vine, and Bolivian Blue.  
I wanted my box to look quite old, so I needed to darken the colors.  I made a spray mist by adding Burnt Umber Primary Elements to a mini mister bottle.  I have no formula, just add small amounts  of the Primary Elements until you like the color.  A very little goes a long way.  Spray over the box and dab off some of the excess with a paper towel or baby wipe.
 
Also add this mist along the front and side edges.
Now get those embellishments out and start adding them to the top of your box.  I have used chipboard die cuts, fabric flowers, metal charms, buttons, and various embellishments. Once you like the arrangement, glue everything down to the box and allow to dry.  (NOTE:  I removed the Special Memories tag to be added at the very last, but this is where I will place it.)
Add a light wash of white gesso over these pieces and allow to dry.
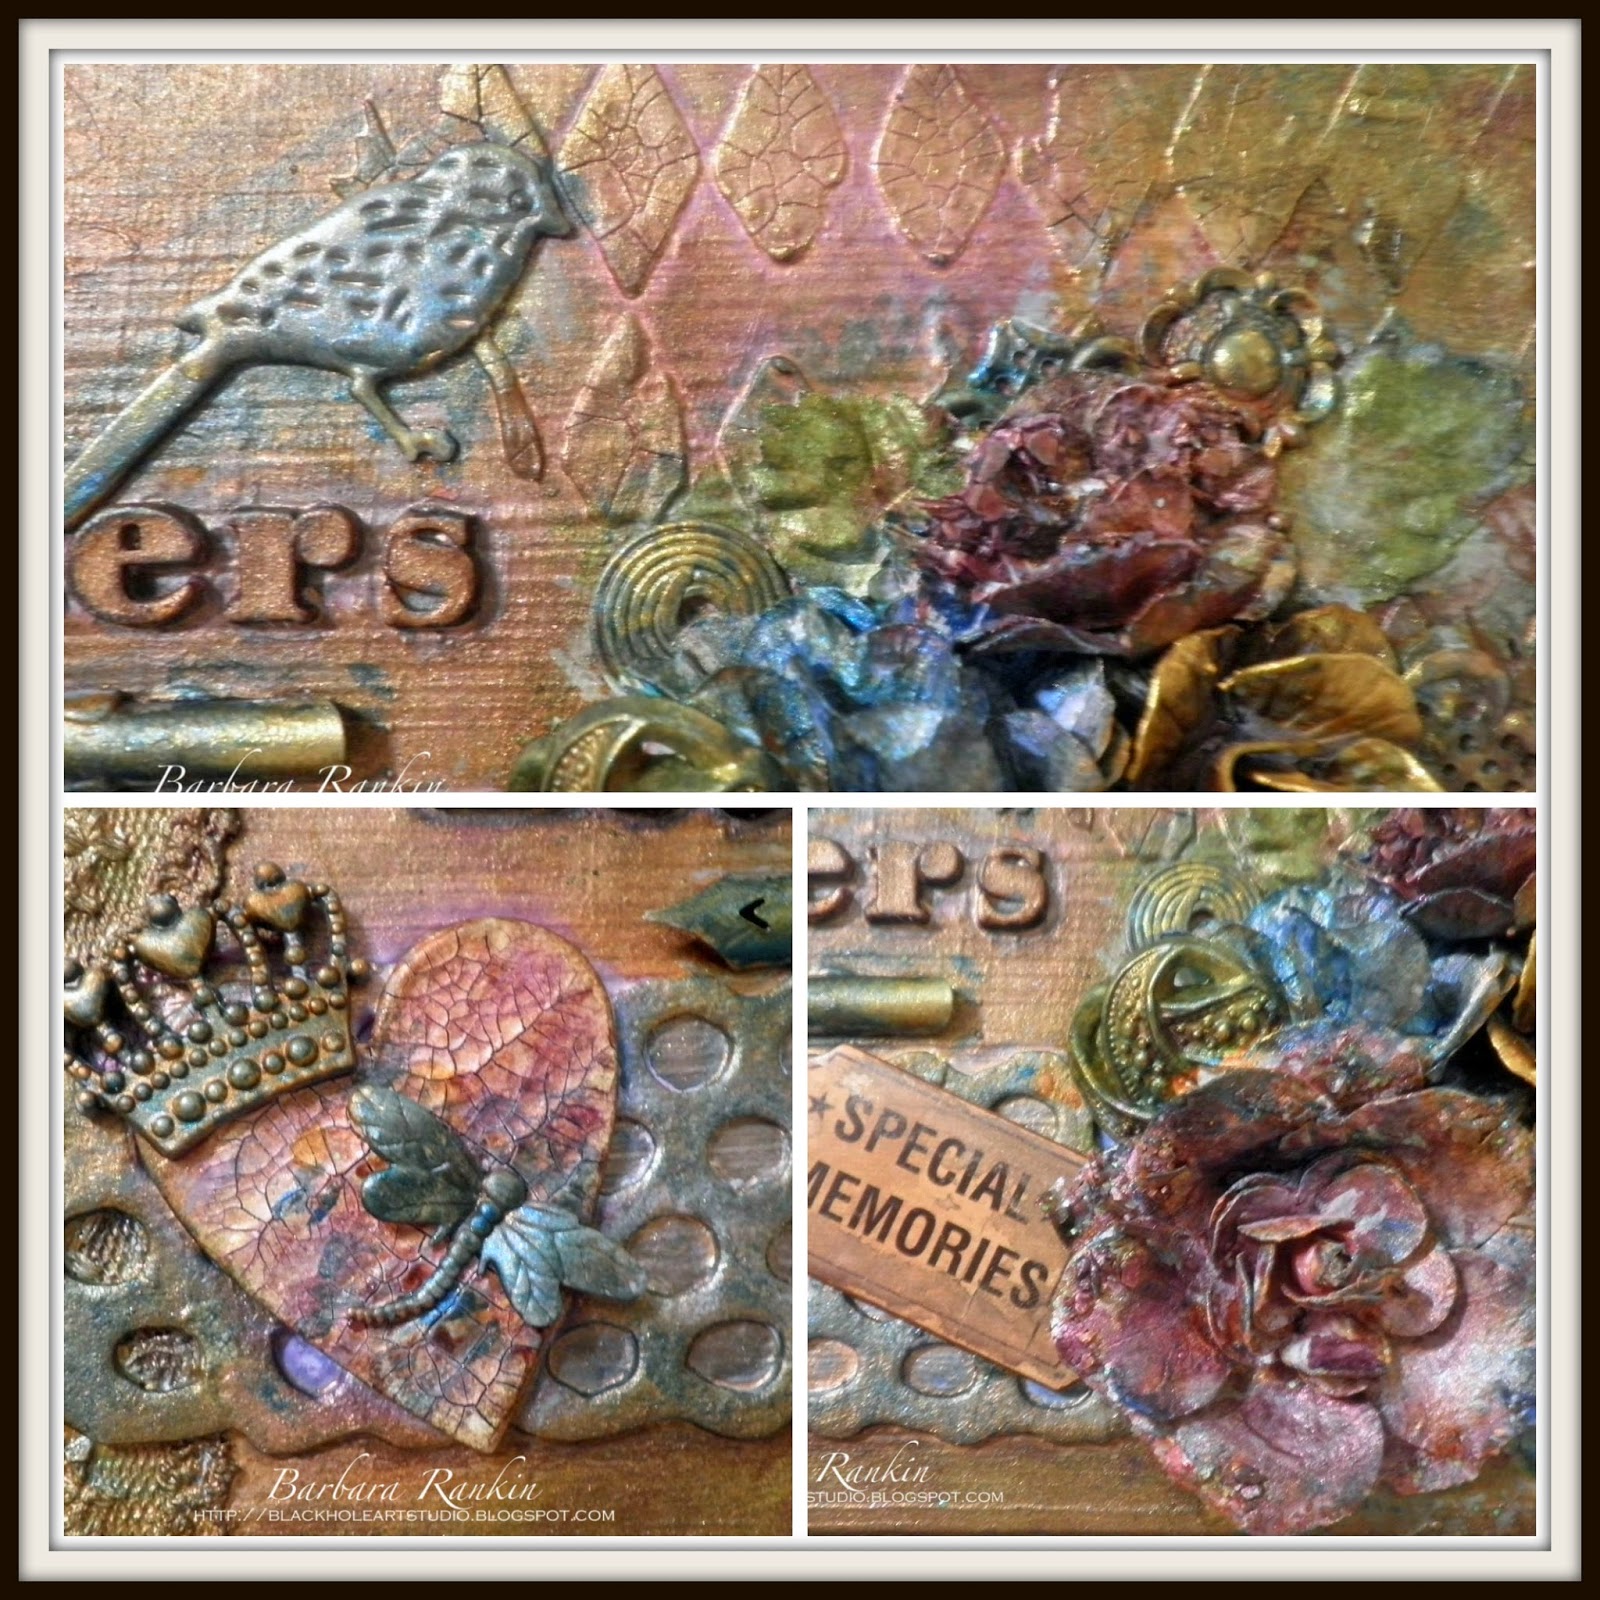
Brush more of the Silks Acrylic Glazes in Pomegranate, Ginger Peach, Yellow Rose, Olive Vine, and Bolivian Blue.  The goal is to unify these additions while maintaing a bit of contrast. Since the colors are so beautiful, I wanted to share as much of the beauty as possible by including some closeups of the individual sections.


To add some additional highlights to a few embellishments, I used a tiny round paint brush, dipped into water, then picked up a scant amount of Sunflower Primary Elements to make this gilded color.
I added tiny touches of this luscious, golden color to the chipboard ornament on the front of the box. I absolutely love the color variations.
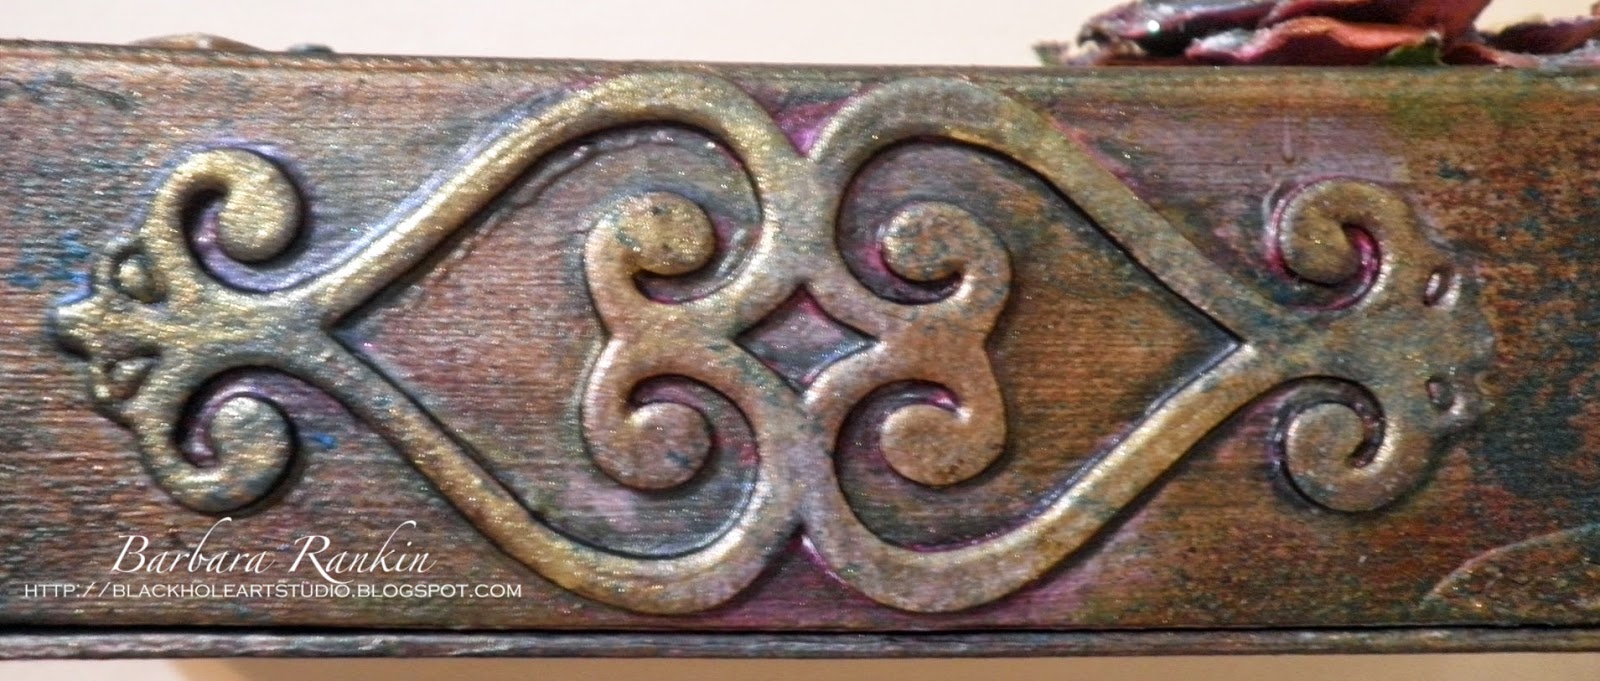
A few closeups of the sides, where I also added some of this golden color.
Fig. 1
Fig. 2
I then added blobs of that golden color to my metal flower, simply by brushing the excess off of my brush onto the edges of the metal.  Isn't it gorgeous?


Supplies used:

ColourArte products: Silks Acrylic Glaze: Pomegranate, Ginger Peach, Yellow Rose, Olive Vine, Bolivian Blue;  Primary Elements Artists Pigments:  Burnt Umber, Sunflower

Cricut cartridge box (empty)
Utrecht white gesso
Cuttlebug 2x6 die sets:  (Poppies & Honeycomb) (Ornamental)
Cuttlebug 2x2 Butterfly Combo cut and emboss set
DecoArt Media Crackle Paste
Tim Holtz Harlequin stencil
Metal charms and embellishments, chipboard, buttons, metal clips, vintage paper ticket, mini mister, Prima flowers and leaves

I hope you enjoyed my repurposed box project today, and that I have inspired you to try some of these luscious and beautiful ColourArte products.  You won't be disappointed!

Thanks for stopping by, and have a wonderful, creative week!

Barbara