
Welcome to Day 15 of the 31 Days of Halloween Blog Hop. As you know by now, I am participating in this month-long blog hop with some extremely talented artists. The complete list of Wicked Bloggers (that's what we are called) are in my side bar. There are lots of prizes in the daily scavenger hunt, and a Grand Prize worth over $300.
I have another Halloween card for you today. As I said, I love making cards, and even better, the focal image is sized just right for an Artist Trading Card, if you are a collector of ATCs.

Trim black card stock to 4-1/4" x 5-1/2", fold in half to make top-folded card.
Stamp image with Black StazOn onto white card. Adhere 1-¼" circle punch from a post it note to mask the moon area. Apply Antique Linen over entire piece.
 Apply Rusty Hinge over entire piece, keeping it darker around the edges, and lighter as you move toward the center.
 Apply Black Soot around the edges, again keeping it darker around the edges and lighter in the middle.
 Trim MME green herringbone paper from Butterfly pad to 3-1/2" x 4-3/4", edge with black soot and adhere to card front., then add 2-3/4" x 3-3/4" black magic card stock layer. Scruff up paper edges with sandpaper or emery board.
 Trim stamped image to size and adhere to black layer with fun foam or pop dots.
 Trim second strip of paper from the green herringbone paper to 1/2" x 4-1/4". Ink SCS border with Spiced Chai StazOn midi and turn paper over to stamp on reverse (solid green) side. (TIP: Instead of trying to line up the strip of paper by stamping onto it, I laid the strip on top of my stamp.)
 Adhere strip to card base, as shown.

 Cut orange "31" and black bat from both dies listed. Add Rusty Hinge to "31" to make the orange card stock coordinate better with the focal image.
Add Smooch Pumpkin accent ink around edge of numbers.
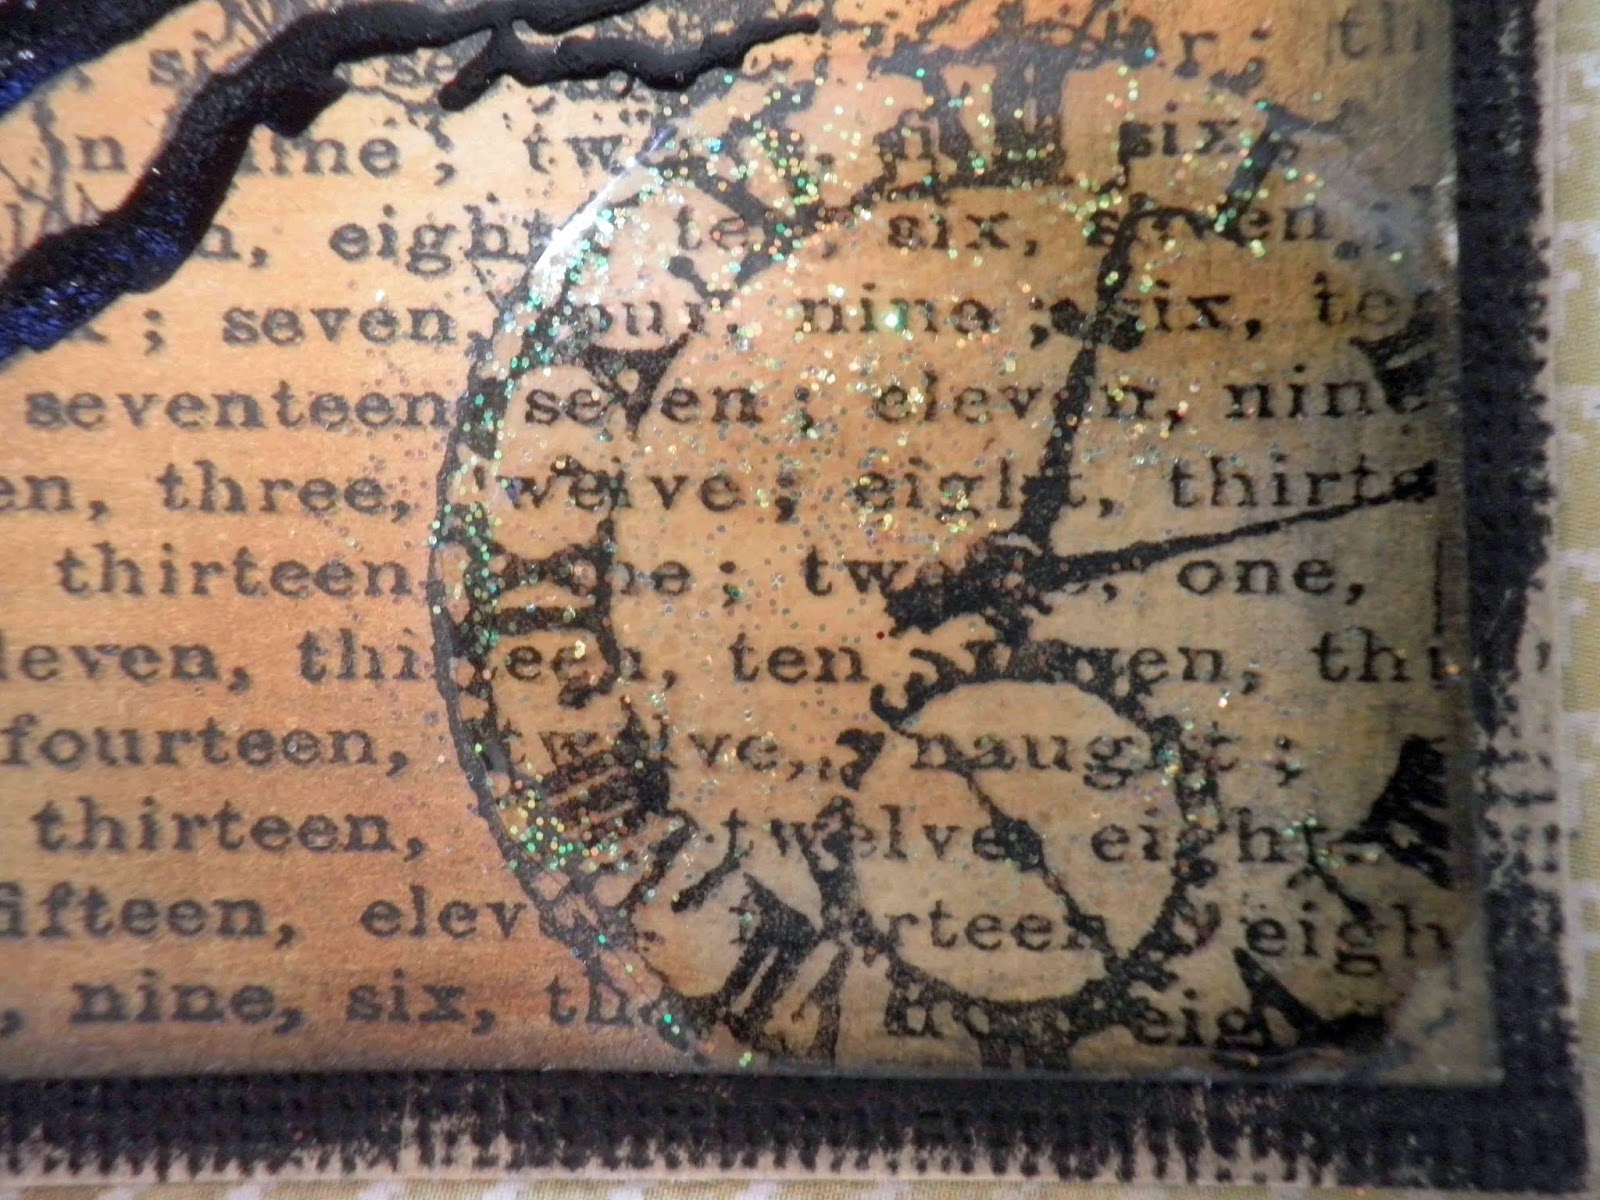
 Add Smooch Green Apple accent ink for eyes to bat, then add 3D Crystal Lacquer over bat and the clock on the focal image.
 While the lacquer is still wet, sprinkle very lightly with the Blue Water glitter. All to dry.
 Add these embellishments to card front, as shown in finished photo above.
Here is a pic of the products used to embellish those die cut pieces.
 Supplies:
Stamp image with Black StazOn onto white card. Adhere 1-¼" circle punch from a post it note to mask the moon area. Apply Antique Linen over entire piece.
Using the Tuxedo Black Pico Embellisher, highlight the prominent portions of the tree. This really brings the tree image forward and makes it "pop".
Here is a pic of the products used to embellish those die cut pieces.
Card stock: Black, Black Magic Core-dinations, White
MME Butterfly 6x6 paper pad
Sin City Stamps Metal Madness stamp plate
Stampers Anonymous/Tim Holtz P4-1295 rubber stamp
IMAGINATION Crafts/Tsukineko: Jet Black StazOn and Spiced Chai midi ink pads
Distress Ink Pads: Antique Linen, Rusty Hinge, Black Soot
Sizzix/Tim Holtz Movers & Shapers dies: Mini Spider & 31; Mini Bat & Skull set
Colorbox Smooch Accent Inks: Pumpkin; Green Apple
Art Institute Blue Water fine glitter
3D Crystal Lacquer
Please be sure to visit each blog listed in the side bar and leave comments for chances to win the big prize at the end of the month, and look for the Scavenger Hunt prizes each day.
Thanks for stopping by.
Barbara Rankin
Gorgeous card! Love the inking and the fab way you enhanced the tree. Beautiful job! xxD
ReplyDeleteI love your card! Thanks for sharing the techniques and products - Love how the tree stands out like that! Fabulous! mo x
ReplyDeleteFabulous card. Love how you made the background.
ReplyDeleteThank you for a wonderful tutorial.
ReplyDeleteThis is a beautifyl card.
Wonderful card and ATC love everything about it....shall give this ago!
ReplyDeleteGorgeous! Love all the details of the process!
ReplyDeleteLove the texture and layers! Thank you so much for the walk thru, it is so inspiring so actually 'see' how to make it! I love the tree and the color!
ReplyDeleteawesome!
~kim
BOOtiful creation! I love all the layers and how you built up the scene!
ReplyDeleteFab creation, thanks for sharing the process.
ReplyDeleteGorgeous card, thanks for sharing your creation process.
ReplyDeleteLove the book page background and the light on the orange is wonderful!! You did such a wonderful job on this!!
ReplyDeleteWONDERFUL card! Love seeing your process--so many great little tips to pick up--thank you for sharing that!
ReplyDeleteLove the clock hidden in the backround, and how the red numbers really pop
ReplyDelete