Showing posts with label Radiant Rains. Show all posts

Friday, February 16, 2018

How to Decorate Eileen Hull's Journal Cover with Mixed Media Techniques

Hi everyone!  We all love Sizzix dies, and this journal die from Eileen Hull is ever so popular.  So, I will be decorating this cover using some of my favorite mixed media techniques.  If you are new to mixed media, I have a fairly short video tutorial with step-by-step directions to help you along the way. 


I hope you will subscribe to my channel to help me meet the new You Tube video requirements for smaller channels, like mine.  


CLICK HERE TO SUBSCRIBE TO MY CHANNEL

ColourArte Supplies Used:

Vivid Ultra Metallics
  African Jade
  True Metals Autumn Flame
  Teal Zircon
  Royal Orchid
  Siam White
  Ginger Peach
  Mango Freeze
Radiant Rains Daubers
  Egyptian Gold

Other Supplies Used:
Sizzix/Eileen Hull Journal Die
Sizzix/Tim Holtz Layered Bee Die
Sizzix/Tim Holtz Regal Crest Die
Sizzix/Tim Holtz Honeycomb On The Edge Die
Sizzix White Scoreboards or mat board
Tim Holtz Honeycomb stencil
Dylusions Letter Jumble stencil 5x8
Black chipboard
Xyron 3" sticker maker
Graphix .020 craft plastic
Versamark ink  pad
Stampers Anonymous G3-1074 "Trust Your Crazy Ideas"
  wood mounted rubber stamp (Tim Holtz)
Ranger Archival Black ink pad
Ranger Eucalyptus Stickles
Ranger Black Enamel Accents
Ranger Glossy Accents
Ranger foam blending tools
WOW Silver Pearl embossing powder

Thanks for stopping by, and have a wonderful, crafty day!

Barbara 

Friday, November 20, 2015

Mixed Media: Christmas House Gift Package/Home Decor

Hi everyone!  I have another ColourArte Video Creator tutorial for you today.  I've been shopping at the Dollar Store again, and I found this cute little box that is shaped like a house.  With the upcoming holidays just around the corner, I thought this would make a beautiful gift package for someone special, or turn it into a decorative holiday home decor piece.


To see how easy and fun this is to make, check out my video tutorial here.


ColourArte Supplies used:

Radiant Rains Daubers
Solar Gold
Egyptian Gold

Silks Acrylic Glazes:

Oyster
Fern
Stargazer
Vintage Mint
Carmen

Primary Elements Arte Pigments:

Vanilla Bean
Ginger Flower
Azurite
Bashful Blue


Other supplies used:

Gina's Designs Lasercuts:  Border Stick Shell, Snowflake Shape Set, Cottage Windows Small
Altered Pages Collage Sheet: Victorian Christmas
Dollar Store house shaped box
Spellbinders Die D-Lites Edwardian Door
Cream card stock
Stencils:  TCW169s mini Kasbah; Ranger Dylusions Alphabet Border small
Distress ink: Antique Linen, Pumice Stone
Aleene's Fast Grab Tacky Glue
Paper Studio Glue Stick
Liquitex White Gesso
Golden Light Molding Paste
DecoArt Media White Crackle Paste
Ranger Stickles Glitter Glue Crystal
Ranger Emboss It Clear Dabber
Stamp-n Stuff Winter Wonderland Embossing Powder
White 99grit German Glitter

If you like my project today or have any questions or comments, I would love to hear from you.  If you would like to see more video tutorials, I would love for you to subscribe to my youtube channel, by clicking here, or in the video.

Thanks so much for stopping by, and have a wonderful holiday!

Barbara

Friday, October 16, 2015

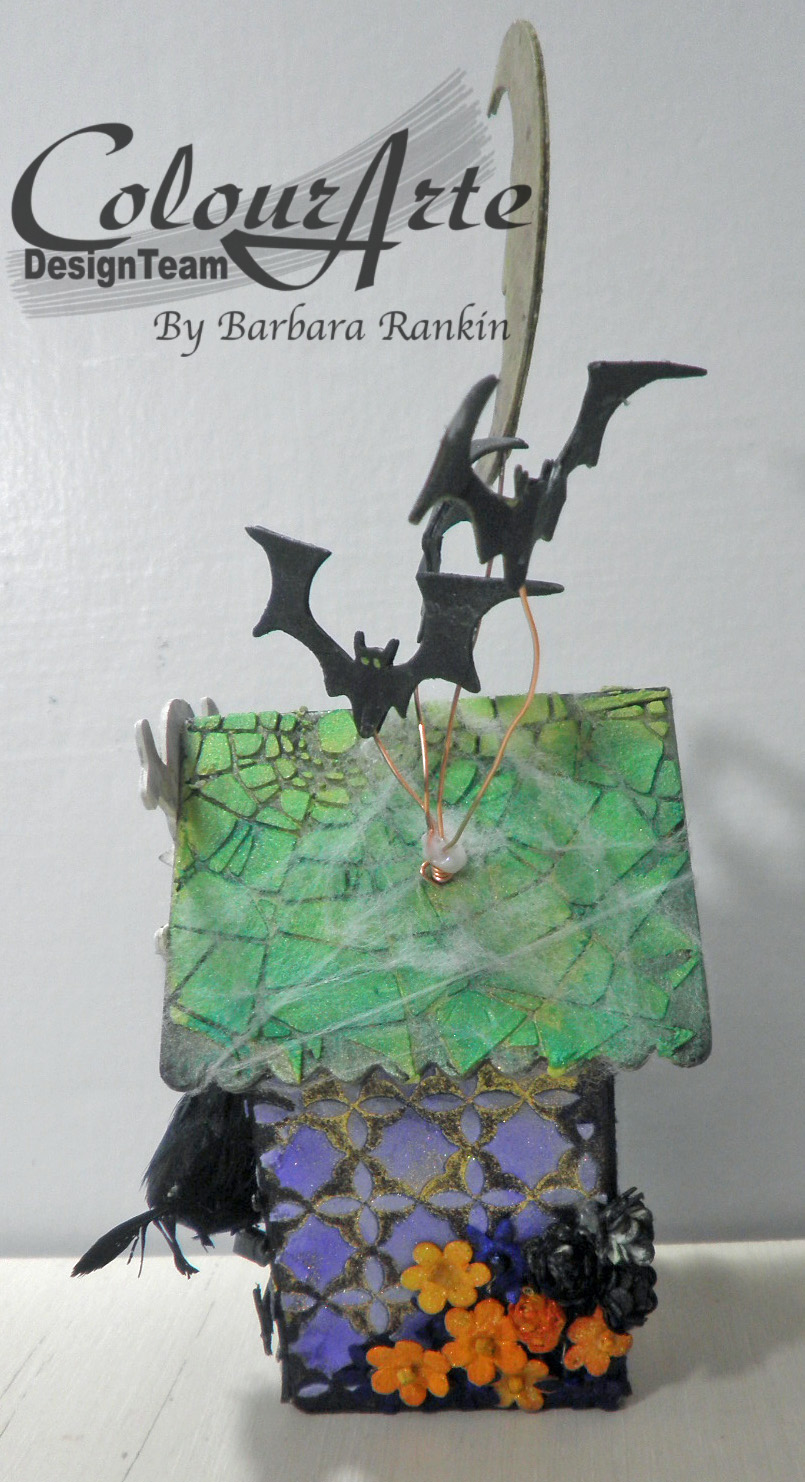
Ravenswood Manor with ColourArte

Hello and welcome everyone!  Well, here we are in the middle of October.  My, the time is flying so fast, and Halloween will be here before we know it.  I love making Halloween projects, and my ColourArte paints are waiting to turn this cute little birdhouse die from Eileen Hull into something spook-tacular!


I made a video tutorial to share the creative process and show you how wonderful the ColourArte products are, and how well they work together.


Just for fun, here are a few still photos of the project, but I hope you will take a few minutes to watch the video to see the creative process, as well as watch how well the ColourArte products work.  If you like my video, I would appreciate if you would give me a thumbs up, and subscribe to my youtube channel so you will be the first to know when I post my next video.


In honor of those we know who have battled with this disease, please be sure to make a generous donation to the National Breast Cancer Foundation

Supplies used:

ColourArte Radiant Rains Shimmering Mist:  Snapdragon

ColourArte Radiant Rains Dauber:  Solar Gold, Mallard Green, Yellow Rose, Rich Cobalt
ColourArte Silks Acrylic Glaze:  Carmen, Key Lime, Clear Clear Glaze Medium
ColourArte Primary Elements:  Vanilla Bean, Mandarin Citrine, Burnt Umber, Smokey Diamond

Other:

Black chipboard
Black card stock
Sizzix/Eileen Hull 658451 Birdhouse 3D 
Sizzix/Tim Holtz 658248 Mini Spider & 31
Sizzix/Tim Holtz 657458 Mini Bat & Skull Set
Sizzix/Tim Holtz 658725 Mini Owl & Crescent Moon
Sizzix/Tim Holtz 6572908 Mini Branch & Leaf Set
Tim Holtz THS014 Shatter layering stencil
The Crafter's Workshop TCW 169s Mini Kasbah 6x6 Template
Red liner tape
20 gauge copper wire
Miniature Halloween Ravens (Michaels)


I hope you enjoyed my video project today, and please visit ColourArte for some fabulous products to use in your next art project.

Happy October to you all!!!


Barbara

Thursday, September 17, 2015

Capture Life's Moments with ColourArte

Hello Colourarte-ists!  I want to share a quick and inexpensive project with you today.  I started this project with a wooden frame from the Dollar Store that I had previously altered.  I was not very pleased with how it turned out, so I saved it for another day. 

When I saw this beautiful dragonfly die by Tim Holtz, I just knew I wanted to use it for this project.  This time of year,  here in the mid-south, the dragonflies are everywhere.  I love watching them flit about.  So that was my inspiration for this piece.


I made a short video tutorial for you.


Supplies Used:

7"x7" wooden frame with 5"x5" opening (Dollar Store)
ColourArte Twinkling H20s: Moss Green, Blue Grass, Mystic Blue, Cinnamon Brown, Iridescent Gold, Black Cherry,
ColourArte Primary Silks Acrylic Glaze: Apricot Nectar
ColourArte Radiant Rain Daubers: Nutmeg, Egyptian Gold
ColourArte Radiant Rain Shimmering Mists: Ice, Butternut, Autumn Leaf, Teal Zircon 
ColourArte Radiant Gels: Olive Vine
Gina's Designs Lasercuts: Bamboo Shape Set
6x6 Burlap Paper Stack (DCWV)
6x6 Quarterfoil stencil (ClearScraps)
White Crackle Texture Paste (Finnabair)
Extra Heavy Gel/Molding Paste (Golden)
White gesso (Liquitex)
Classic Gold wax gilt (Treasure Gold)
Ideaology word band (Tim Holtz)
Gold metal stickers (TPC Studio)
Layered Dragonfly die (Tim Holtz)
Catalyst spatula (straight edge)
Black pen (Sharpie)

Have you joined in this month's ColourArte Blog Challenge #3?  The challenge this month is accessories, but the challenge will change on the 20th of the month, so check out the Rules and How to Enter page for upcoming themes and how to join in the fun.  You could be the next winner of a $40 value ColourArte prize.  

Well, I sure hope you enjoyed my project and video tutorial today.  I had a lot of fun re-working this Dollar Store find.  What will you do with your next Dollar Store find?  I'd love to see what you create!

Thanks for stopping by, and have a wonderful, creative weekend!

Barbara

Friday, July 10, 2015

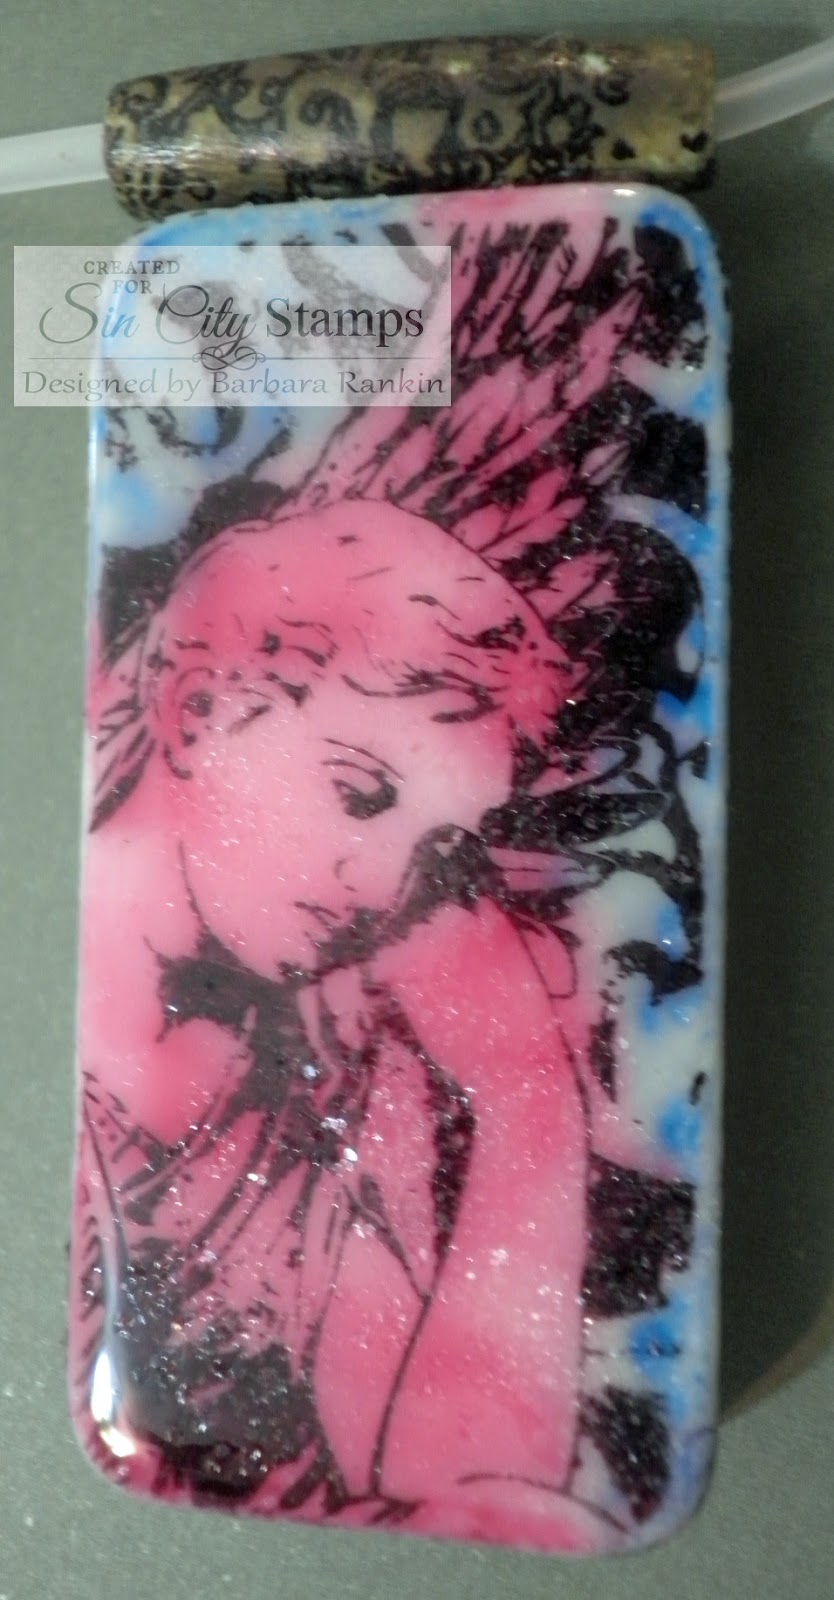
Stamping on Dominoes with Sin City Stamps and Faux Rust Technique

Hello everyone.  I hope you all are having a wonderful start to your weekend.  I was wracking my brain trying to figure out something new to share with you, but I was re-inspired by a domino project I saw on Pinterest.  Don't you just love Pinterest?  Most of the projects were using alcohol inks, but I am making mine with ColourArte's Radiant Rain Daubers, too.

Dominoes are a fun substrate to use in any of your mixed media work.  You can turn them into a piece of jewelry, you can use them as a focal image on a greeting card, or as a fun embellishment on  a mixed media canvas.


Faux Rust Technique

Here is is quick video tutorial for this fun little domino, which I turned into a necklace.  I will also show you a fun technique for turning it into a piece of faux rusted metal.  Again, the same techniques can be used for decorating your dominoes for any project.  So have fun with them and enjoy.


I also made a quick and easy matching card to give to someone special, along with the necklace.


I simply stamped the angel image onto a piece of print paper with black archival ink.
Then I used Caran d'ache Neocolor II water soluble crayons to partially color the image.
I used a straight edge ruler to tear around the image, leaving a bit of distress edging, which I highlight with a white pigment ink pad, for a shabby look.  Then I adhered the image to a blue card.  Simple!


Supplies used:

Sin City Stamps:  Dressforms; Wing It; Rosette Hearts
ColourArte Radiant Rain Daubers: Wine & Roses; Mediterranean Blue; Hot Cinnamon
Dominoes
White Horn Bead
Black Stazon Ink pad
Permanent Stamp Ink Cleaner
Ranger Clear Rock Candy Glitter
Adirondack Alcohol Inks - Eggplant, Sunset Orange, Gold Mixative
3D Crystal Lacquer
Beacon Quick Grip Glue
Blue card stock
7Gypsies Gypsy Market 6x6 paper pad
Caran d'ache Neocolor II water soluble crayons

Take a look at your stamps in a different way.  Remember, it is not necessary to find small stamps to fit on a domino.  You can use parts of a stamp for fabulous effects.  In fact, this month, Sin City Stamps is offering a free stamp with any purchase of a stamp plate.  So pop on over and check out their fabulous selection now.


I hope you enjoyed my video tutorial and, perhaps, inspired you to make some fun domino embellishments for use in any and all of your mixed media projects or jewelry pieces.


Thanks so much for stopping by, and until next time, have a wonderful creative weekend!

Barbara

Thursday, July 2, 2015

Mixed Media Home Decor Canvas for Wine Lovers

Hello everyone.  Barbara here with another mixed media canvas to share using those fabulous products from ColourArte.  I have also paired them with some fabulous laser cut chipboard from Gina's Designs.

This month we are featuring Radiant Rains, in both Shimmering Mists and Color Concentrate Daubers.  Wouldn't this make a fabulous wall hanging near the wine cabinet, or place it on an easel to display in your kitchen.


I have made a quick youtube video tutorial for you.


ColourArte Supplies used:

Radiant Rain Shimmering Mists:  Snapdragon, Sweet Whisper, Ginger Peach, Autumn Leaf, Ocean Wave, Peach Fuzz,
Radiant Rain Color Concentrate Daubers:  Wine and Roses, Copper, Nutmeg,
Silks Acrylic Glaze:  Olive Vine, Forest Green, Silver Bells
Radiant Gel:  Stargazer

Other Supplies used:
Gina's Designs: Grape Vines, Hinges, Wine Shape Set
Fruit of the Vine Collage Sheet (Altered Pages)
8x10 canvas
Liquitex liquid matte medium
Liquitex Clear and White Gesso
Golden Regular Matte Gel
Golden Crackle Paste
Creative Paperclay®
Circle clay cutter
Mesh drywall tape
Printed scrapbook paper

Please be sure to stop by the ColourArte Monthly Challenge blog to link up your own projects for a chance to win some ColourArte products, as well as show off your creations.  Click here for all the details.

I hope you enjoyed my video project today.  Thanks for stopping by.  Have a wonderful and safe 4th of July!

Barbara